DIY Shower Cleaner: Quick and Easy Recipe
Maintaining a clean shower doesn t have to involve a battle with harsh chemicals. With just a few straightforward household ingredients, you can craft an effective homemade shower cleaner that is both safe and eco-friendly.
This guide will equip you with the essential components needed for your homemade cleaner, along with step-by-step instructions for mixing and applying it. You ll also find valuable tips to enhance its effectiveness in cleaning a dirty shower. It also covers important precautions to ensure your cleaning experience is safe and hassle-free. Say goodbye to grime and hello to a sparkling shower!
Contents
Key Takeaways:
- Save money and reduce chemical exposure by making your own DIY shower cleaner with simple household ingredients like white vinegar, dish soap, and essential oils.
- Gather ingredients, mix them together, and apply the cleaner to your shower for a quick and easy homemade cleaning solution.
- Get the best results by using a spray bottle, letting it sit before scrubbing, and rinsing thoroughly. Stay safe: skip bleach, ventilate well, and wear gloves. Use regularly for daily maintenance and deep cleaning.
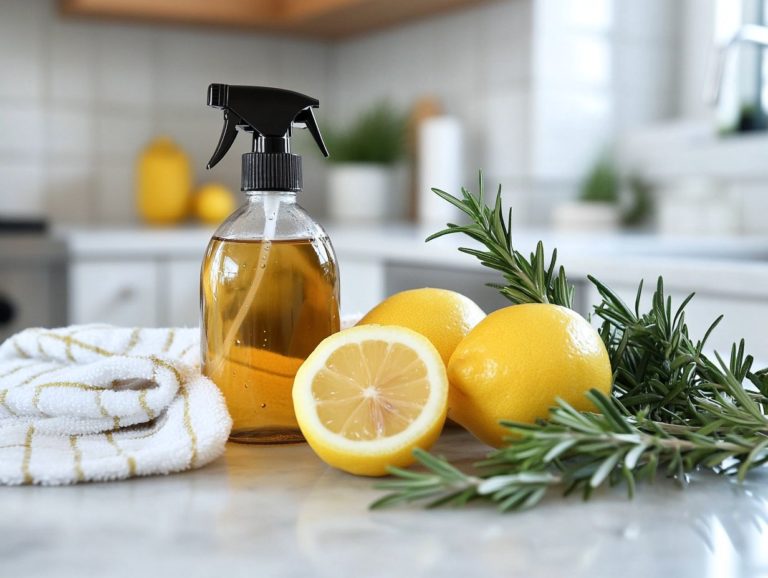
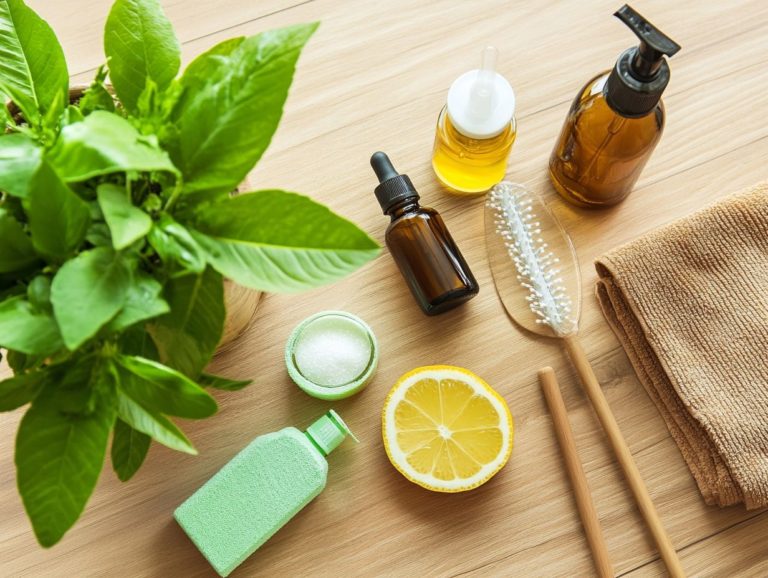
What Are The Ingredients For A DIY Shower Cleaner?
Crafting an effective DIY shower cleaner is not only budget-friendly but also environmentally conscious, allowing you to harness the power of common household ingredients to create a powerful natural shower cleaner.
This guide will walk you through the essential components needed to make a homemade shower cleaner that adeptly combats soap scum, stubborn mineral buildup, and hard water stains, all while keeping your bathroom fresh and inviting.
Among the standout ingredients, white vinegar shines for its natural deodorizing abilities, while Dawn dish soap lends its scrubbing prowess. A few drops of essential oils can infuse a delightful fragrance, transforming your cleaning routine into a more enjoyable experience.
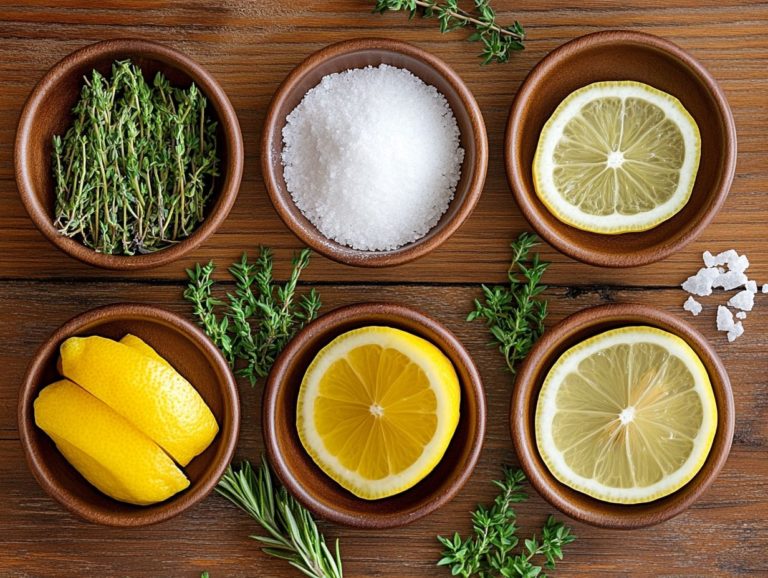
1. White Vinegar
White vinegar is an essential ingredient in any natural shower cleaner you can concoct. It has remarkable abilities to tackle soap scum and stubborn mineral buildup with ease.
This potent cleaner, rich in acetic acid the main active ingredient in vinegar doesn t just dissolve grime; it also effectively neutralizes unpleasant odors that tend to linger in damp spaces. By breaking down mineral deposits, it enhances the appearance of your surfaces, leaving them looking cleaner and brighter.
To put it to work, simply mix equal parts white vinegar and water in a spray bottle for effortless application to the affected areas. If you’re sensitive to the strong aroma of vinegar, consider adding a few drops of essential oil for a more pleasant fragrance while still reaping the benefits of its cleaning prowess. Rinsing with water after application can further help to diminish any lingering scent, ensuring your shower space feels fresh and inviting.
2. Dawn Dish Soap
Dawn dish soap is a key ingredient in your homemade shower cleaner. It delivers the scrubbing power needed to tackle even the most stubborn grime and soap scum.
The distinctive formulation of dish soap, particularly brands like Dawn, allows it to produce a luxurious lather that encapsulates dirt and grease, making removal from surfaces a breeze. When combined with water and vinegar, it not only lifts away grime but also effectively breaks down the oily residue that tends to build up over time.
If you prefer a more natural cleaning regimen, consider alternatives like Dr. Bronner’s or Seventh Generation dish soaps. These natural options, crafted from plant-based ingredients, reduce the harsh chemicals found in conventional products and are gentle on both your skin and the environment. They are perfect for regular cleaning tasks in any household.
3. Essential Oils
Incorporating essential oils into your DIY shower cleaner elevates the cleaning experience while infusing your bathroom with a delightful fragrance. These natural extracts have strong antibacterial qualities that can significantly enhance the effectiveness of a simple cleaner made from white vinegar and Dawn dish soap.
Take tea tree oil, for example; it s well-known for its ability to combat mold and mildew, making it a stellar choice for keeping your shower fresh and hygienic. Lavender oil not only delivers a soothing aroma but also provides antimicrobial benefits, which means it helps kill germs, contributing to a cleaner environment free from stubborn mineral buildup.
When choosing essential oils, you have the freedom to consider your personal scent preferences and the specific cleaning functions you desire. Citrus oils, like lemon and orange, not only invigorate your senses but also boast impressive grease-cutting abilities, making them perfect for tackling soap scum buildup.
Experiment with different combinations. This way, you can create a refreshing and effective shower cleaner tailored to your needs.
How To Make A DIY Shower Cleaner?
Creating a DIY shower cleaner is an effortlessly rewarding endeavor that not only saves you money but also minimizes your exposure to the harsh chemicals typically found in commercial cleaning products. This easy recipe uses simple ingredients you likely have at home, enabling you to whip up a powerful cleaning solution in mere minutes.
You can make a simple two-ingredient DIY shower cleaner using just vinegar and Dawn dish soap. If you re feeling a bit more adventurous, you can explore more elaborate recipes that incorporate essential oils for additional benefits. This recipe will leave your shower shining bright!
By using an efficient daily shower spray, you can maintain a sparkling bathroom with minimal effort.
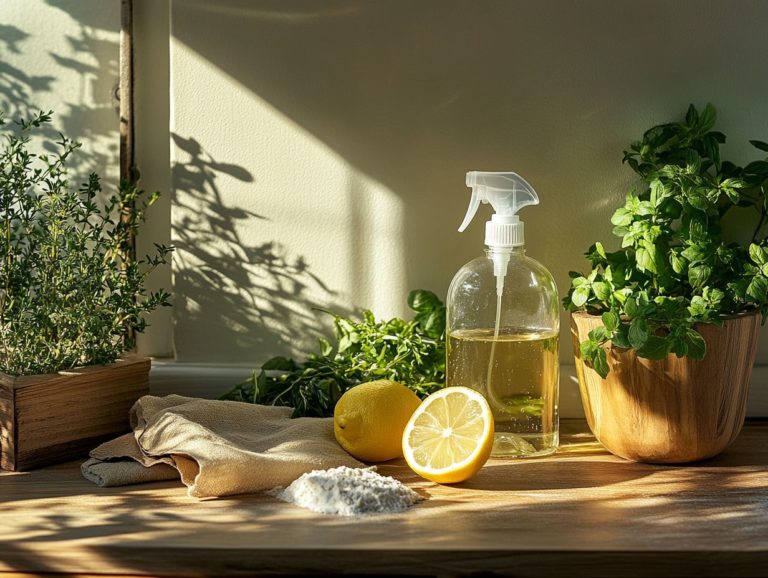
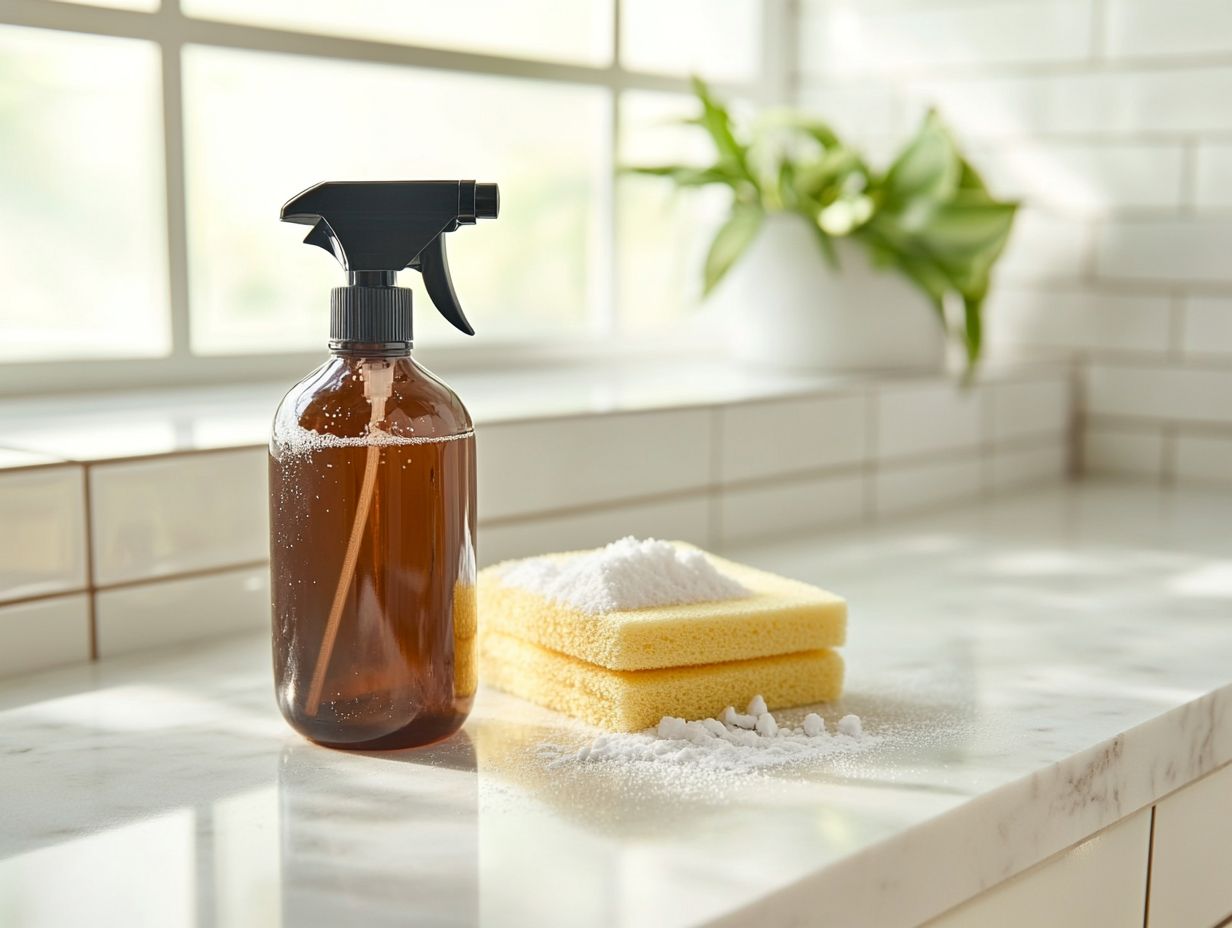
1. Gather Ingredients
The first step in crafting your DIY shower cleaner involves gathering all the essential ingredients and high-quality cleaning supplies. These ingredients can also be used for other homemade cleaning products, like DIY laundry soap.
This means sourcing items like white vinegar, baking soda, and liquid dish soap each not only budget-friendly but also eco-conscious. By opting for premium ingredients, you ll boost the cleaning power and ensure a thorough job. You can easily find these staples at your local grocery store or health food market.
Consider adding common household items such as hydrogen peroxide and rubbing alcohol to enhance your cleaning arsenal. These ingredients work wonders against stubborn soap scum and mildew, perfect for a powerful cleaning solution, leaving your shower looking fresh and sparkling.
2. Mix Ingredients
Once you ve gathered your ingredients, it s time to proceed with mixing them to create your effective natural shower cleaner.
- Begin by measuring out one cup of white vinegar and pour it into a large mixing bowl.
- Next, add half a cup of baking soda, which will work wonders in lifting grime and mildew.
- Carefully combine these two ingredients, stirring gently to avoid a vigorous reaction, as they may fizz up unexpectedly.
- Once the fizzing subsides, incorporate two cups of warm water to dilute the mixture, making it easier to spray.
- If you re looking for that extra cleaning boost, feel free to add half a cup of hydrogen peroxide to your blend.
Always keep in mind to wear gloves when handling hydrogen peroxide and rubbing alcohol, as these substances can be irritants. Be sure to work in a well-ventilated area for your comfort, adhering to good cleaning habits.
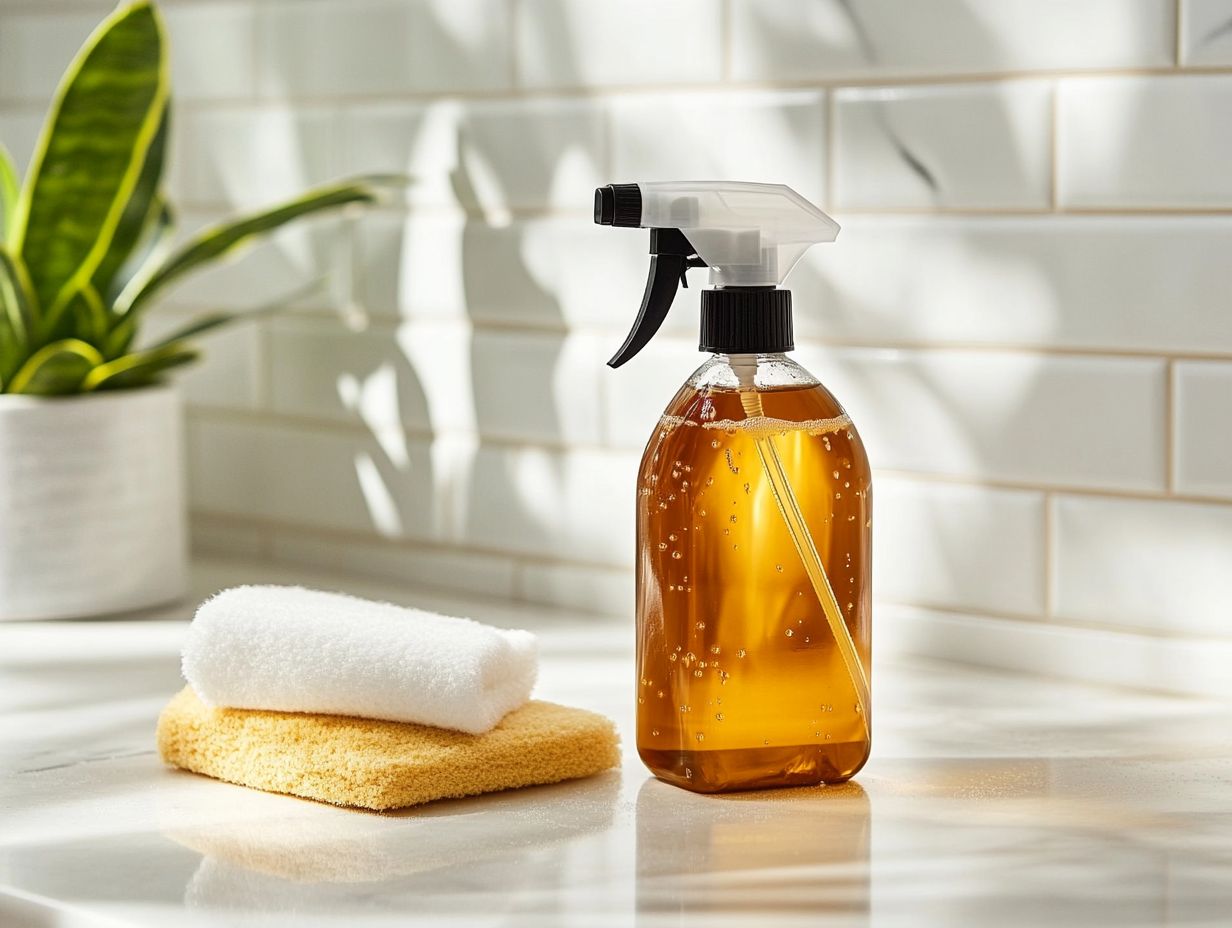
After thoroughly mixing, transfer the solution into a spray bottle for easy application, and prepare to enjoy a sparkling clean shower!
Start making your DIY shower cleaner today and enjoy a fresh, sparkling bathroom!
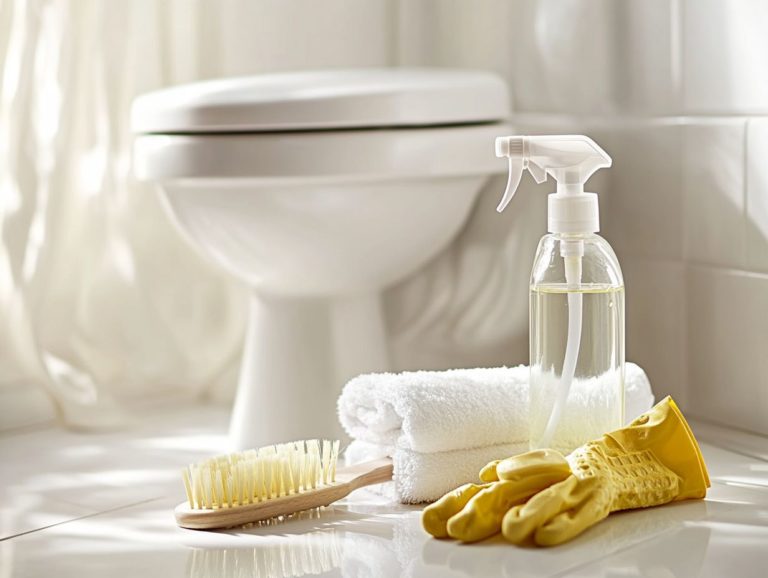
3. Apply Cleaner to Shower
With your cleaning solution ready to go, it’s time to apply it to your shower for effective daily maintenance. This step is essential for a sparkling, inviting shower! It not only keeps surfaces gleaming but also prevents the build-up of soap scum and mineral deposits that can detract from your bathroom s elegance.
A no-rinse daily shower cleaner helps maintain cleanliness easily.
Regarding glass shower doors, a soft cloth or sponge is your best friend. Spray the solution generously and wipe in circular motions for that coveted streak-free shine. For acrylic surrounds, opt for a gentle applicator to avoid scratches while ensuring a thorough cleanse. A sprayer attachment can make your life infinitely easier, allowing you to reach every nook and cranny with minimal effort.
By incorporating a no-rinse daily shower cleaner into your regimen, you can simplify maintenance and banish heavy scrubbing. Your surfaces will remain fresh and inviting, ready for use after each delightful shower, preventing hard-water marks and keeping your bathroom cleaning routine efficient.
What Are Some Tips For Using A DIY Shower Cleaner?
To truly maximize the effectiveness of your DIY shower cleaner, adhere to a few practical tips to elevate your cleaning routine and guarantee thorough results in all your bathroom cleaning tasks.
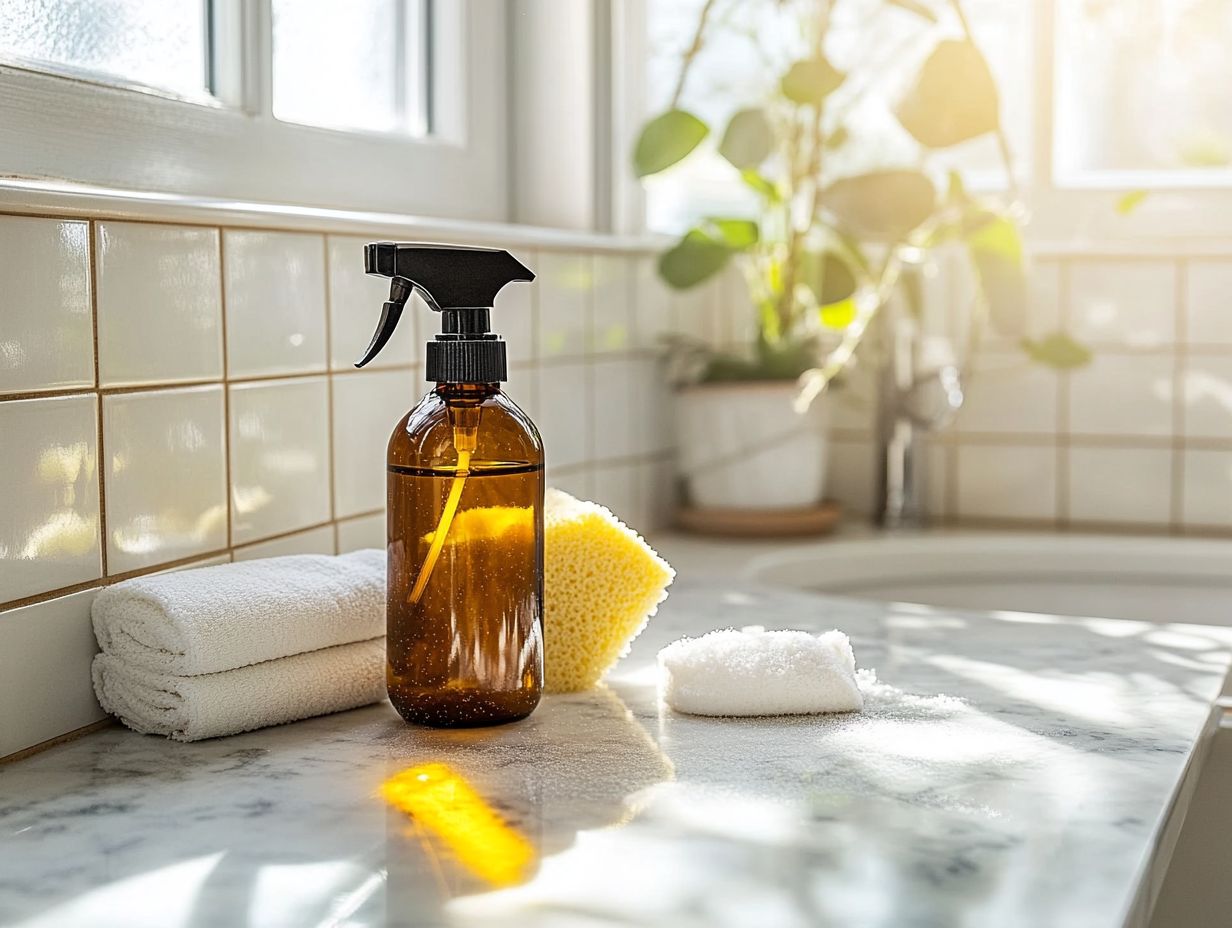
1. Use a Spray Bottle
Utilizing a spray bottle for your DIY shower cleaner is a fundamental strategy for achieving efficient application and promoting consistent use as part of your daily shower routine.
This handy tool allows for a flawless distribution of your cleaning solution, ensuring that every inch of the surface is treated with precision. A spray bottle helps you easily reach all surfaces, including unglazed tile and sealed grout, eliminating the hassle of cumbersome rags or sponges. Consider using a sprayer attachment for even easier application.
For optimal performance, choose a bottle with an adjustable nozzle to accommodate different spray patterns, from a fine mist to a concentrated stream. A 16 to 32-ounce bottle provides ample solution for regular cleaning while remaining compact enough to handle comfortably. Use quality cleaning supplies to ensure the longevity of your tools.
2. Let it Sit Before Scrubbing
Allowing your DIY shower cleaner to sit for a few minutes before scrubbing is essential for unlocking its full scrubbing power and effectiveness against stubborn grime. This method is especially useful for cleaning a dirty shower and tackling hard water stains.
This brief waiting period is critical; it enables the cleaner to penetrate deeply into soap scum and mineral deposits that accumulate on your surfaces. Giving the formulation a moment to work ensures that the cleaning agents break down tough residues, making them significantly easier to remove.
For optimal results, aim for a wait time of about 10 to 15 minutes. This simple act enhances the cleaner’s ability to loosen dirt and reduces the effort needed for scrubbing. The result? A cleaner, more sparkling shower without excessive elbow grease an effective natural shower cleaner!
3. Rinse Thoroughly
After you’ve done scrubbing, it’s crucial to rinse thoroughly to eliminate any lingering traces of the cleaning solution and prevent that vinegar scent from overstaying its welcome. This is especially important when using a powerful cleaning solution like hydrogen peroxide or rubbing alcohol.
This step is particularly important for surfaces like glass shower doors and acrylic materials, including acrylic shower surrounds, which can develop unsightly streaks and residue if not rinsed properly.
Start by using a handheld or showerhead sprayer to direct water across the surfaces, ensuring every nook and cranny is reached. Let the water flow generously, washing away any remaining cleaner. Pay special attention to areas where dirt and grime like to congregate, as they may need extra rinsing. For stubborn grime and soap scum, consider using a magic eraser.
Finally, conduct a thorough inspection to ensure no soap or cleaner is visible, guaranteeing that you achieve a sparkling, pristine finish.
Are There Any Precautions When Using A DIY Shower Cleaner?
While DIY shower cleaners can serve as effective and safer alternatives to commercial products, taking specific precautions is crucial for safe usage and achieving the best results.
1. Do Not Mix with Bleach
One of the most essential precautions when using a DIY shower cleaner is to avoid mixing it with bleach. This combination can create harmful fumes and dangerous chemical reactions that you definitely don t want in your home.
Combining bleach with other common household cleaners, like ammonia or vinegar, risks releasing toxic gases that can pose serious health threats, including respiratory issues and skin irritation. If you re seeking effective alternatives, consider a mixture of baking soda and vinegar. This powerful duo cuts through soap scum and grime without compromising your safety.
Natural options like lemon juice or essential oils can elevate your cleaning game while leaving behind a delightful scent. You ll love how easy it is to add Dawn dish soap to your mixture for extra cleaning power. Always prioritize using single cleaning agents to maintain a safe and healthy environment for yourself and your loved ones.
2. Use in a Well-Ventilated Area
Using your DIY shower cleaner in a well-ventilated area is essential for your safety and comfort during cleaning tasks.
Proper ventilation plays a pivotal role in preventing the buildup of strong odors and fumes that often accompany cleaning agents like vinegar or hydrogen peroxide, a common household disinfectant. While these substances are effective, they can quickly become overwhelming without sufficient airflow, potentially leading to respiratory irritation.
To enhance ventilation in your bathroom, consider opening windows or doors to create a refreshing cross-breeze. Utilizing exhaust fans significantly boosts air circulation, making your cleaning experience more pleasant. If possible, placing a small fan near your cleaning area can help disperse any lingering scents, elevating your overall cleaning experience while ensuring a safe environment.
3. Wear Gloves
Wearing gloves while using your DIY shower cleaner safeguards your skin from irritation caused by cleaning products.
Various types of gloves are specifically designed for cleaning tasks. Rubber gloves are popular, known for their durability and resistance to harsh chemicals. If you prefer a snug fit that allows for greater dexterity, latex gloves are an excellent option. For projects involving particularly strong solvents, nitrile gloves are the best bet, as they can withstand a broader range of chemicals compared to latex.
It’s vital to protect your skin, especially when dealing with strong ingredients like rubbing alcohol and hydrogen peroxide, which can irritate or hurt your skin if used too long. By selecting the right gloves, you not only shield your hands but also enhance your overall cleaning experience, making it both comfortable and effective.
Keep Your Shower Sparkling: How Often Should You Clean It?
Determining the ideal frequency for using your DIY shower cleaner is crucial for upholding a pristine and hygienic bathroom. It s all about finding the perfect balance between regular cleaning, deep cleaning, and the maintenance needs of your space.
1. Regular Cleaning
Engaging in regular cleaning with your DIY shower cleaner can dramatically lighten the load of keeping your shower spotless while preventing that pesky buildup of soap scum and hard water stains. Opt for a no-rinse daily shower cleaner to make your daily maintenance easier.
For optimal results, aim to spray the cleaner on your shower surfaces at least once a week, allowing it to work its magic in breaking down grime. If you find yourself in a pinch, a quick rinse with warm water right after showering can minimize those deposits. Keeping a microfiber cloth nearby for a swift wipe-down after each use further enhances the freshness of your space. This practice will prevent hard-water marks and soap scum buildup.
Consider dedicating just a few minutes each week to address any spots or areas needing a little extra care. This approach ensures your shower remains inviting and hygienic without the need for overwhelming cleaning marathons.
2. Deep Cleaning
Deep cleaning is an essential step in your quest to conquer stubborn grime and achieve a truly pristine shower. Incorporating your DIY shower cleaner into your routine is a must.
Understanding when to schedule these deep cleaning sessions is vital. For example, if you start to notice soap scum accumulation, mildew lurking in the corners, or an unpleasant odor that seems impervious to your regular cleaning efforts, it’s a clear signal that a more thorough clean is necessary.
Pay attention to any color change on tiles or residue on fixtures; these are indicators that it s time to implement more effective cleaning strategies. Consider using a scrub brush for scrubbing power to tackle tough areas like unglazed tile and sealed grout.
When you re ready to tackle the deep clean, begin by wetting the surfaces. Generously apply your cleaner, then scrub with a brush or sponge. Allow it to sit for a few minutes to break down those stubborn stains.
Finally, rinse thoroughly to ensure all residue is washed away, leaving your shower sparkling and rejuvenated. Use a powerful cleaning solution like a two-ingredient DIY shower cleaner or DIY laundry soap for the best results.
3. Maintenance
For optimal results, your DIY shower cleaner should seamlessly integrate into your regular maintenance routine. Use it as a daily shower spray to thwart hard-water marks and soap scum buildup. You’ll love how your bathroom looks when you keep it clean with this routine!
By incorporating this practice, you not only keep your surfaces sparkling but also significantly reduce the time and effort required for those dreaded deep cleaning sessions.
This approach enhances the cleanliness of the area, creating a protective barrier that repels moisture and grime. It’s perfect for maintaining acrylic, fiberglass, and natural stone surfaces.
To elevate its effectiveness, consider pairing it with gentle scrubbing techniques during your weekly cleanings, ensuring that even those elusive, hard-to-reach spots remain pristine. Following these straightforward yet powerful tips will extend the life of your fixtures and cultivate a fresher, more inviting bathroom atmosphere.
Regular use of natural homemade cleaners can further enhance the cleanliness of your bathroom. You ll want to use your DIY shower cleaner at least once a week for a shower that sparkles!
Frequently Asked Questions

What is a DIY shower cleaner?
A DIY shower cleaner is a cleaning solution that can be made at home using simple ingredients, rather than purchasing a commercial cleaner from the store.
Why should I make my own shower cleaner?
Making your own shower cleaner allows you to save money, avoid harsh chemicals, and customize the scent and strength of the cleaner to your preference.
What is a quick and easy recipe for DIY shower cleaner?
A quick and easy recipe for DIY shower cleaner involves mixing equal parts white vinegar and water, with a few drops of essential oil for scent. This solution can be sprayed onto the shower surfaces and wiped clean with a cloth or sponge.
For an even more effective cleaner, consider adding a bit of Dawn dish soap to the mixture.
What ingredients do I need for a DIY shower cleaner?
The basic ingredients for a DIY shower cleaner are white vinegar, water, and essential oil. You may also choose to add baking soda, hydrogen peroxide, or dish soap for extra cleaning power. These household ingredients make for an inexpensive cleaner that’s highly effective.
How often should I use DIY shower cleaner?
It is recommended to use DIY shower cleaner or a no-rinse daily shower cleaner once a week to keep your shower clean and free of soap scum, hard water stains, and mildew. However, you can use a daily hydrogen peroxide shower cleaner more frequently if your shower requires extra cleaning due to stubborn grime or mineral buildup.
Don’t wait! Try these cleaning methods today and share your results or tips!
Is DIY shower cleaner safe on different shower types?
Yes, DIY shower cleaners are safe for all types of showers, including glass doors, acrylic surrounds, and unglazed tiles.
Always test the cleaner on a small, hidden area first to prevent any damage or discoloration.
For tougher soap scum or hard water stains, add white vinegar or Dawn dish soap to your cleaning routine.
A magic eraser, a handy tool that removes stubborn stains, can also enhance your cleaning power.
You can also explore tub and shower soap scum cleaners or other effective homemade cleaning products.