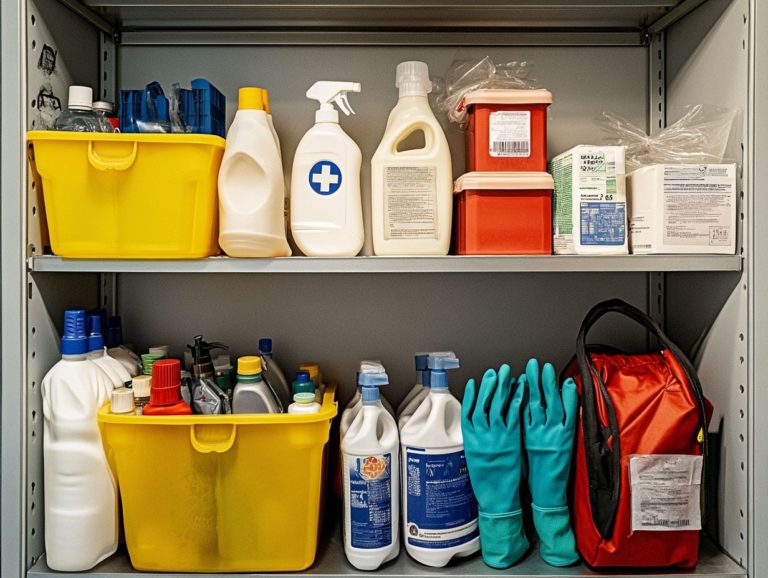
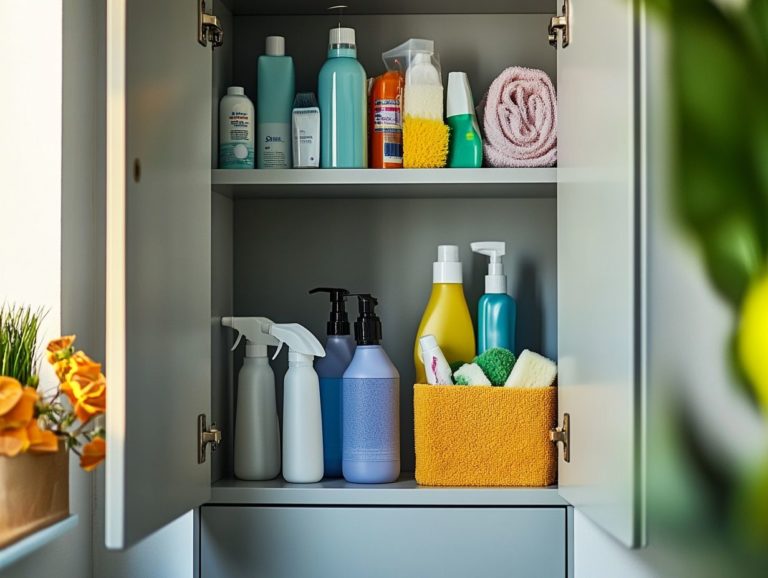
Creative Ways to Store Cleaning Tools
Ready to transform your cleaning routine? Let’s dive into how proper storage of your tools can change everything!
Maintaining an organized and well-maintained collection of your cleaning tools is crucial for effective housekeeping and extending the lifespan of your supplies.
In this article, you will explore the significance of properly storing your cleaning tools. Discover best practices to keep them clean, dry, and easily accessible.
Explore inventive storage solutions like pegboards and magnetic strips. Discover practical tips for maximizing vertical space and repurposing everyday items. Consider using baskets and Gorilla Grip products to keep your cleaning closet tidy and efficient.
Embrace a clutter-free environment and welcome a new level of efficiency!
Contents
- Key Takeaways:
- The Importance of Properly Storing Cleaning Tools
- Best Practices for Storing Cleaning Tools
- Creative Ways to Store Cleaning Tools
- 1. Hang Tools on Pegboards
- 5. Label and Rotate Supplies
- 2. Use Magnetic Strips
- 3. Repurpose Household Items
- 4. Invest in a Cleaning Caddy
- 5. Install a Wall-Mounted Organizer
- 6. Utilize Under-the-Sink Space
- 7. Create a Cleaning Closet
- 8. Use a Shoe Organizer
- 9. Install a Tension Rod for Cleaning Supplies
- 10. DIY a Cleaning Tool Holder for Your Cleaning Closet
- Frequently Asked Questions
- What are some creative ways to store cleaning tools and cleaning products?
- Can I use household items to store my cleaning tools and supplies?
- How can I store my cleaning tools and supplies in a small space?
- What are some creative storage options for brooms, mops, and other cleaning tools?
- Are there any unconventional ways to store cleaning tools and supplies?
- How can I keep my cleaning tools and cleaning products organized and easily accessible?
Key Takeaways:
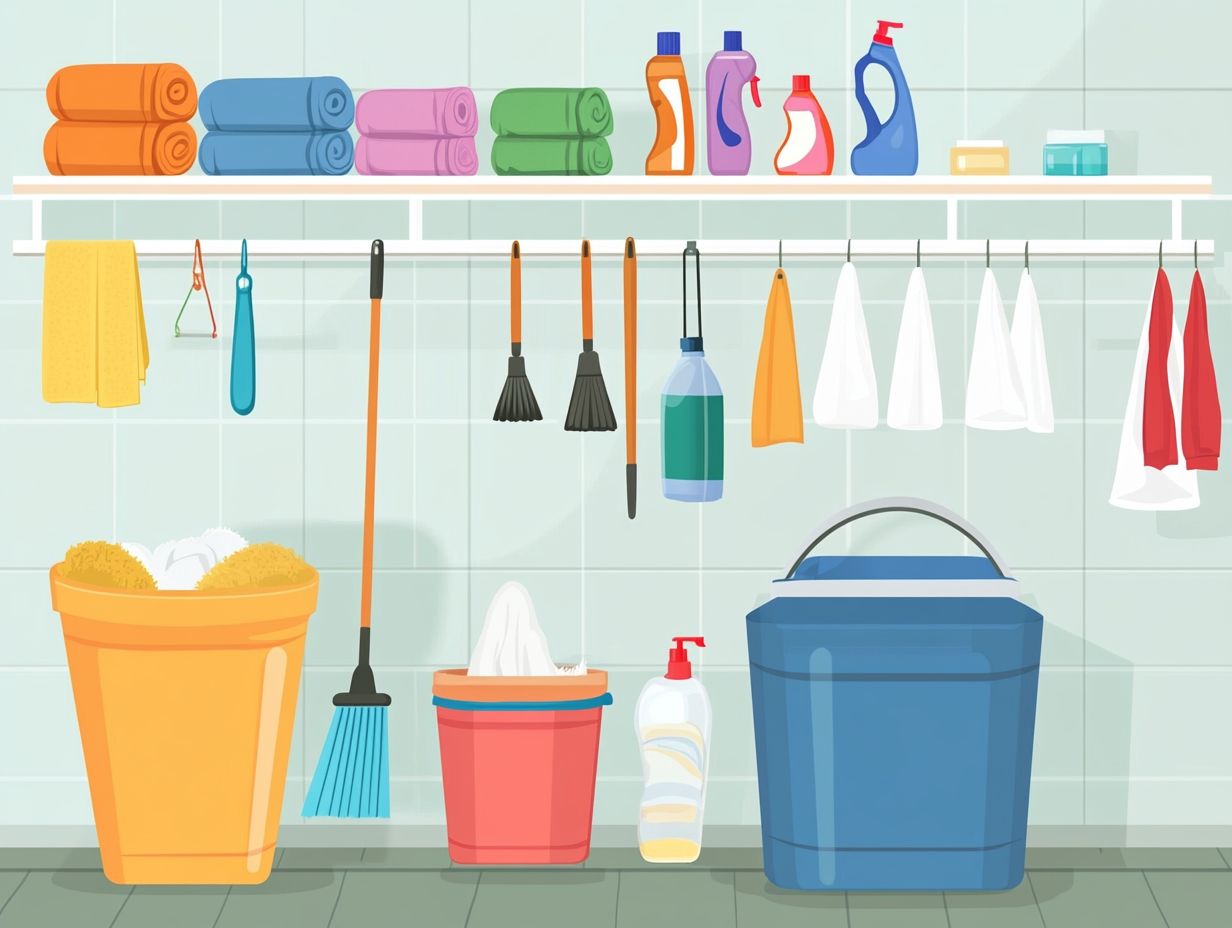
- Proper storage of cleaning tools is essential for their longevity and effectiveness.
- Keep your tools clean, dry, and organized for easy access.
- Get creative and utilize various storage options such as pegboards, magnetic strips, and repurposed household items to organize and store cleaning tools efficiently.
The Importance of Properly Storing Cleaning Tools
Properly storing your cleaning tools is essential for maintaining an efficient household cleaning routine. This ensures that your supplies are readily accessible when you need them.
An organized cleaning closet not only boosts the effectiveness of your cleaning systems but also declutters your space. It makes it easier for you to locate important items like multi-surface cleaners, disinfecting sprays, and other essentials.
A clear plan for storing your cleaning tools saves you both time and effort in your cleaning schedules. This allows you to tackle your chores with greater ease and efficiency. Organizing your cleaning tools can transform your routine into a breeze!
Best Practices for Storing Cleaning Tools
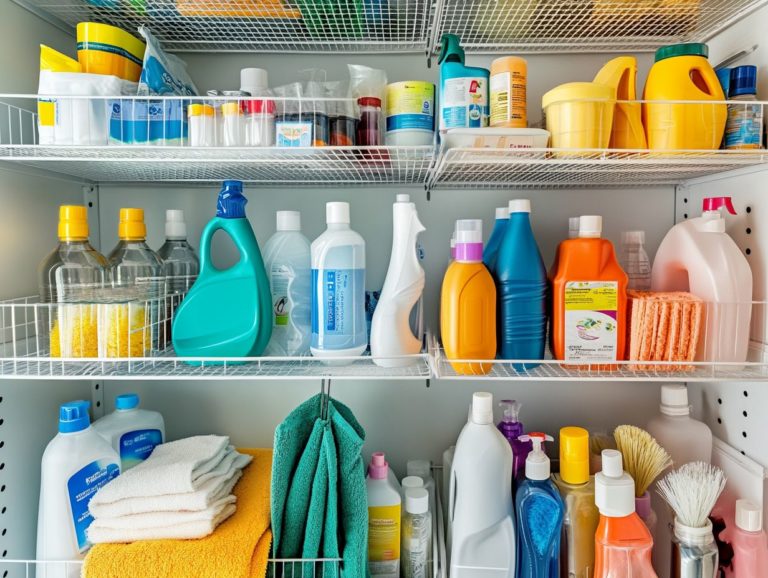
Implementing best practices for storing your cleaning tools can significantly elevate the organization of your supplies. Leverage effective storage solutions like cabinet organizers, cleaning caddies, storage containers, and even a lazy susan under the sink. This ensures your cleaning tools are easy to access and ready for use.
Categorizing your cleaning products makes it easier to find what you need. It simplifies maintaining a pristine household.
1. Keep Tools Clean and Dry
Keeping your cleaning tools clean and dry is essential for their longevity and effectiveness. Dirty or damp tools can become breeding grounds for bacteria and diminish your cleaning efficiency.
Regularly wiping down your cleaning tools, such as Swiffer dusters, Magic Erasers, and Bar Keepers Friend products, keeps them in top shape for super effective cleaning! Storing them in a dry environment prevents the growth of mold and mildew, making your cleaning routine safer.
To extend the life of these tools, incorporate disinfecting spray into your regimen. A quick spritz after each use not only zaps germs but also helps inhibit mold growth.
For tools that tend to soak up moisture, like sponges or cloths, rinse them thoroughly with hot water. Allow them to air dry completely before storage. Placing these tools in a well-ventilated area or using a dedicated drying rack can help maintain optimal dryness.
By adopting these straightforward habits, you can ensure that your cleaning arsenal remains effective and hygienic for all your household chores.
2. Organize Tools by Function
Organizing your cleaning tools by function can make cleaning easier and enhance the efficiency of your methods. This allows you to quickly locate the right tools for every task. By grouping supplies like multi-surface cleaners, bleach, and disinfecting sprays based on their intended use whether for the kitchen, bathroom, or general cleaning you create a streamlined cleaning area that simplifies the entire process. This approach not only saves you valuable time but also ensures that you’re using the appropriate cleaning products for optimal results.
For example, separating tools designed specifically for dusting, such as microfiber cloths and dusters, from those meant for mopping, like mops and buckets, can significantly reduce confusion during your cleaning sessions. Designating a specific space for sanitizing sponges and brushes ensures that everything remains easily accessible and used correctly. This organized method not only upholds cleanliness but also minimizes the risk of cross-contamination, which refers to the transfer of harmful bacteria from one surface to another, between different areas of your home.
By cultivating an environment where everything has its place, you ll tackle each cleaning task with greater ease and effectiveness.
3. Utilize Vertical Space
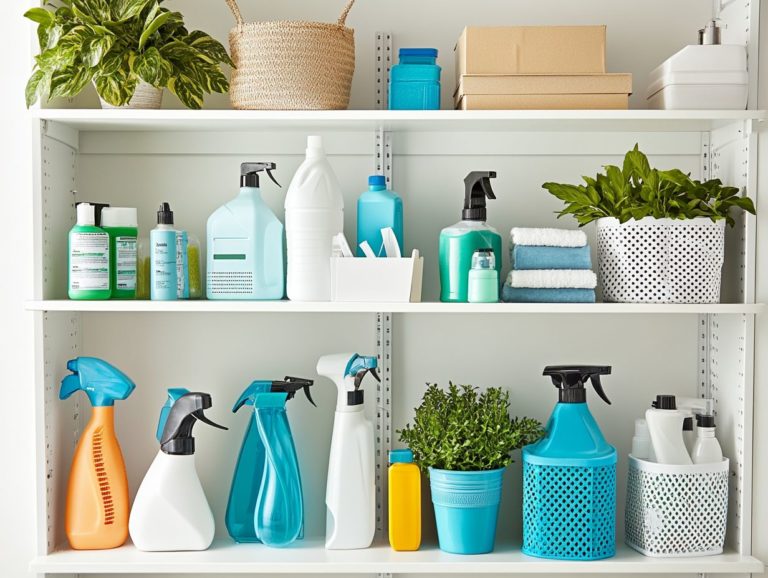
Using vertical space in your cleaning closet or storage area can significantly improve the organization of your cleaning tools and supplies. This allows you to make the most of limited storage options.
These solutions free up valuable floor space and streamline the process of grabbing essential items when tackling cleaning tasks. Consider incorporating sturdy over-the-door organizers to hold spray bottles and smaller tools; they can be conveniently mounted on the inside of the door, maximizing your available space.
Wall-mounted racks can be outfitted with hooks for brooms and mops, keeping them both accessible and neatly out of the way. If you want versatility, pegboards allow you to customize your arrangements, enabling you to design a layout that aligns with your personal preferences and cleaning habits.
The ideal spots for these storage solutions often lie on walls near your cleaning supplies or even in utility rooms, where efficiency is key. With these practical tips, you can transform a chaotic cleaning environment into a well-organized and functional space that works for you.
4. Use Storage Containers
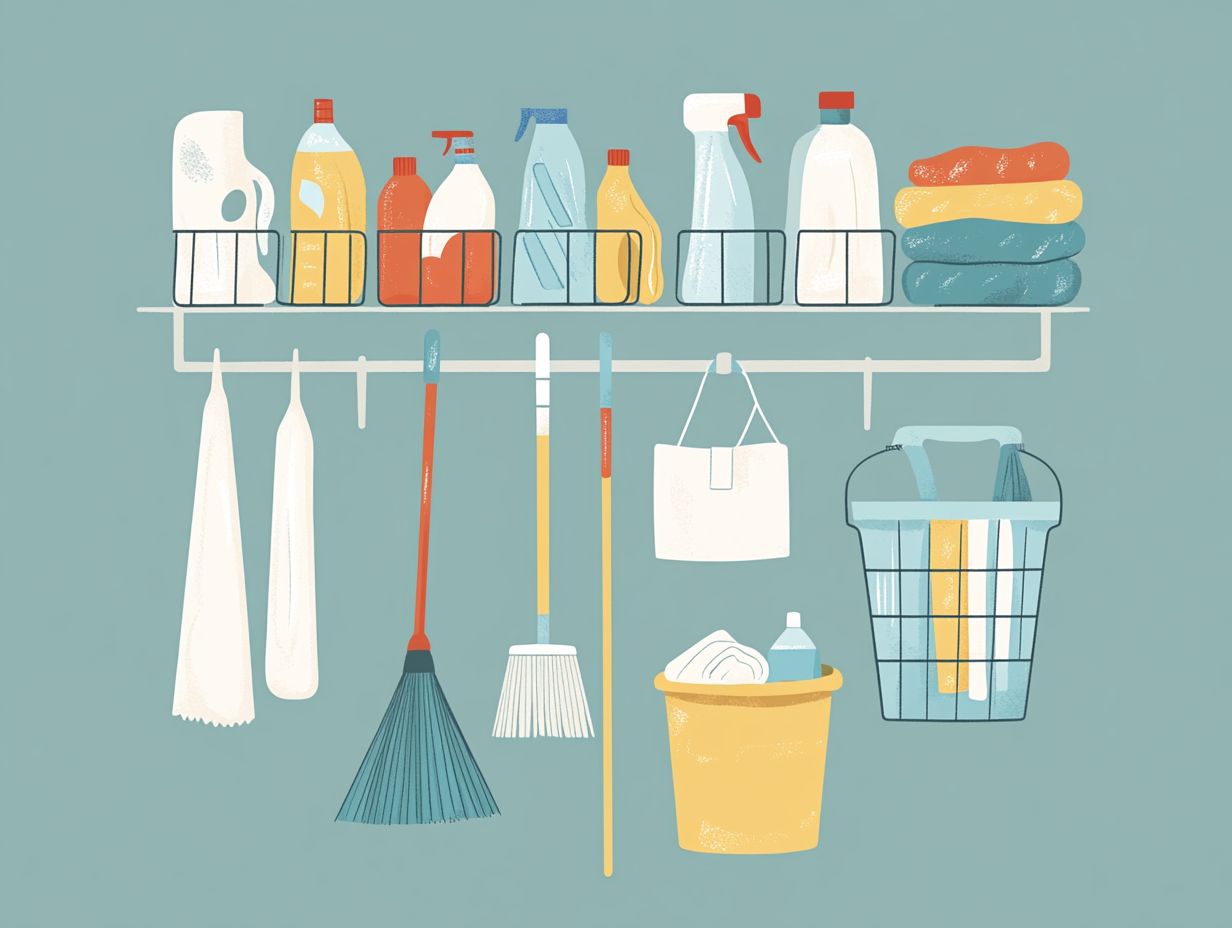
Using storage containers effectively can elevate the organization of your cleaning supplies and tools, transforming your cleaning space into a visually appealing and functional area. Containers like acrylic bins and baskets allow you to neatly categorize various cleaning products think bathroom cleaners, kitchen supplies, and surface cleaners ensuring your supplies are efficiently organized. A portable cleaning caddy can further streamline your cleaning routine, making it easier to transport essential tools from one room to another.
Beyond acrylic bins, consider options such as metal storage tins and plastic drawer organizers, tailored to meet the demands of specific cleaning tasks. When you use clear containers, you significantly enhance visibility, making it much easier to locate what you need without diving into a sea of clutter. This clarity not only saves you time but also helps you maintain your inventory, ensuring you re never caught off guard with low essential supplies.
Customization options like labels and color-coded bins can facilitate quick identification while adding a personal touch, transforming your cleaning space into a place that is not just functional but also enjoyable to use. Implementing such cleaning hacks makes your cleaning process even more streamlined and effective.
Creative Ways to Store Cleaning Tools
Exploring creative methods for storing your cleaning tools can lead to innovative solutions that elevate both organization and accessibility in your cleaning area.
Consider using pegboards for hanging tools. You can also use magnetic strips for your metal cleaning supplies and find new uses for things you already have at home to significantly enhance the functionality of your storage space.
Using a rolling cart adds mobility and convenience in your cleaning area. These inventive storage options not only make the most of vertical space but also infuse your cleaning closet with a unique touch of personality.
By ensuring everything remains easily accessible and neatly arranged, you ll streamline your cleaning tasks.
1. Hang Tools on Pegboards
Hanging your tools on pegboards is a brilliant way to make the most of vertical space. This keeps your cleaning tools organized and within easy reach.
With pegboards, you can create a customized storage solution to hang everything from brooms and mops to spray bottles and cleaning caddies. This approach tidies up your cleaning area and showcases your tools in an organized and visually appealing way.
When setting up your pegboard, think about a layout that maximizes visibility and flow. By placing frequently used items at eye level, you ll dramatically reduce the time you spend searching for them.
Consider investing in a variety of hooks and attachments shelves for smaller items or bins for rags and brushes to ensure that everything has its designated spot. This is a great example of cleaning tips that can enhance your cleaning routine.
The beauty of pegboards lies in their adaptability; as your collection of tools expands, you can easily add more hooks or customize the arrangement to suit your changing storage needs.
This versatility makes pegboards an excellent choice for any cleaning space, accommodating everything from light housekeeping tasks to more extensive cleaning operations. Consider using them for cleaning supplies organization and cleaning products evaluation.
5. Label and Rotate Supplies
Labeling and rotating your cleaning supplies is a simple and effective way to enhance your organization. This ensures that expired or ineffective products are swiftly discarded.
By labeling your containers with the names of the cleaning products and their intended uses, you can easily locate what you need during your cleaning routine. Regularly assessing your tools keeps your cleaning closet neat and guarantees you re using the most effective products.
This practice saves you time and alleviates the frustration of searching for the right product in a cluttered space. Get excited about managing your cleaning supplies! Set a reminder to check your supplies every few months.
Rotate older products to the front to ensure they re used first, while placing the newer ones at the back. This proactive approach promotes efficiency and contributes to a healthier living environment by minimizing the buildup of unnecessary, expired items.
Start organizing your cleaning supplies today for a more efficient cleaning experience! Consider using bullet points or numbered lists for your tips to enhance clarity and engagement.
2. Use Magnetic Strips
Utilizing magnetic strips for storing your cleaning tools is a brilliant and effective approach that keeps your frequently used items right at your fingertips. You can easily install these strips on your walls or inside cabinet doors. They allow you to securely attach metal cleaning tools, scissors, or even spray bottles.
This innovative storage solution maximizes your available space and enhances your organization. It keeps your cleaning area beautifully clutter-free. This is one of the best cleaning hacks you can use!
These strips can hold other metal items such as measuring cups or small tools, adding even more convenience to your routine. To install, select a prime location near your cleaning supplies and attach the strip using screws or strong adhesive. Make sure it s level for effortless access.
This strategy streamlines your cleaning process and fosters consistent habits, as you ll always know where to find your tools. By integrating magnetic strips into your existing routines, you can simplify task management, making it quicker and easier to locate and utilize essential tools during each cleaning session.
3. Repurpose Household Items
Repurposing household items for cleaning tool storage isn’t just a budget-friendly move; it s also a chance to showcase your creativity in organizing your cleaning supplies. Think about it: empty jars can be transformed into stylish holders for brushes and cleaning tools. An old shoe organizer can find new life storing cleaning supplies in your closet or on the back of a door.
These innovative solutions serve a purpose and add a unique touch to your cleaning area. This method is perfect for keeping cleaning supplies organized and decluttering cleaning spaces.
Imagine using an empty wine rack to store your spray bottles. It s a clever way to free up counter space while introducing an artistic flair. Old coffee cans can be cleaned and repurposed to separate various brushes or sponges, ensuring everything has its designated spot.
Don t overlook those fabric scraps from past projects; they can become decorative storage bags, perfect for keeping smaller items organized. Consider using acrylic bins and an over-the-door organizer for additional storage solutions.
Engaging in these practices promotes sustainable living by reducing waste while cultivating a streamlined and aesthetically pleasing cleaning environment. Implementing these ideas is easier than you think! With a little creativity and a few basic tools, you can transform your space into an organized haven. Use cleaning techniques like these to maintain a tidy cleaning area.
4. Invest in a Cleaning Caddy
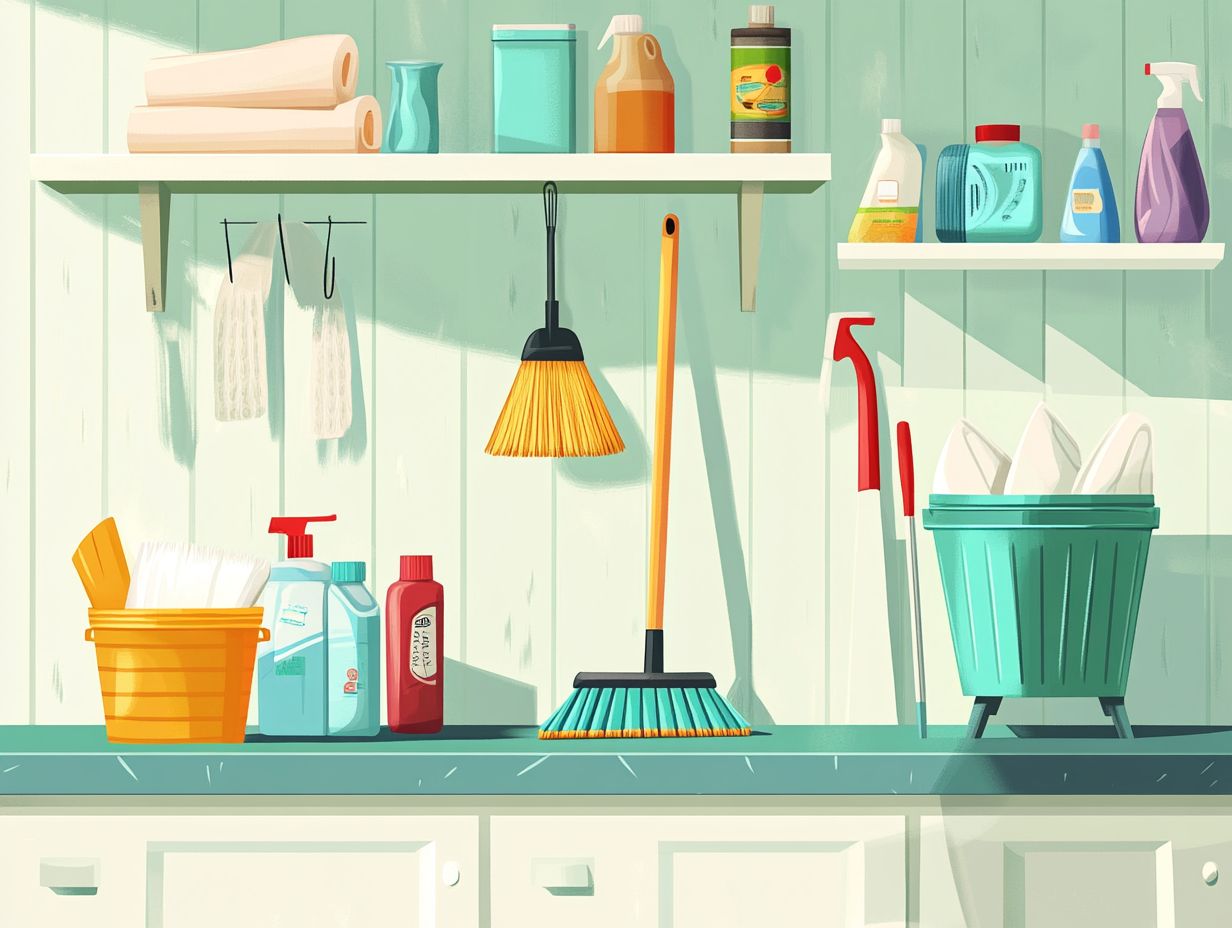
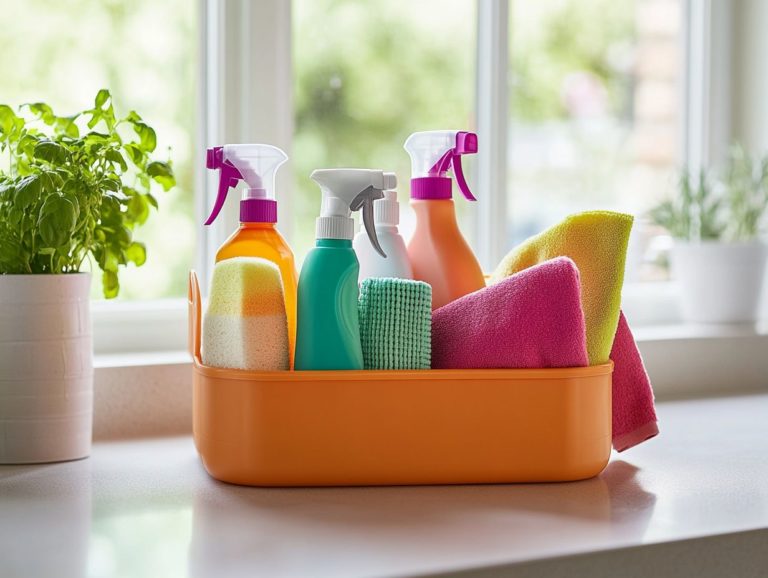
Investing in a cleaning caddy is a savvy choice for anyone seeking portable storage that elevates the cleaning experience. A thoughtfully designed cleaning caddy allows you to effortlessly transport all your essential supplies and tools from disinfecting sprays to cleaning rags room by room.
This level of organization streamlines your cleaning routine and ensures that everything you need is within reach, making your cleaning more effective. Consider this part of cleaning systems and portable cleaning solutions.
With a dedicated caddy, you can tackle each cleaning task with impressive speed. This cuts down the time spent hunting for products or making multiple trips to gather supplies. When selecting the ideal cleaning caddy, consider key factors such as size, weight, and the compartments it offers for optimal organization.
To make the most of your caddy, stock it with:
- Multi-surface cleaners
- Sponges
- Microfiber cloths
- Gloves
Prioritize products that cater to the various surfaces and materials throughout your home. This thoughtful preparation will ultimately lead to a more efficient and enjoyable cleaning experience. Don t wait get organized today!
5. Install a Wall-Mounted Organizer
Installing a wall-mounted organizer can be a brilliant way to optimize storage space for your cleaning tools and supplies, especially in compact areas. These organizers are designed to hold brooms, mops, and other cleaning essentials, keeping them neatly off the floor and out of your way. With a range of styles available, a wall-mounted organizer not only enhances the aesthetic of your cleaning space but also promotes efficient organization of your supplies. This is a great way of cleaning supplies organization and using baskets for additional storage.
You’ll find sleek designs that cater to various tastes, from minimalist hooks to multifunctional racks, perfectly suited for your personal style and spatial constraints. You have the option of choosing vertical slots for upright storage or adjustable shelves to accommodate items of varying lengths. The installation process is typically straightforward, requiring just basic tools and the mounting hardware usually included with your purchase.
When you’re selecting the ideal organizer, take a moment to consider the types and quantities of cleaning tools you have on hand. It s wise to measure your wall space beforehand to ensure a perfect fit, allowing your cleaning area to remain both tidy and functional.
6. Utilize Under-the-Sink Space
Utilizing the under-the-sink space is a golden opportunity for you to organize your cleaning supplies effectively, turning what is often a neglected area into a functional storage solution. By installing cabinet organizers like sliding shelves or tension rods, you can maximize this space, ensuring easy access to your cleaning products and tools. This method not only declutters your kitchen or bathroom but also keeps your supplies organized and conveniently within reach. For best results, consider adding cleaning cabinet accessories like a lazy susan and Gorilla Grip shelf liner.
To elevate the functionality of this essential storage area, consider adding stackable bins and caddies that can accommodate various item sizes. Using clear containers simplifies inventory management, allowing you to find specific products at a glance, without the hassle of rummaging through clutter. This technique is part of effective cleaning methods and cleaning tips for maintaining a neat space.
Take a moment to assess your storage needs by evaluating the types and quantities of items you frequently use; this will help you tailor your organization strategy. Implementing a tiered shelving unit can efficiently utilize vertical space, ensuring that every inch is working for you. By thoughtfully combining these innovative products, you can achieve a neat and accessible under-the-sink area that meets all your cleaning needs.
7. Create a Cleaning Closet
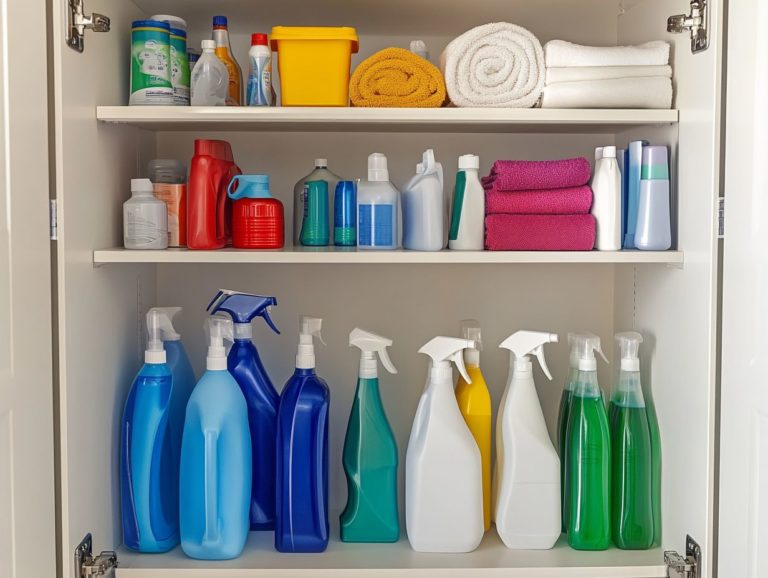
Creating a dedicated cleaning closet offers you the perfect haven for organizing all your cleaning tools, supplies, and equipment in one convenient location. This specialized space enables you to categorize items think multi-surface cleaners, disinfectants, and various cleaning tools efficiently, transforming your cleaning routine into a streamlined, effective process. A well-organized cleaning closet not only curbs clutter in other areas of your home but also fosters a tidy and efficient cleaning environment.
By thoughtfully arranging this space, you ensure that everything has its designated place. This not only saves you precious time during your cleaning sessions but also makes it a breeze to find exactly what you need. Consider keeping essential supplies like microfiber cloths, sponges, and brushes within easy reach. Use bins or shelves to group similar items together for maximum efficiency. Additionally, utilize a cleaning cart for portability.
Labeling containers can further enhance accessibility, allowing anyone in your household to quickly identify the products they re looking for. Additionally, incorporating a checklist for restocking supplies ensures your cleaning closet is always well-equipped and ready for any task, making the pursuit of a clean home a hassle-free endeavor. This method is a key part of cleaning techniques and organizing tips.
8. Use a Shoe Organizer
A shoe organizer is a smart way to store your cleaning supplies while maximizing vertical space in your cleaning area. You can easily hang these organizers on doors or walls. This creates designated pockets for items like sponges, sprays, and dusters.
This approach keeps your cleaning tools beautifully organized and offers easy visibility and access to each item. This makes your cleaning routine seamless and efficient. It’s a practical solution for storing cleaning supplies for easy access.
The versatility of these organizers allows you to customize them according to your specific cleaning products. For instance, wider pockets can accommodate larger bottles of cleaners, while smaller pockets are perfect for items like cloths and brushes.
This method is a key way to keep your cleaning supplies organized. Installation is a breeze; simple hooks or adhesive strips can secure the organizer, ensuring it’s both safe and easily reachable.
To elevate your organization game, consider labeling each pocket or grouping items by cleaning task think kitchen versus bathroom supplies and using baskets for smaller items. This smart setup ensures that all your cleaning necessities are just an arm’s reach away!
9. Install a Tension Rod for Cleaning Supplies
Installing a tension rod under your sink or inside a cabinet can be a game-changer for organizing your cleaning supplies and tools. This simple method allows you to hang spray bottles, rags, and cleaning gloves, keeping them off the floor while maintaining easy access.
Using tension rods significantly enhances the organization of your cleaning area, making your routine more efficient. To get the most out of these rods, think about placing them horizontally across the width of the cabinet or vertically to utilize the height available.
For a smooth installation, measure the space to determine the right rod length, ensuring that the tension is secure for dependable support. You can also incorporate hooks or hangers on the rod to create additional storage for items like sponges and dusters.
The advantages of using tension rods are plentiful, offering you a tidy and efficient workspace that encourages consistent cleaning habits. Using baskets on these rods can provide even more storage options.
10. DIY a Cleaning Tool Holder for Your Cleaning Closet
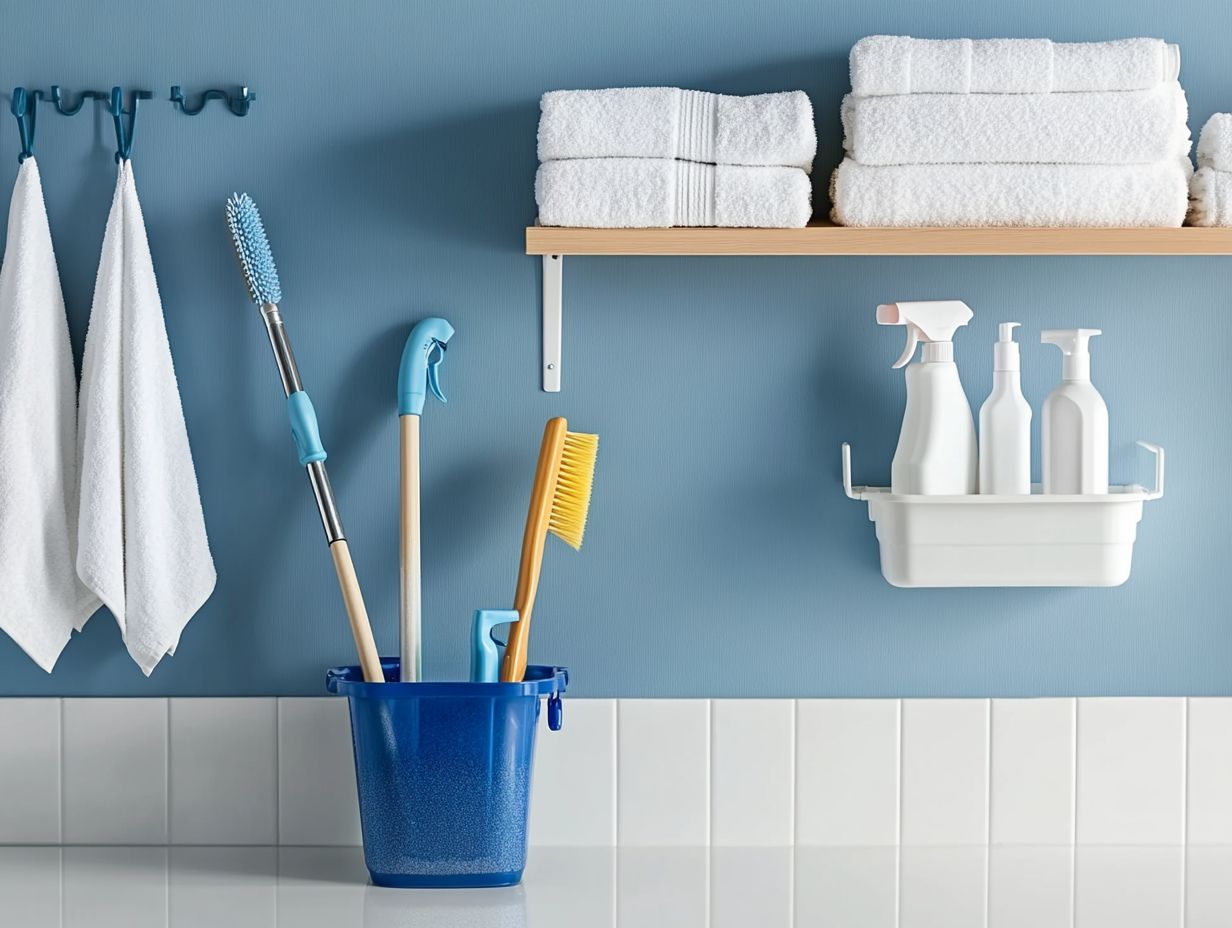
Creating a DIY cleaning tool holder is an enjoyable and resourceful way to keep your cleaning supplies organized and within reach. By repurposing materials like wood or plastic containers, you can craft a holder perfectly suited to your specific cleaning tools.
This ensures that everything from brooms to sponges has its designated spot. To kick things off, gather your materials: a sturdy piece of wood, dowels, screws, and some paint or wood stain.
Start by measuring the area where you plan to place your holder and cut the wood to the appropriate size. Next, drill holes for the dowels, which will serve as hooks for hanging your tools. This is a great way to utilize vertical door space effectively.
Assemble all the pieces using screws, and if you’re feeling inspired, apply your selected paint or stain for a polished finish. This project gives you a functional storage solution and allows you to showcase your personal style.
Ultimately, this makes your cleaning routine more enjoyable and efficient. You can also consider using acrylic bins for a more modern look.
Frequently Asked Questions
Do you have questions about organizing your cleaning supplies? Here are some common queries:
- How can I keep my cleaning supplies organized? Use a shoe organizer or a tension rod for effective storage solutions.
- What are some easy DIY projects for cleaning organization? Creating a DIY cleaning tool holder is a fun and practical project.
- How do I ensure easy access to my cleaning supplies? Organize items by task and use labeled containers or pockets.
Start organizing your cleaning supplies today and transform your space!
What are some creative ways to store cleaning tools and cleaning products?
Some creative tools for storage include a hanging shoe organizer and a repurposed shower caddy. You can also utilize magnetic strips and pegboards with hooks.
For better organization of cleaning products, consider using baskets and bins.
Can I use household items to store my cleaning tools and supplies?
Yes, household items like tension rods, plastic cups, and dish drainers can ingeniously store your cleaning tools. Also, make sure to check your cleaning products for effectiveness.
How can I store my cleaning tools and supplies in a small space?
If you have limited space, try using a small basket or bucket to store your cleaning tools. A wall-mounted storage system can also save floor space.
Using a portable cleaning caddy helps keep cleaning essentials organized and easy to transport.
What are some creative storage options for brooms, mops, and other cleaning tools?
Get creative! A tall kitchen cabinet with pull-out drawers can be an exciting way to store your brooms and mops. Consider a sliding storage rack or a wall-mounted broom holder for additional options.
Incorporating a lazy susan can also offer easy access to cleaning products.
Are there any unconventional ways to store cleaning tools and supplies?
Absolutely! You can repurpose a file organizer or use a hanging fruit basket. How about crafting a DIY shelf with PVC pipes?
Cleaning hacks like using a Swiffer duster can help keep hard-to-reach places clean.
How can I keep my cleaning tools and cleaning products organized and easily accessible?
To keep your cleaning tools organized and easily accessible, use labels and group similar tools together. Regularly declutter and reorganize your storage space for the best results.
Labeling supplies and checking cleaning tools can streamline your cleaning process!

