How to Assess Your Cleaning Supply Storage
Keeping your home clean is easier with an organized collection of cleaning supplies. This guide will help you assess and improve your cleaning storage.
Discover must-have supplies and the best storage solutions. You ll find practical tips to create a clutter-free cleaning storage system.
Get ready to transform your cleaning routine today!
Contents
- Key Takeaways:
- Why Assess Cleaning Supply Storage?
- What Supplies Should You Assess?
- Step-by-Step Guide to Assess Your Cleaning Supply Storage
- How Often Should You Assess Your Cleaning Supply Storage?
- Tips for Maintaining an Organized Cleaning Supply Storage
- Frequently Asked Questions
- How can I assess my cleaning supply storage?
- What should I look for when taking inventory of my cleaning supplies?
- How can I assess the condition of my cleaning supplies?
- What should I consider when evaluating the organization of my cleaning supply storage?
- How often should I restock and reorganize my cleaning supply storage?
- What are some tips for maintaining an organized and efficient cleaning supply storage?
Key Takeaways:
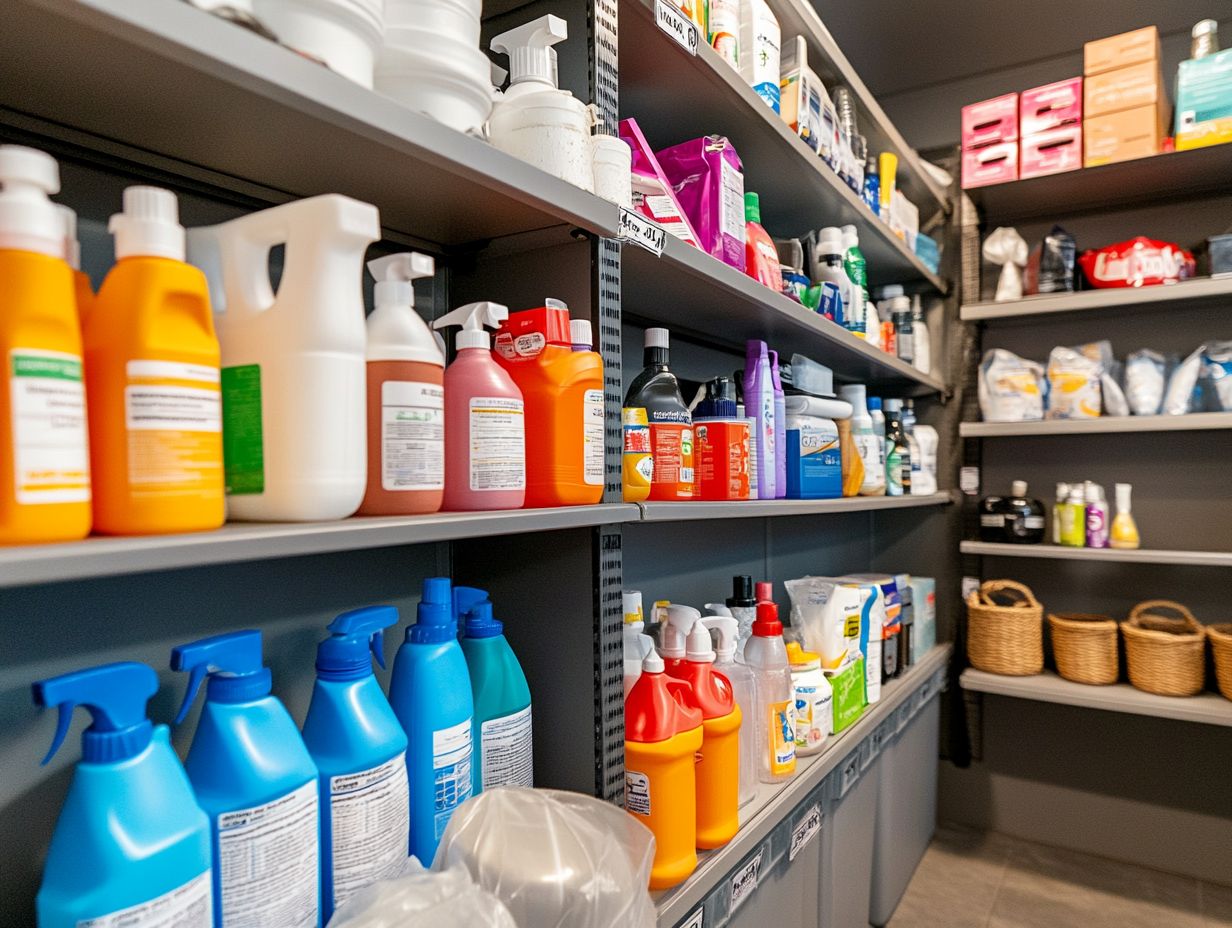
- Regularly check your cleaning supply storage to keep things organized and efficient.
- Gather all supplies, sort them, and discard what you don t need. Choose clear bins or caddies for storage.
- Label containers clearly and assign a spot for each product. Check regularly for expired items to maintain organization.
Why Assess Cleaning Supply Storage?
Evaluating your cleaning supplies is key to maintaining a clean home. This process helps you see what you have and how effectively they are stored.
A well-organized inventory improves your cleaning routine and overall home care.
By reviewing your tools regularly, you can safely dispose of harmful chemicals and outdated products. This ensures you only have essential supplies for a tidy environment.
What Supplies Should You Assess?
To evaluate your cleaning storage effectively, identify your essential supplies. This includes multi-purpose cleaners and natural options like vinegar and baking soda.
Having the right tools, like a vacuum or mop, is also crucial for a smooth cleaning process. A rolling cart can help with mobility.
1. Cleaning Supplies
Your cleaning supplies are vital for any effective cleaning routine. They include natural and multi-purpose cleaners for various surfaces.
Choosing natural cleaners helps reduce exposure to harsh chemicals. Products like vinegar and essential oils are safe for you and your pets.
Create a checklist of needed supplies tailored to your cleaning tasks. This helps manage your inventory and prevents last-minute scrambles during cleaning.
2. Storage Containers
Storage containers are essential for creating an organized storage system for your cleaning supplies. They ensure that everything is easily accessible and efficiently arranged.
The importance of choosing the right containers and methods cannot be overstated; they directly influence the overall flow of your cleaning routine. For instance, by taking advantage of the space above the floor whether through installing shelves or opting for wall-mounted organizers you can keep frequently used items within easy reach while maximizing the capacity of your closet.
Consider using plastic baskets and storage racks for enhanced organization.
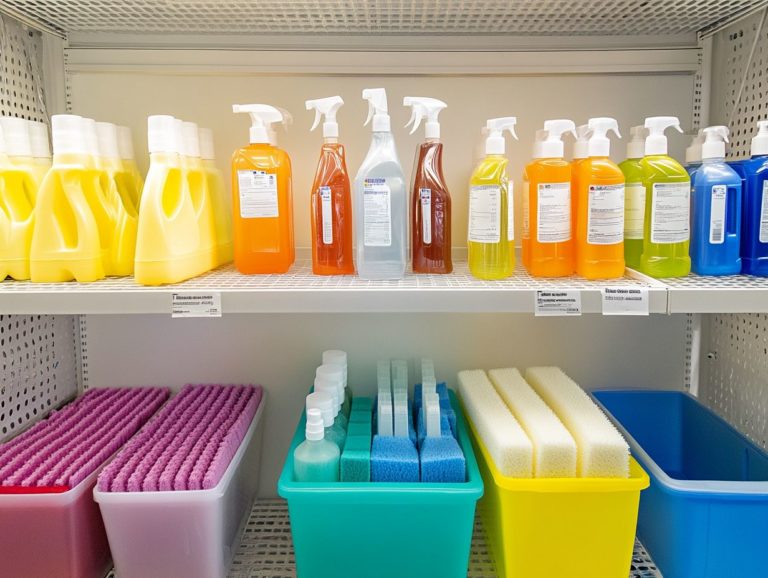
Using clear bins allows you to distinguish between various types of cleaning agents think all-purpose cleaners, disinfectants, and glass cleaners ensuring that each item has its designated spot. A rolling cart with multiple tiers adds an extra layer of flexibility and mobility, making it a breeze to transport supplies from one area to another.
By implementing these strategies, you can transform a cluttered storage space into a streamlined and organized system, ultimately making your cleaning tasks not only more efficient but also far more manageable.
3. Label Maker
A label maker is an essential tool for you when it comes to maintaining an efficient organization within your cleaning supply storage. Imagine being able to label bins for easy identification of your various cleaning products. By clearly labeling your containers, you create a systematic inventory that allows you to quickly locate exactly what you need, enhancing your overall cleaning routine.
This straightforward yet impactful practice not only reduces clutter but also ensures that your cleaning supplies are organized and easily accessible, fostering a tidy home.
Utilizing a label maker can significantly streamline your cleaning processes. Consider categorizing your bins by type, such as:
- All-Purpose Cleaners
- Bathroom Supplies
- Floor Care
This method not only aids in swiftly locating necessary items but also encourages you to maintain your inventory consistently.
When labeling, opt for clear, large fonts and incorporate icons whenever possible to make identification even easier. Make it a habit to update labels as new products are added or removed, ensuring that your cleaning supply storage remains uncluttered and functional.
Imagine saving time and effort with an organized storage system that transforms your cleaning process!
Step-by-Step Guide to Assess Your Cleaning Supply Storage
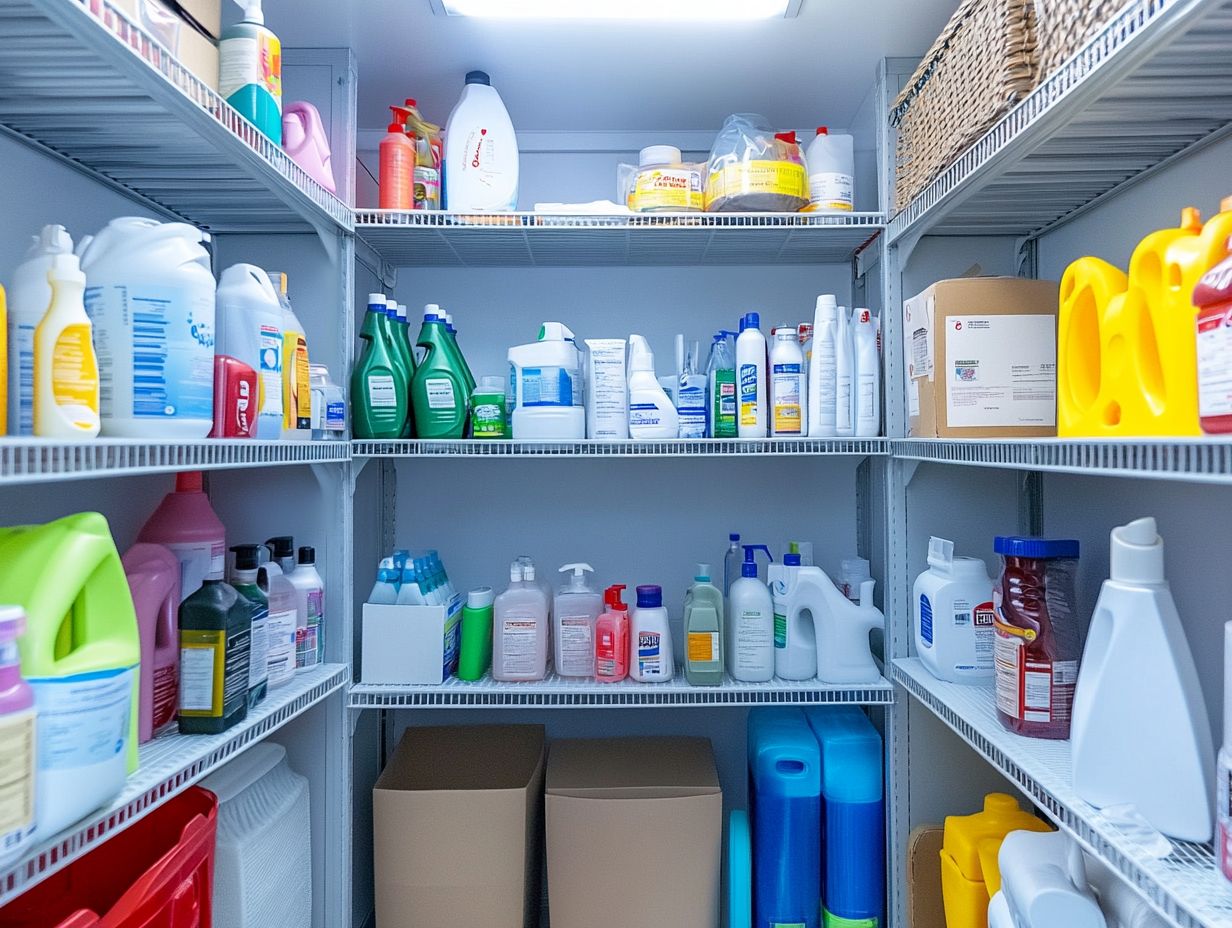
Let s get started with a few simple steps to assess your cleaning supply storage!
Assessing your cleaning supply storage can be a seamless endeavor when approached with an organized approach, paving the way for a more efficient cleaning routine and superior organization. To get started, consider how to create a cleaning supply inventory, as implementing proper tools and organizing solutions is crucial for home cleaning and maintenance.
Start by crafting a detailed list of your cleaning supplies that details all the supplies and tools you currently possess. By organizing your list, you’ll gain clarity on which items are essential for maintaining your home and which ones should be discarded or replaced. This ensures that everything is in its rightful place and readily accessible whenever you need it.
Include items like a mop, duster, bungee cord, and other cleaning tools to complete your checklist.
Step 1: Gather All Cleaning Supplies
The first step in evaluating your cleaning supply storage is to collect all your cleaning supplies and tools from their various hiding spots throughout your home. This means pulling together everything from cleaning products and disinfectants to must-have tools like mops, brooms, your vacuum cleaner, and cleaning cloths. By gathering everything in one place, you get a clear view of what you have. This helps you determine which supplies are essential and identify any duplicates or expired items.
Begin your search under sinks, in closets, and on shelves where forgotten items may be lurking. Don t overlook laundry rooms or linen closets, as these spaces often conceal supplies that have slipped your mind.
As you gather your cleaning arsenal, consider using baskets or bins to organize the items by category. This thoughtful approach not only makes it easier to assess what you have but also sets the stage for a well-structured cleaning routine. For larger items, a rolling cart or designated storage area can be helpful. With everything organized, you’ll have a clearer idea of what you need, making it simpler to streamline your cleaning efforts.
Step 2: Sort and Discard Expired or Unused Products
Once you ve gathered all your cleaning supplies, the next step is to sift through them and toss out any expired or unused products. This ensures your cleaning is not only safe but also super efficient! Take a moment to check each item, looking for toxic chemicals or anything that has seen better days. Reducing your cleaning supplies list contributes to a healthier home environment by getting rid of potentially harmful materials. This step aligns with safety measures recommended by cleaning experts.
Always prioritize safety during this task; wear gloves and a mask if needed while handling these chemicals. Start by designating a specific area for items you plan to discard. When deciding whether to keep or throw away a product, consider how often you actually use it and whether its ingredients might pose health risks. Use proper tools and take necessary precautions to ensure a safe environment.
For any hazardous cleaning products, it s essential to dispose of them according to local regulations. Many communities have established drop-off facilities for toxic waste, which includes harmful chemicals that can damage health and the environment. Consult with cleaning professionals for more guidance on safe disposal practices.
Step 3: Categorize Cleaning Supplies
To maintain an organized storage system, categorize your cleaning supplies by grouping similar products based on their use and purpose. Create a comprehensive cleaning supplies list that includes categories like bathroom cleaners, kitchen surfaces, and laundry supplies. This will significantly simplify your cleaning routine.
Clearly organizing your cleaning solutions allows you to easily locate the necessary products during your cleaning tasks.
For instance, you might divide the supplies into specific sections: one for disinfectants, another for surface cleaners, and perhaps a separate area for specialty products like glass cleaners or odor neutralizers. This organization boosts your efficiency and minimizes the time spent searching for various products.
To keep this system running smoothly, regularly check your inventory and restock or dispose of any outdated items. Utilizing clear bins or labeled shelves can further simplify the process, making it easy to maintain a tidy and accessible cleaning supply area.
Step 4: Choose Appropriate Storage Containers
Selecting the right storage containers is crucial for effective organization within your cleaning supply storage. The choices you make will significantly influence how easily you can access and manage your cleaning tools and products.
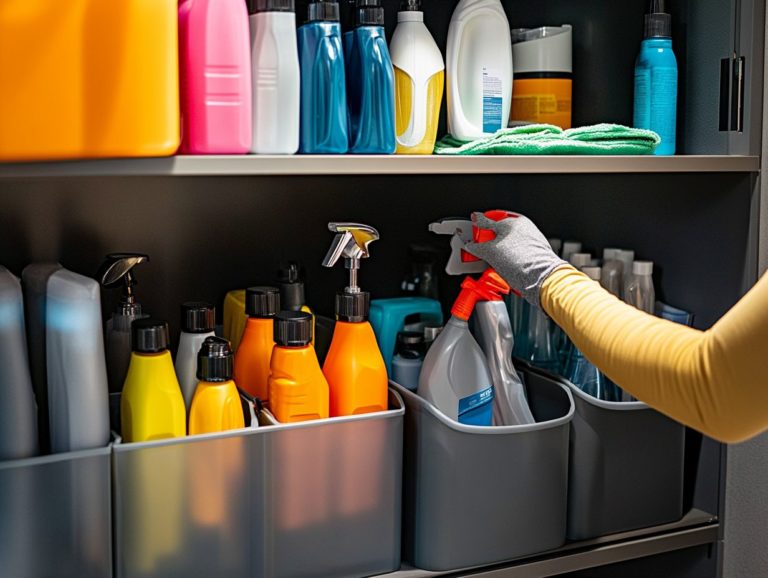
Opt for clear bins that allow you to see the contents at a glance and can be easily labeled. Alternatively, consider using cleaning caddies to keep items like mops and brooms together. Properly chosen storage solutions maximize vertical space and enhance your cleaning routine’s efficiency.
When evaluating storage options, think about the various types available and how they align with your space and needs. For instance, stackable bins are fantastic for using height in tighter areas, while wall-mounted organizers can free up valuable floor space. If your storage will be outdoors, investing in weather-resistant containers is wise to keep your items dry and undamaged.
Analyze the specific items you need to store, how frequently you use them, and the dimensions of your storage area. This smart strategy makes cleaning easier and faster, eliminating the frustration that often arises from disorganization.
Step 5: Label Containers
Labeling your containers is an essential step in achieving a well-organized cleaning supply storage system. Clear labels allow for easy identification and access to your cleaning products, making your life much simpler.
Consider the information you include on your labels. Specifying the contents, usage instructions, and even the date of purchase can be incredibly beneficial. To elevate the visual appeal of these labels, think about a color-coded system using colors like blue for glass cleaners and green for eco-friendly products. Playful fonts that match your home decor can enhance both style and functionality.
With thoughtful labeling in place, you ll experience quicker clean-ups and better tracking of supplies, contributing to a tidier and more organized space. When everyone in your household knows where each item belongs, the cleaning process becomes more streamlined, reducing clutter and saving you precious time.
Step 6: Organize and Store Supplies
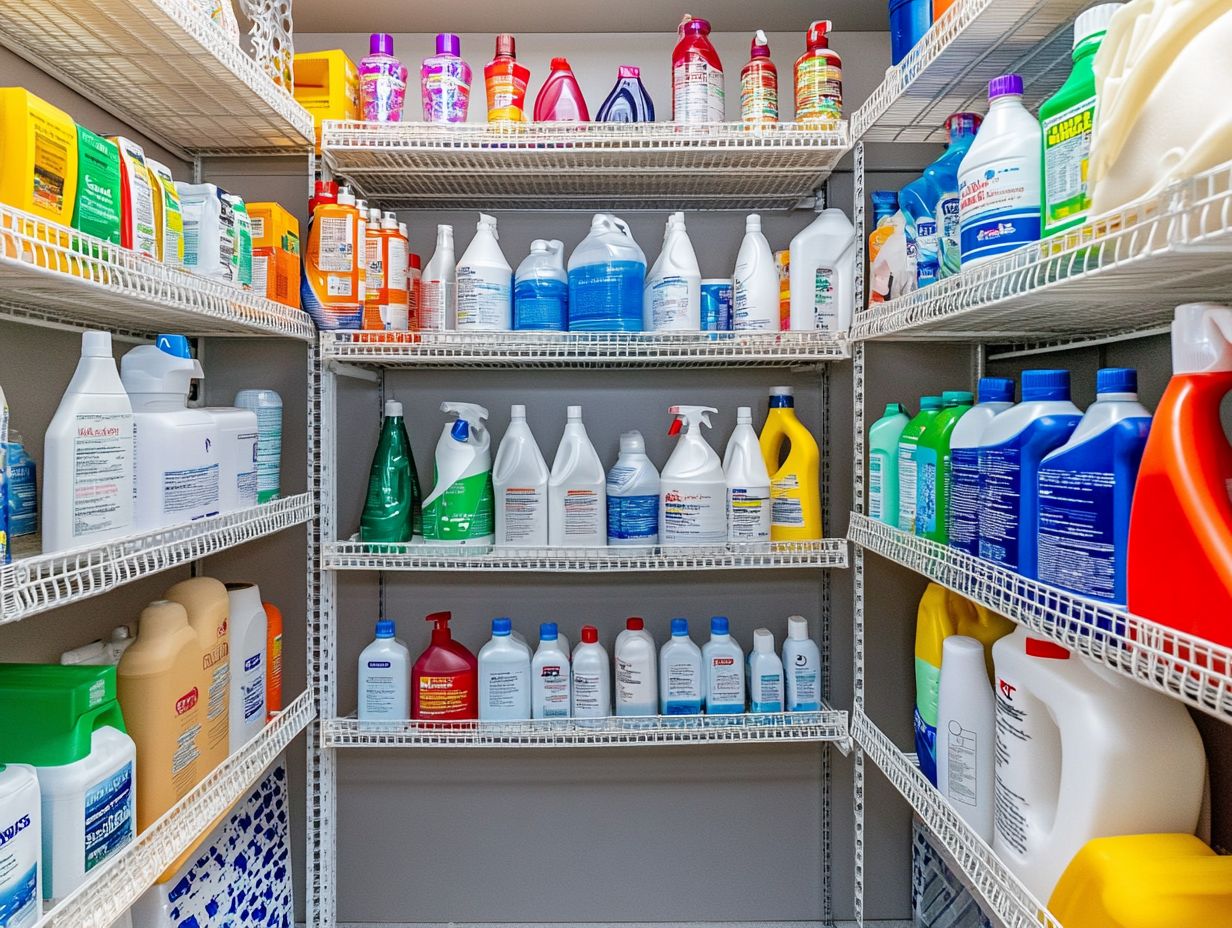
The final step in assessing your cleaning supply storage is to organize and store your supplies efficiently and accessibly. Arrange your storage solutions according to the categories you established earlier, ensuring the supplies you use most often are within easy reach.
This thoughtful organization streamlines your cleaning routines and encourages regular upkeep of your cleaning products. By categorizing items into day-to-day essentials, deep-cleaning tools, and specialized supplies, you can significantly simplify your cleaning process.
Utilize clear bins or labels to identify each category, allowing you to locate what you need in an instant. Keeping a checklist of your inventory and what needs replenishing helps you avoid those last-minute trips to the store.
A well-structured cleaning supply storage system saves you time during cleaning sessions and boosts your motivation, ensuring that home maintenance seamlessly integrates into your daily routine.
How Often Should You Assess Your Cleaning Supply Storage?
Regularly assessing your cleaning supply storage is vital for maintaining an organized and efficient cleaning routine. Ideally, evaluate your list of cleaning supplies and storage solutions every three to six months, or whenever you sense a decline in the effectiveness of your cleaning regimen.
This practice keeps you informed about the supplies you have at your disposal and presents an opportunity to refresh your cleaning checklist and elevate your home maintenance efforts.
Don’t wait start organizing now to save time later!
Tips for Maintaining an Organized Cleaning Supply Storage
Maintaining an organized cleaning supply storage system is crucial for ensuring your cleaning routine remains both efficient and effective. To achieve this, consider implementing a few key strategies.
- Regularly reviewing your inventory of cleaning products ensures that you know exactly what you have on hand.
- Proper labeling and storage of supplies will keep everything in its rightful place.
- Crafting a clear list of your cleaning supplies helps track your products and prevents clutter.
1. Regularly Check for Expired Products
Regularly checking for expired cleaning products is essential for maintaining an organized cleaning supply storage and ensuring a safe home environment. By routinely reviewing your inventory, you can easily identify and dispose of any expired or unused items. This significantly reduces the risk of using toxic chemicals that could compromise your health.
Keeping an updated list of cleaning supplies empowers you to stay on top of which products need to be replaced or discarded. Plus, enhancing safety and efficiency, consistently monitoring expiration dates can greatly improve your cleaning effectiveness.
Using expired products can lead to subpar results and may introduce harmful residues that linger in your home. Don t wait! Regularly check your supplies for expired products to keep your home safe.
To make this process manageable, consider establishing a regular schedule for evaluations perhaps monthly or quarterly checks. When you discover expired items, dispose of them responsibly by following local rules for disposing of harmful cleaning products. This not only ensures you maintain a clean and safe living space but also helps protect the environment.
2. Keep Similar Products Together
Keeping similar cleaning products together is a smart strategy for maintaining organized storage and elevating the efficiency of your cleaning routine. By grouping items like disinfectants, surface cleaners, and laundry boosters in specific areas, you ll find it easy to locate what you need when it s time to tackle your cleaning tasks.
This method saves you both time and effort. It also minimizes clutter, allowing you to swiftly assess your inventory and identify any supplies that need replenishing. Beyond boosting efficiency, organizing your cleaning products can also enhance your hygiene practices.
Consider using clear bins or labeled containers for each category, making identification and access a breeze. For instance, you could create dedicated sections for kitchen cleaners, bathroom essentials, and floor care products. To set up these categories, take stock of your supplies and sort them by their primary function.
By doing this, not only will your space be tidier, but you ll also cultivate a personalized cleaning routine that aligns perfectly with your lifestyle.
3. Assign a Specific Place for Each Product
Assigning a specific spot for each cleaning product is crucial for maintaining organized storage and ensuring your cleaning routine runs like a well-oiled machine. By designating locations for essentials like cleaning caddies, mops, brooms, and various tools, you create a systematic organization that allows for easy access and quick retrieval during your cleaning tasks.
This smart practice boosts your efficiency and keeps clutter at bay! For example, utilizing clear bins in your cabinets can help categorize products by type, such as surface cleaners, laundry detergents, and disinfectants. Labeling these containers not only makes it easy to identify what you need at a glance but also encourages everyone in your household to return items to their designated spots.
Incorporating shelves within closets enhances your organization by maximizing vertical space, ensuring that larger items like vacuum cleaners are both accessible and safely stored.
All these strategies contribute to a more streamlined cleaning process, saving you time and energy while fostering a cleaner, more inviting home environment.
Take action now! Start organizing your supplies today for a cleaner, safer home.
4. Label Containers Clearly
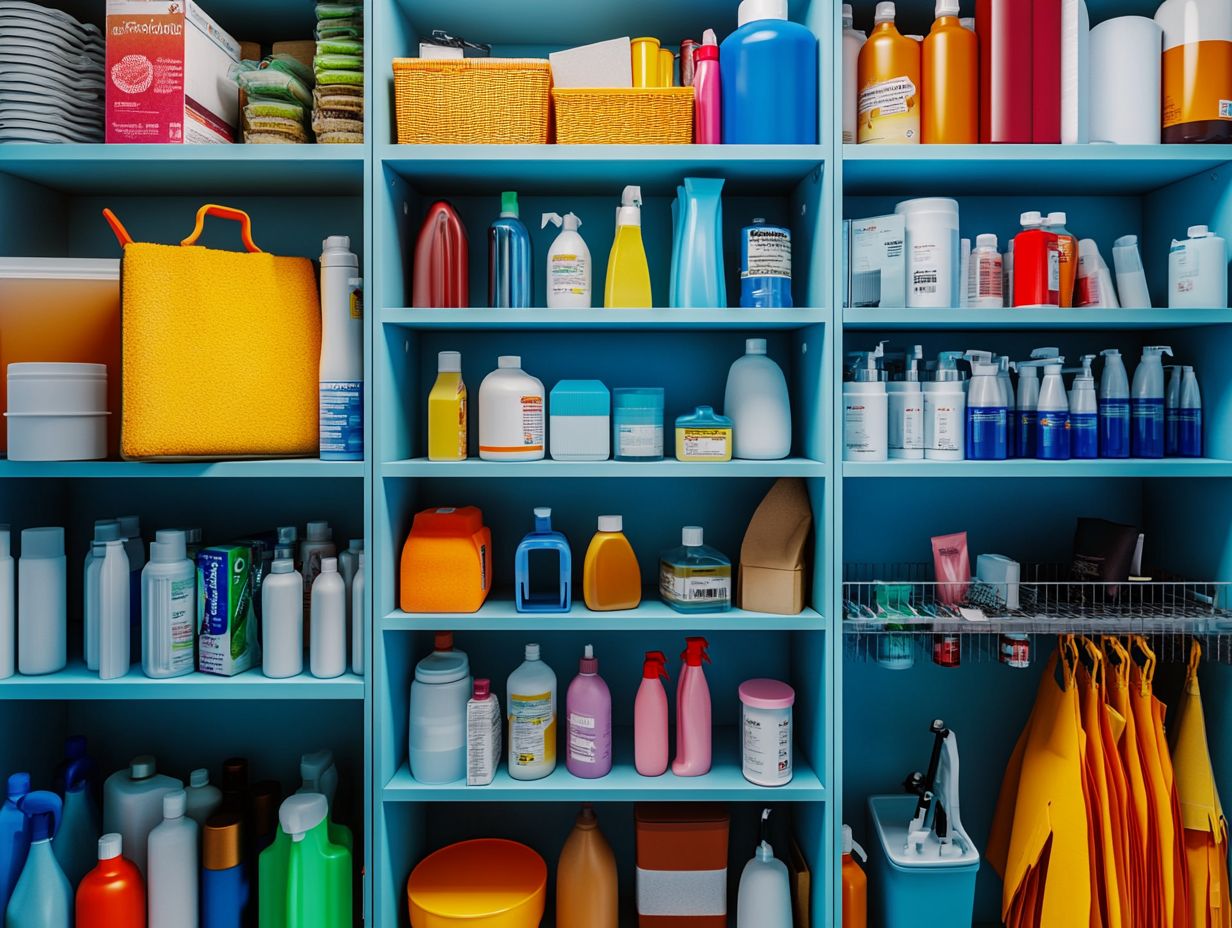
Clearly labeling your cleaning supply containers is essential for maintaining organized storage and ensuring you have efficient access to your cleaning products. Consider using a label maker to create easy-to-read labels that clearly identify the contents of each bin or container. This makes it a breeze to find what you need during your cleaning routines.
This simple strategy reduces confusion and keeps your inventory accurate. Using labeled cleaning supplies such as all-purpose cleaners and natural options makes your tasks easier. Remember to use caution with toxic chemicals, which can be harmful if not stored properly.
For names, think about including details like usage instructions, safety warnings, and expiration dates for better use. Utilizing colors or icons can make your labels more visually appealing and easily distinguishable, allowing you to quickly identify the right product at a glance. Leveraging proper tools, such as a label maker and clear bins, can further enhance your closet organization.
With proper labeling, you ll save time searching for supplies and boost your cleaning efficiency! By establishing a systematic approach to labeling, you can create a more organized and user-friendly environment that contributes to maintaining a tidy space. This method ensures efficient organization with easy access to cleaning tools like mops and brooms, cleaning brushes, and vacuum cleaners.
Frequently Asked Questions
How can I assess my cleaning supply storage?
Start assessing your cleaning supply storage today! Take inventory and evaluate expiration dates to ensure you have what you need at your fingertips. Next, consider the organization and accessibility of your storage space. Finally, make a plan to restock and reorganize as needed. Items like cleaning caddies and plastic baskets can be useful for home organization.
What should I look for when taking inventory of my cleaning supplies?
When taking inventory, be sure to note the quantity and type of each cleaning supply. Also, check for any damaged or expired items that need replacement. Additionally, consider the frequency of use for each item to determine if you need to restock certain supplies more or less often. Tools like a cleaning checklist and a cleaning supplies list can make the process easier.
How can I assess the condition of my cleaning supplies?
To assess the condition of your cleaning supplies, check for any leaks, spills, or damage to the packaging. Ensure you check expiration dates to confirm the effectiveness of the products. Additionally, take note of any supplies that are almost empty and may need replacing soon. For safety storage, ensure hazardous materials are kept securely.
What should I consider when evaluating the organization of my cleaning supply storage?
When evaluating the organization of your cleaning supply storage, consider the ease of access to each item. Ensure that frequently used supplies are easily accessible and properly labeled. Also, check for any clutter or disorganization that may hinder efficient use of the space. Using storage racks and a rolling cart can maximize vertical space and cabinet space.
How often should I restock and reorganize my cleaning supply storage?
This will depend on the frequency of use for each item and the size of your inventory. Ideally, you should restock and reorganize at least once a month to ensure that you always have enough supplies on hand and that your storage space remains organized and clutter-free. A regular cleaning routine with a cleaning schedule can help keep track of this.
What are some tips for maintaining an organized and efficient cleaning supply storage?
To maintain an organized and efficient cleaning supply storage, consider investing in storage containers or shelves to keep items neatly arranged. Keep an ongoing inventory and regularly check for expired or damaged items. Also, make it a habit to tidy up and reorganize your storage space after each use. Using cleaning kits and designated storage areas for household cleaning items can also be beneficial.
