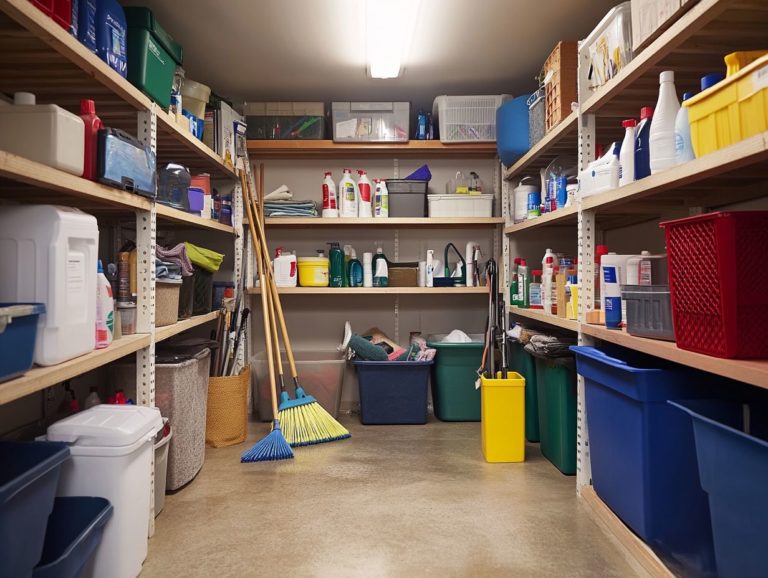
How to Safely Store Your Cleaning Tools
Effective cleaning goes beyond selecting the right products. It heavily relies on how you store your cleaning tools.
Proper storage extends the lifespan of your equipment and enhances safety and efficiency during your cleaning routine.
This guide will introduce you to the essential cleaning tools every home should possess, provide practical tips for their proper storage, and emphasize key safety measures. You’ll also learn how to maintain and replace your tools, ensuring your cleaning arsenal remains in peak condition.
Explore how straightforward storage solutions can significantly elevate your cleaning efforts.
Contents
- Key Takeaways:
- Why is Proper Storage of Cleaning Tools Important?
- What are the Basic Cleaning Tools?
- How to Store Cleaning Tools Properly?
- What are the Safety Measures for Storing Cleaning Tools?
- How to Maintain and Replace Cleaning Tools?
- Frequently Asked Questions
- What are some basic tips for safely storing my cleaning tools?
- Do I need to disinfect my cleaning tools before storing them?
- What is the best way to store my cleaning cloths and sponges?
- Can I store my cleaning tools in the same place as my food items?
- How often should I clean and organize my cleaning tool storage area?
- Are there any special storage requirements for specific cleaning tools?
Key Takeaways:
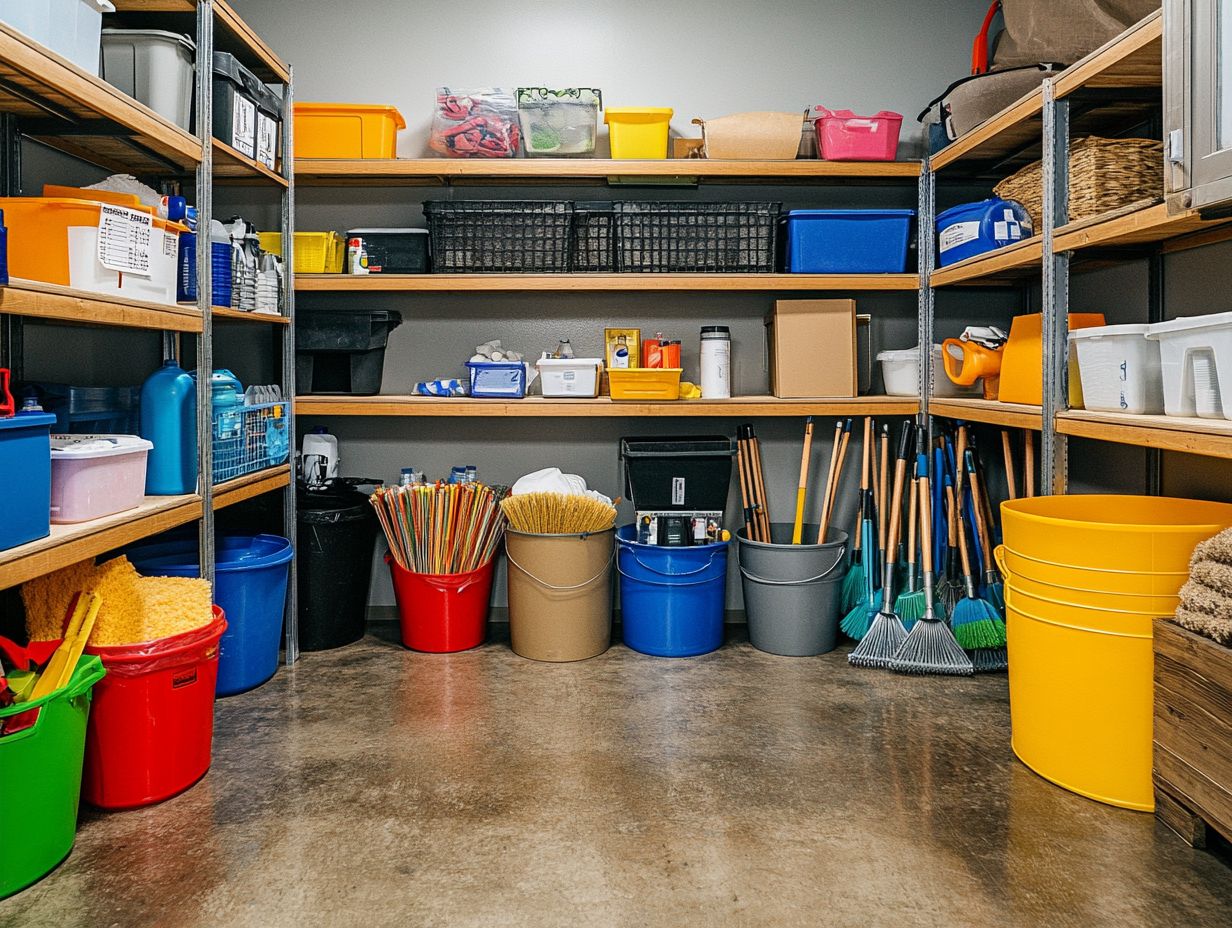
- Proper storage of cleaning tools is important for safety and effectiveness.
- The basic cleaning tools include a broom and dustpan, mop and bucket, vacuum cleaner, and microfiber cloths.
- To store cleaning tools properly, clean and organize them in a designated area, use wall-mounted racks or hooks, and store them in a dry and ventilated area.
Why is Proper Storage of Cleaning Tools Important?
Storing your cleaning tools properly is key to creating a tidy and organized home. It ensures that your cleaning supplies are easily accessible and promotes safe usage.
When you store your tools correctly, they remain in excellent condition. This enhances the efficiency of your cleaning routines and ultimately leads to a more organized home.
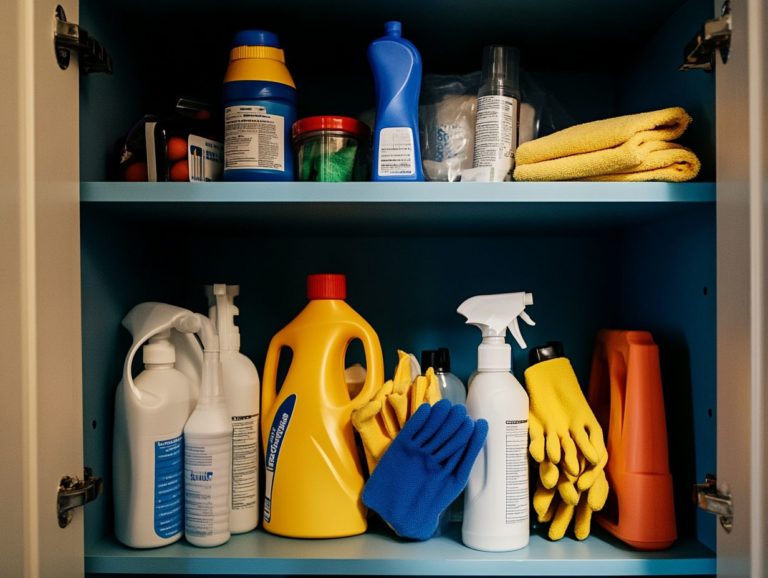
Effective cleaning storage solutions can significantly reduce safety concerns related to household cleaners, particularly in homes with children or pets.
What are the Basic Cleaning Tools?
Basic cleaning tools are essential elements of any effective cleaning strategy, giving you the power to address a wide array of tasks with both efficiency and effectiveness. These tools include everything from everyday items like mops and brooms to specialized cleaning supplies designed for specific surfaces and conditions.
By understanding which tools are essential for each type of cleaning, you can instantly elevate your home cleaning experience, simplifying the establishment of a regular cleaning routine that perfectly aligns with your lifestyle needs.
1. Broom and Dustpan
A broom and dustpan are essential tools in your cleaning arsenal, perfect for tackling dust and debris on hard floors. These tools offer a quick and effective means to maintain cleanliness throughout your home, especially in high-traffic areas where dirt tends to accumulate rapidly.
By employing effective sweeping techniques with your broom, you can significantly boost your cleaning efficiency, making it a must-have tool on your cleaning checklist.
There are various types of brooms, each tailored for specific cleaning tasks. For instance, a traditional straw broom is fantastic for outdoor spaces, adept at collecting leaves and larger debris. In contrast, a microfiber broom shines indoors, effortlessly capturing fine dust and hair. Microfiber tools are made from tiny fibers that can pick up dirt and dust more effectively than regular cloths.
When you pair your broom with the right dustpan perhaps a lightweight plastic one for smaller jobs or a sturdy metal one for heavier debris you can streamline your cleaning process even further. To maximize effectiveness, try sweeping in a systematic pattern to ensure no corner goes unnoticed.
Regular maintenance of these tools, such as cleaning the bristles and edges, will also enhance their longevity and efficiency, making them an essential part of your consistent cleaning routine.
2. Mop and Bucket
A mop and bucket are essential for deep cleaning hard floors. They provide an effective way to apply floor cleaners and tackle stubborn stains. Whether you prefer the classic charm of a traditional string mop or the modern efficiency of a microfiber mop, mastering the correct technique can greatly enhance the cleanliness and longevity of your flooring.
By using effective cleaning practices, you can achieve a thorough clean while minimizing potential damage to surfaces. Different types of mops are designed for specific tasks, each with its own set of advantages.
For example, sponge mops excel at soaking up spills, while steam mops offer a chemical-free way to sanitize, making them great for homes with children and pets. When paired with the right cleaners like gentle solutions for delicate surfaces or specific formulas for tile you can elevate your cleaning routine.
Regular maintenance of your mops is just as important. Rinsing and air drying them after use helps prevent the buildup of grime and bacteria. This practice extends their lifespan and ensures they perform at their best!
3. Vacuum Cleaner
A vacuum cleaner is your ally in achieving cleanliness, especially in homes with carpets and rugs. It effectively eliminates dirt, pet hair, and allergens, ensuring your living space remains inviting.
Its versatility across various surfaces means that using the right cleaning techniques can significantly improve performance. Regular vacuuming, along with a well-organized collection of cleaning supplies, contributes to a healthier living environment.
You ll find a variety of vacuum cleaners on the market, each crafted for specific cleaning needs. For example, upright vacuums are perfect for carpeting, while canister models excel on hard surfaces and fit into tight spaces. If you need lightweight convenience for quick cleanups, stick vacuums are ideal, and robotic vacuums offer a hands-free solution for regular maintenance!
To maximize effectiveness, it s crucial to choose the right vacuum for your tasks. Keep it in top condition by regularly emptying the dustbin, cleaning the filters, and checking for blockages.
Incorporating vacuuming into a comprehensive cleaning schedule ensures every area is effectively addressed. This systematic approach elevates your overall cleanliness!
4. Microfiber Cloths
Microfiber cloths are essential tools in your cleaning arsenal, known for their ability to trap dust and absorb liquids. This versatility makes them perfect for various tasks. You can use them on glass, countertops, and even delicate surfaces without scratching.
Incorporating microfiber cloths into your cleaning routine enhances efficiency and reduces the need for extra cleaning products. They help you maintain a well-organized cleaning supply system.
These cloths not only keep your environment spotless, but their eco-friendly nature allows you to wash and reuse them multiple times, significantly reducing waste. To maximize their benefits, dampen them before use to improve dust capture!
Organizing your cleaning supplies in a designated area ensures your microfiber cloths are always within arm’s reach. This streamlining promotes consistent usage, leading to a tidier home with minimal effort!
How to Store Cleaning Tools Properly?
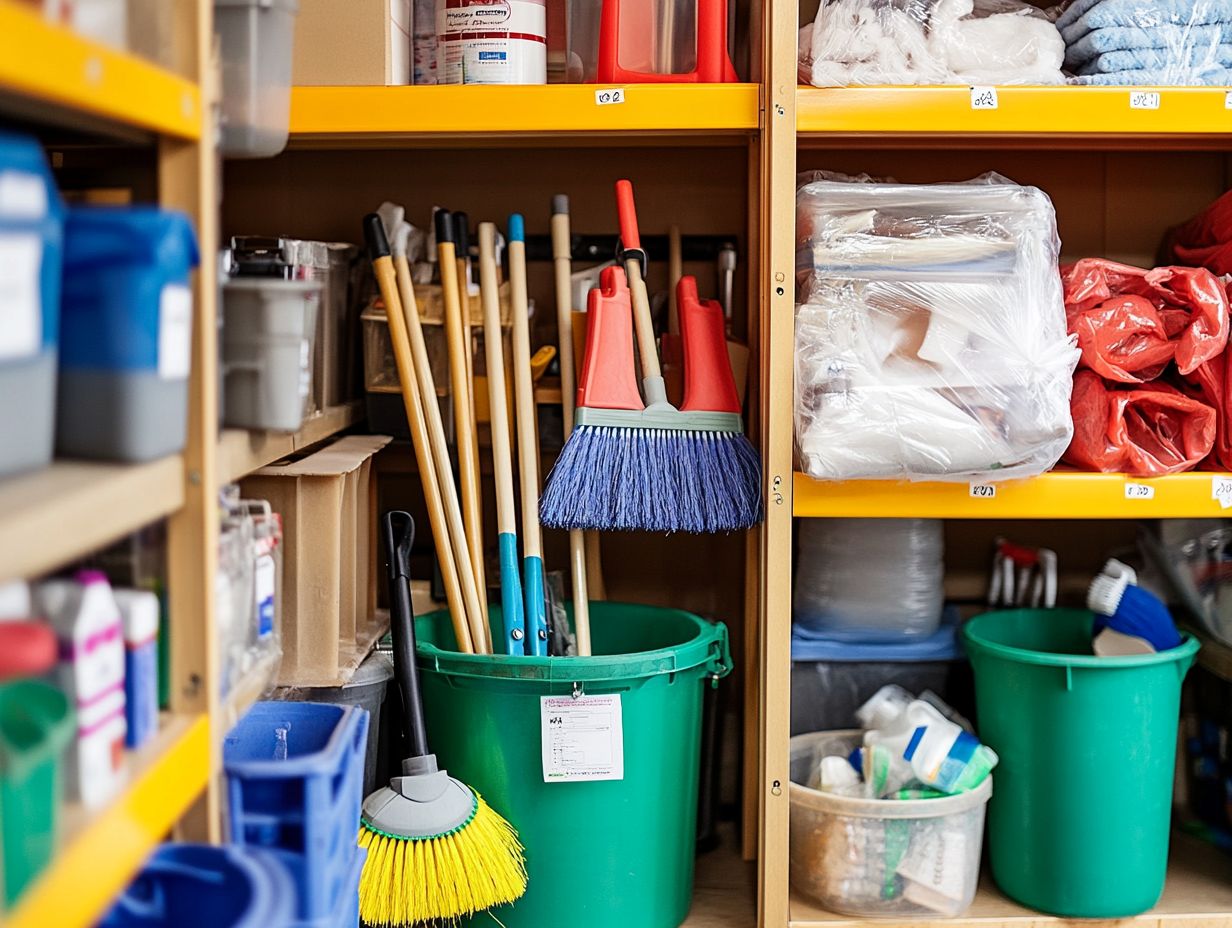
Proper storage of your cleaning tools is crucial for their longevity. It ensures they re readily accessible whenever needed. By adopting effective storage strategies, you can create a dedicated space for your cleaning supplies that maximizes storage and minimizes clutter.
Using smart storage solutions like bins, caddies, and wall-mounted racks will streamline your organization and enhance the efficiency of your cleaning routine. Don t wait to create a spotless home! Start organizing your cleaning tools today!
1. Clean and Dry Tools Before Storage
Cleaning and drying your cleaning tools before storing them is essential for maintaining their effectiveness and longevity. This practice prevents harmful bacteria and mildew buildup, ensuring that your home remains a clean and welcoming environment.
After using a cleaning mop, rinse it thoroughly in hot water to eliminate residual dirt, detergent, or grime. Then, let it air dry in a well-ventilated area. Don’t forget to detach and wipe down your vacuum attachments to ensure no dust particles linger behind. Check the vacuum’s filter and clean or replace it as needed.
Don your gloves and eye protection during this process to protect yourself from harsh cleaners or irritants. Check your tools regularly to catch any issues before they escalate. This way, you can enjoy an effective cleaning routine that keeps your space looking its best.
2. Organize Tools in a Designated Area
Organizing your cleaning tools in a designated area enhances efficiency, ensuring that supplies are always at your fingertips. Professional organizing experts like Mary Cornetta of Sort and Sweet recommend creating a specific space for your cleaning equipment to reduce clutter and elevate overall organization.
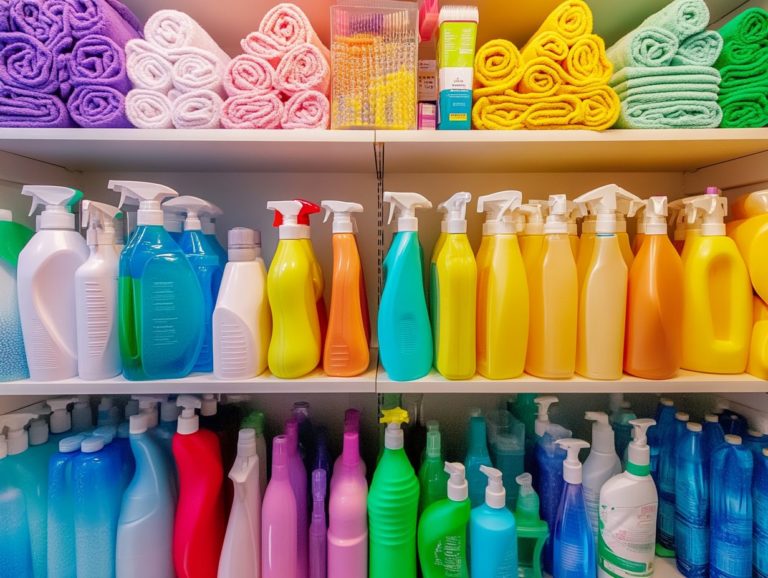
Embrace smart organizing tips and storage solutions like labeled bins, dedicated cleaning caddies, and lazy Susans. These lead to a more structured and seamless approach to managing your home. Categorizing your supplies by type such as general cleaners, floor care products, and tools enables you to pinpoint exactly what you need in an instant.
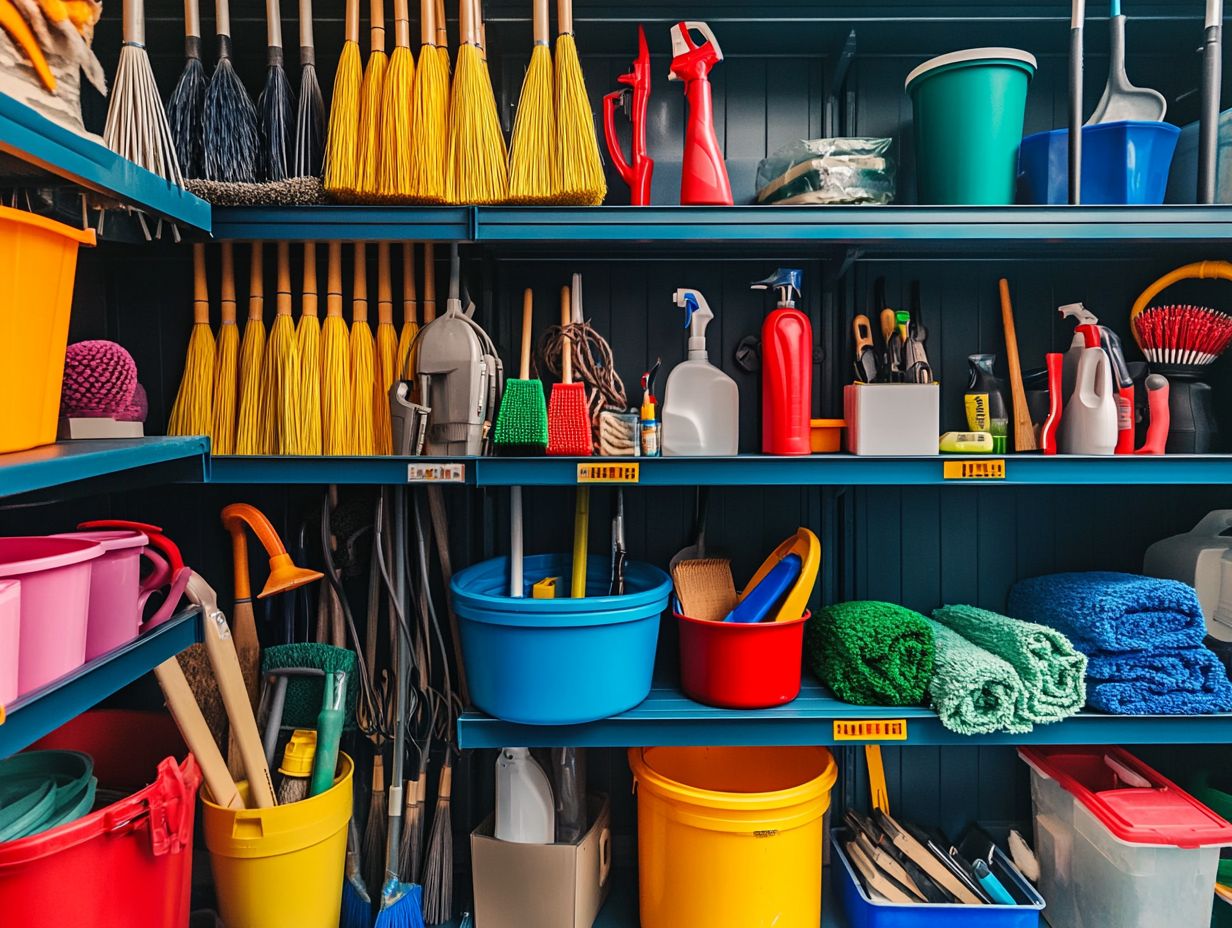
Consider utilizing vertical space with shelves or hooks to provide storage for brooms and mops. Keeping them off the floor keeps them neatly out of your way. Incorporate portable cleaning caddies into your routine to effortlessly transport all necessary tools from one room to another. Consider under-sink storage for frequently used items. This can improve cleaning accessibility and efficiency.
With a thoughtful arrangement of these items, maintaining a clean and organized home becomes a breeze, transforming what was once a chore into a manageable and efficient task.
3. Use Wall-Mounted Racks or Hooks
Utilizing wall-mounted racks or hooks is an excellent strategy for maximizing your vertical space and organizing your cleaning tools. This approach ensures that your tools are readily accessible while preventing them from taking up your valuable floor space. As a result, you’ll have a more orderly utility closet or storage area. By adopting this organizing system, you’ll easily see and grab the tools you need, free from the chaos that can clutter your cleaning space.
Wall-mounted storage solutions come in various forms, including pegboards, shelving units, and specialized racks specifically designed for brooms, mops, and vacuum attachments. For instance, a simple set of hooks can efficiently store items like dustpans and brushes. A dedicated holder for mops and brooms keeps those long-handled tools neatly arranged and off the ground. Don’t forget to include cleaning storage solutions like a cleaning caddy for smaller tools!
This method makes it super easy to grab your cleaning supplies whenever you need them! It inspires you to maintain a tidy environment, ultimately transforming your cleaning tasks into a more straightforward and efficient endeavor.
4. Store in a Dry and Ventilated Area
Storing your cleaning supplies in a dry area is essential for keeping them effective and safe. Excess moisture can compromise these products, while adequate ventilation helps prevent harmful fumes from building up. By choosing smart ways to organize your supplies, you can preserve their quality and safety.
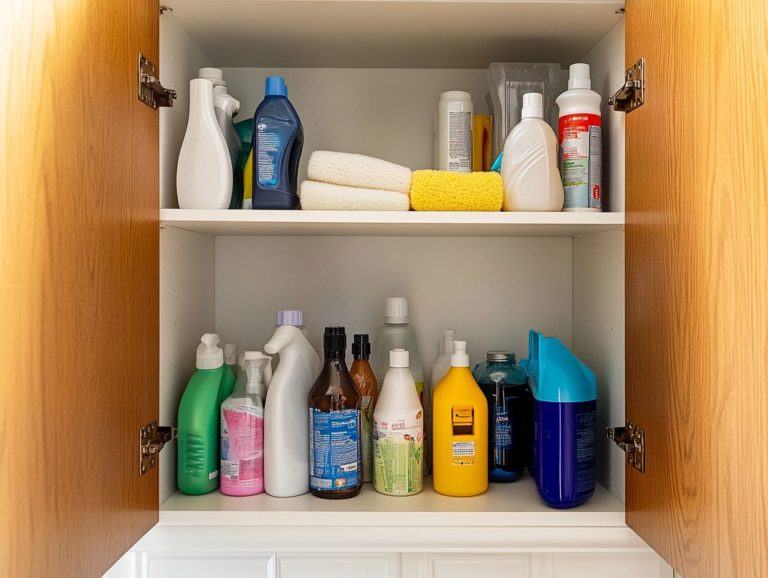
To find the right storage spots, steer clear of areas with high humidity, such as basements or places near water sources. Instead, choose cabinets or closets in dry rooms with good airflow, like laundry rooms or garages. Consider adding moisture-absorbing items, such as silica gel packets, and make it a habit to occasionally open doors or windows to encourage circulation. Regularly check your cleaning supply storage to maintain these ideal conditions.
Regularly assessing these storage spaces is vital to ensure your cleaning supplies remain effective and safe for use. This attention to detail will enhance your overall cleaning efforts. Don’t wait! Start organizing now to transform your cleaning routine!
What are the Safety Measures for Storing Cleaning Tools?
Keeping your cleaning tools safe is essential for a happy home! Implementing effective safety measures for storing cleaning tools is crucial in safeguarding children and pets from harmful substances. By ensuring that hazardous materials are kept out of reach, using child safety locks devices that keep cabinets securely closed to prevent children from accessing dangerous items and organizing tools securely, you can significantly reduce the risk of accidents within your home. Experts in home management from publications like House Digest, Real Simple, and Martha Stewart Living emphasize the importance of these safety measures.
Recognizing the importance of cleaning safety not only fosters a more organized storage system but also cultivates a safer living environment for everyone. Don t wait until an accident occurs secure your cleaning supplies now!
1. Keep Out of Reach of Children and Pets
Keeping cleaning tools and supplies out of reach of children and pets is crucial for maintaining a safe household. By securing areas where you store cleaning products, you can effectively prevent accidental exposure to hazardous materials, which could lead to serious health risks. Using child safety locks and establishing designated storage spaces underscores the importance of cleaning safety in your home.
It s vital to be aware of common hazardous materials, such as bleach, ammonia, and other toxic substances typically found in everyday cleaning products. To implement effective safety measures, consider installing childproof locks on cabinets and using clear storage bins to keep hazardous items contained and out of sight. Creating a dedicated cleaning supply area, preferably in high cabinets or enclosed spaces, ensures that only adults can access these potentially dangerous products.
Labeling these containers helps caregivers quickly identify hazardous items and adhere to proper storage practices. By taking these steps, you can cultivate a safer environment, minimizing the risk of accidental exposure and enjoying greater peace of mind.
2. Avoid Storing in High-Traffic Areas
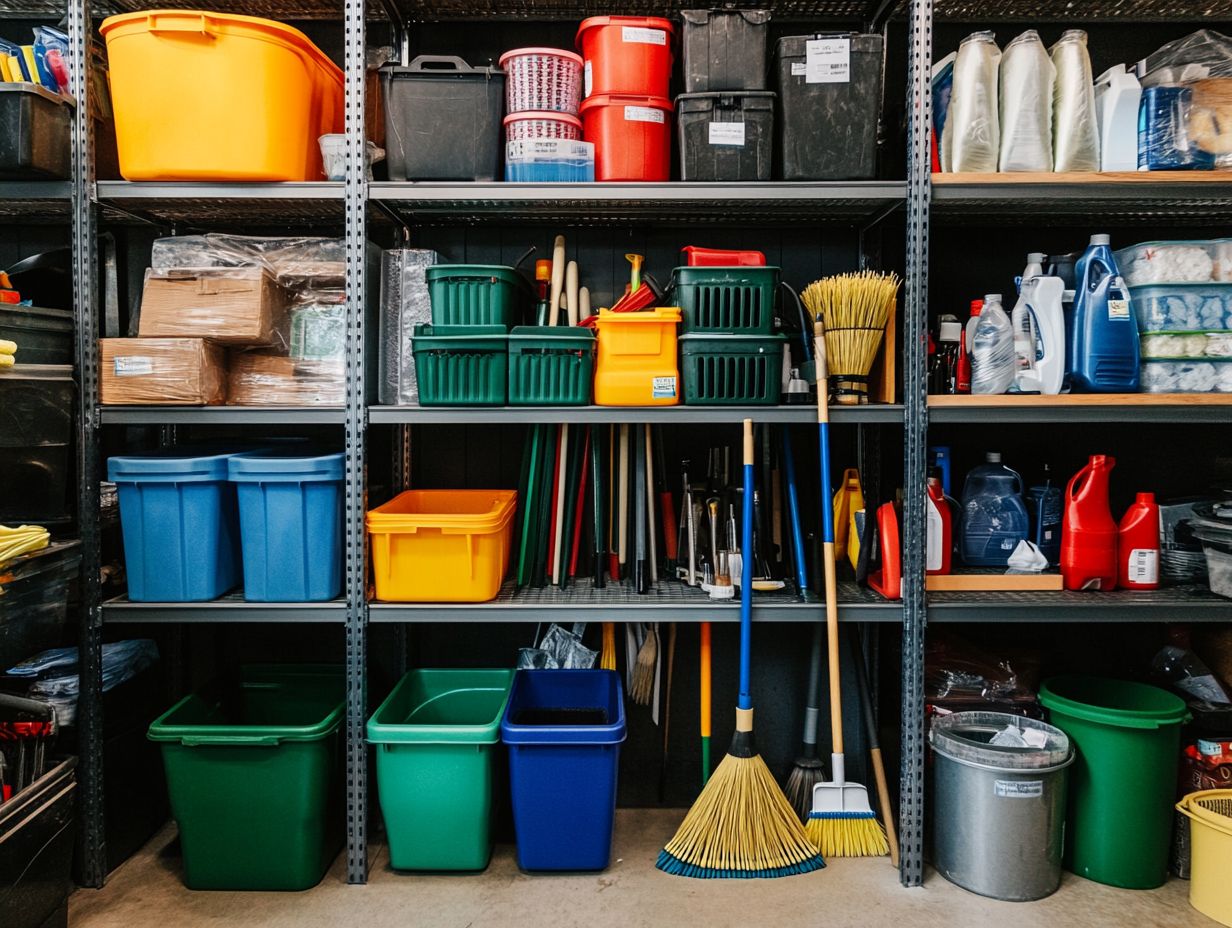
Avoiding the storage of cleaning tools in high-traffic areas is a crucial safety measure that helps create a more organized and accident-free home environment. High-traffic zones increase the chances of tools being knocked over or accessed by curious children and pets, leading to potential hazards. By designating low-traffic areas for your cleaning supplies, you enhance both safety and organization.
Choosing the right locations for these items can truly streamline your cleaning routines and reduce clutter. For example, cabinets in utility rooms, closets, or even basement storage serve as ideal spots for organizing brooms, mops, and other cleaning agents. This thoughtful placement not only minimizes the risk of accidental spills or trips but also fosters a less chaotic living space where essential items are easily accessible yet neatly tucked away. Ultimately, adopting these practices cultivates a safer atmosphere while simplifying the task of keeping your home tidy.
3. Use Proper Containers for Chemicals
Using the right containers for storing cleaning chemicals is essential for your safety and for preserving the integrity of those products. Ensure that containers are clearly labeled and designed to prevent leaks or spills. This minimizes the risk of accidents and exposure to hazardous materials. Using proper storage keeps your products safe and supports effective cleaning routines. Cleaning product labels should be clear and easy to read, ensuring that information is accessible at a glance.
To further enhance safety, it s vital to choose containers made from materials compatible with the chemicals you re storing. Some substances can degrade certain plastics or metals. Common options to consider include:
- Sturdy plastic jugs for liquid cleaners
- Ventilated cabinets for volatile substances (chemicals that can easily evaporate and pose risks)
- Color-coded bins to facilitate easy identification during cleaning processes
Along with selecting appropriate containers, labeling is critical. Every label should clearly display product information, hazard symbols, and handling instructions. Ensure that hazardous materials are kept in well-ventilated areas away from direct sunlight and heat. This is another key step in safeguarding against potential reactions.
By adhering to these guidelines, you not only reinforce a safe working environment but also cultivate a culture of responsibility and awareness regarding cleaning safety within any organization.
4. Label and Store Hazardous Materials Separately
Labeling and storing hazardous materials separately is essential for maintaining a safe cleaning environment in your home. By clearly marking the containers that hold potentially harmful substances, you empower yourself to identify and manage them easily, thus preventing any accidental misuse or exposure. This practice boosts your organizational skills and underscores the importance of safety measures when handling cleaning products. Using durable labels that are resistant to fading ensures that these important details remain visible over time.
To effectively label these materials, choose labels that are durable and resistant to fading or damage from chemicals and moisture. Utilize bright colors and clear, concise language to effectively convey hazards, making it simple for anyone to recognize the risks linked to each product.
Position labels on the front of containers at eye level for maximum visibility. Each label should include crucial information such as the product name, hazard symbols, and safety precautions. Organize hazardous materials in a dedicated area, ensuring that less dangerous items are stored separately from more hazardous ones. This way, you maintain accessibility while minimizing the risk of accidental contact.
How to Maintain and Replace Cleaning Tools?
Maintaining and replacing your cleaning tools is crucial for keeping them working like new! By regularly cleaning and inspecting your tools, you can identify wear and tear early on, allowing for timely replacements.
Integrating these maintenance practices into your cleaning routines not only enhances your efficiency but also reinforces your commitment to cleaning best practices. This attention to detail improves your organizing systems and pays off in the long run, leading to a more polished and effective cleaning experience.
Make it a priority to inspect your tools regularly! Start your maintenance routine today for better cleaning results!
1. Regularly Clean and Disinfect Tools
Regularly cleaning and disinfecting your tools is an important cleaning routine that helps create a hygienic home environment. This practice not only eliminates dirt and grime but also ensures your tools are free from harmful bacteria and allergens. By incorporating cleaning methods that kill germs into your cleaning routines, you enhance the effectiveness of your tools and improve your overall cleaning efficiency. Consider reading articles from House Digest or Martha Stewart Living for more cleaning tips and tricks.
To effectively clean and disinfect your tools, begin by identifying the type of tool and the materials involved, as some may need specific cleaning agents. For general cleaning, warm soapy water works wonders to remove loose debris, followed by a thorough rinse and drying. Once you ve completed this initial clean, apply an appropriate disinfectant, which is a cleaning solution that kills germs and bacteria, ensuring it has sufficient contact time typically a few minutes, as indicated by the product instructions to eliminate germs. Don’t forget to check cleaning product labels to ensure you’re using the correct solutions.
Establish a routine for cleaning frequently used tools after each use. Less-commonly used items can be addressed bi-weekly. Keeping a log of your cleaning schedules will help ensure consistency. Don’t hesitate to adjust the frequency based on usage and environmental factors, especially during flu season or when illness outbreaks occur. Using a cleaning checklist can also help you stay organized and make sure every task is completed. Don’t delay make cleaning and disinfecting your tools a top priority for a healthier home!
Start your cleaning journey today by gathering your tools and creating a schedule!
2. Replace Worn or Damaged Tools
Replacing worn or damaged cleaning tools is essential for preserving the quality and effectiveness of your cleaning efforts. Regular inspections are crucial, as they enable you to identify signs of wear like frayed edges, broken heads, or rust accumulation that can significantly hinder performance. A smart approach is to conduct thorough checks every three months, or even more frequently for tools that endure heavy use, ensuring they remain in peak condition.
Using ineffective tools does more than compromise your cleaning results; it can also lead to extended time spent on tasks and potential damage to surfaces. By prioritizing timely replacements, you guarantee that your cleaning arsenal consistently supports efficient and effective cleaning strategies. Consult with a professional organizer like Mary Cornetta from Sort and Sweet for more organizing tips and replacement schedules.
Start examining your cleaning tools today and replace any that are worn or damaged!
3. Properly Dispose of Old Tools
Properly disposing of old cleaning tools is a crucial step in maintaining a safe and organized home environment. When you dispose of them incorrectly, you risk creating safety hazards, clutter, and even environmental issues. By adhering to recommended disposal practices for various cleaning tools, you can ensure that your efforts to organize are both effective and eco-friendly.
It s vital to recognize that many cleaning tools, from mops and sponges to chemical containers, can significantly affect your home s safety and the environment if not managed correctly. For example, sponges and cloths can harbor harmful bacteria, while outdated chemicals may pose serious health risks.
Recycling materials whenever possible not only reduces waste but also champions sustainable practices. By disposing of items properly, you create a more organized and clutter-free living space, while also embracing your role as a responsible steward of the environment, ensuring that hazardous waste is managed safely and effectively. Consider utilizing cleaning bins and cleaning containers for sorting discarded items.
Take a moment to review your old tools and dispose of them responsibly!
Frequently Asked Questions
What are some basic tips for safely storing my cleaning tools?
Always make sure your tools are clean and dry before storing them. Store them in a well-ventilated area away from direct sunlight. Keep them out of reach of children and pets. Using child safety locks on cabinets can help ensure safety.
Do I need to disinfect my cleaning tools before storing them?
Yes, it’s important to disinfect your tools to prevent the growth of bacteria or mold. Use a disinfectant spray or wipe and let them dry completely before storing. Consider incorporating cleaning equipment that has easy-to-use disinfecting features.
What is the best way to store my cleaning cloths and sponges?
It’s best to store them in a clean and dry container. This helps prevent cross-contamination. You can also wash them in hot water before storing to kill any bacteria. Use cleaning containers designed for storing cloths and sponges.
Can I store my cleaning tools in the same place as my food items?
No, it’s not recommended to store your cleaning tools near food items. This can lead to cross-contamination. Instead, keep them in a separate area or use a designated cleaning caddy in your cleaning supplies closet or pantry.
How often should I clean and organize my cleaning tool storage area?
It’s a good idea to clean and organize your storage area at least once a month. This prevents clutter and ensures your tools are in good condition. Try some expert-organizing tips today for a fresh start!
Are there any special storage requirements for specific cleaning tools?
Some tools, like mops and brooms, should be hung upside down. This prevents the bristles from bending. Vacuum attachments should also be stored separately to avoid tangling. Utilize vertical space to maximize storage and keep your tools accessible.
