What Are the Best Methods for Dusting?
Dusting may appear to be a straightforward household chore, but there s a true art to executing it effectively with the right dusting techniques and cleaning tools.
By selecting the right techniques, such as those recommended by cleaning experts, and steering clear of typical missteps, you can elevate your cleaning routine to new heights.
This article delves into various dusting methods such as dry, damp, and electrostatic dusting along with practical tips that will enhance your efficiency. You’ll also discover how frequently you should dust, in line with proper cleaning frequency, and identify common pitfalls to avoid.
Get ready to turn your home into a sparkling oasis, free from dust!
Contents
Key Takeaways:
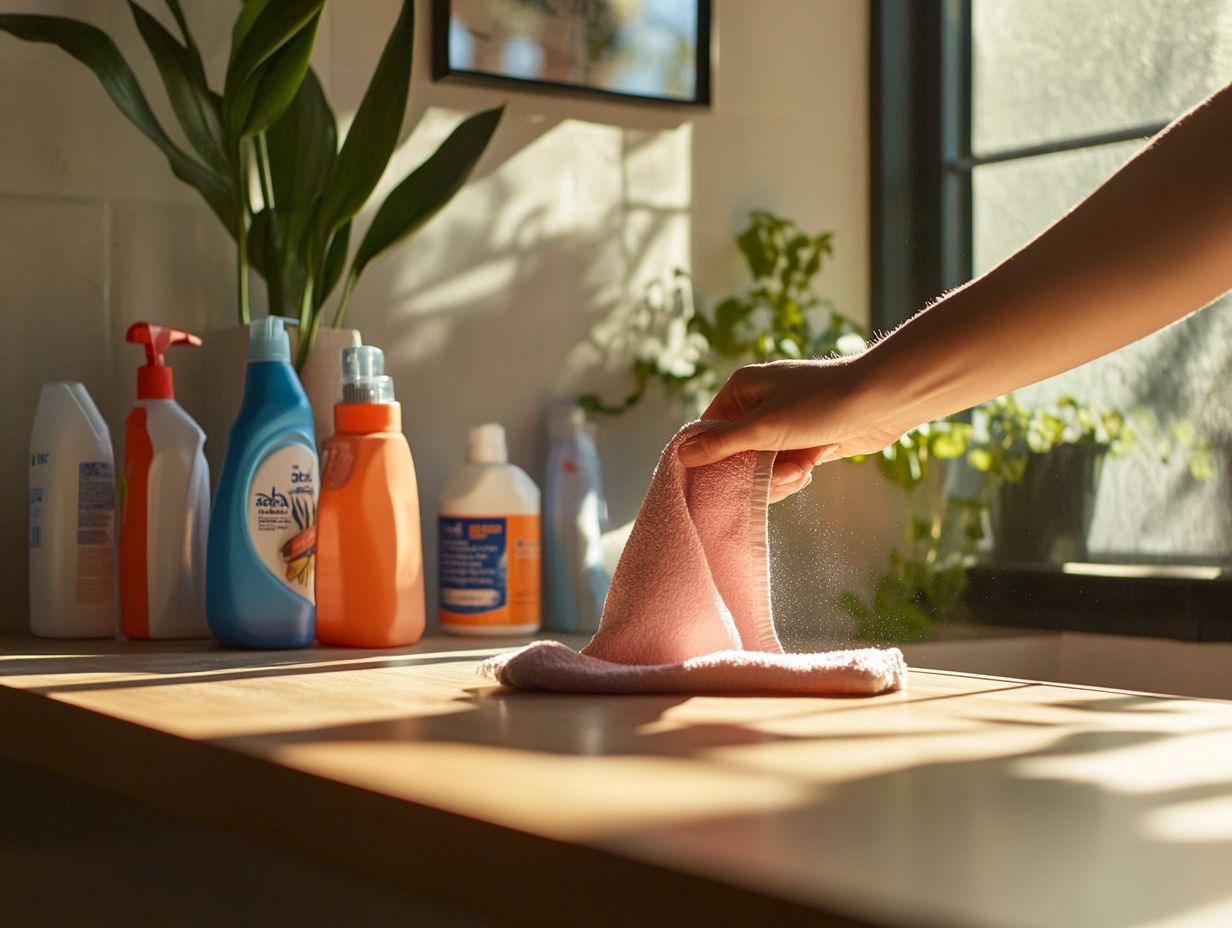
- Choose the appropriate method for dusting – dry, damp, vacuuming, electrostatic, or compressed air – based on the type of surface and level of dust buildup to effectively clean your space and ensure proper dust control.
- Use a gentle touch and circular motion while dusting to avoid damaging surfaces and spread dust around evenly for thorough cleaning, enhancing your overall cleaning process.
- Dust from top to bottom, underneath objects, and in hidden areas regularly to keep your space clean and free of allergens, ensuring thorough dust removal and preventive measures against dust buildup.
What Are the Best Methods for Dusting?
Regarding keeping your home free of dust, understanding the most effective dusting methods is essential. A well-planned dusting routine not only minimizes dust buildup but also significantly enhances air quality, reducing the risk of tiny creatures that thrive in dust and can affect your health, known as dust mites.
Using the right cleaning supplies is essential for achieving the best results. The appropriate dusting tools can tackle places you frequently touch, hard-to-reach spots, and surfaces prone to dust accumulation. By adhering to industry cleaning standards and taking advice from cleaning experts like Madeline Buiano from MarthaStewart.com and Kathy Cohoon from Two Maids, you can ensure a thorough cleaning process that turns your home into a pristine sanctuary.
1. Dry Dusting
Dry dusting stands out as one of the simplest yet most effective methods for removing dust, using the remarkable capabilities of a microfiber cloth to capture dust particles without the hassle of spreading them around. This technique is highly recommended by cleaning experts like Jennifer Parnell from Humble Suds.
This approach is especially beneficial for various surfaces, such as countertops, shelves, and electronic devices, where dust tends to gather. To achieve the best results, you should adopt a systematic strategy, beginning with the highest points and gradually working your way down. Consider using a slightly dampened microfiber cloth; this can significantly enhance its dust-trapping abilities, ensuring that even the tiniest particles are effectively captured.
Paying special attention to places you frequently touch, like light fixtures, window sills, and ceiling fans can dramatically reduce dust accumulation in a room, ultimately improving both air quality and the overall aesthetics of your space.
2. Damp Dusting
Damp dusting is an exceptionally effective technique that employs a lightly moistened cloth to trap dust and dirt, preventing those pesky particles from becoming airborne and settling elsewhere. You can find this method on a complete cleaning list recommended by the New York Times for achieving effective cleaning.
This method is particularly advantageous for both hard and soft surfaces, allowing you to achieve thorough cleaning without the risk of scattering allergens in the process. For optimal results, consider incorporating a gentle cleaning solution, such as a mild dish detergent (like Dawn or Palmolive) or a simple mixture of water and vinegar. These cleaning solutions will enhance your cloth’s ability to capture those stubborn dust particles that just love to cling on.
Not only does damp dusting help you maintain the cleanliness of surfaces prone to dust accumulation think shelves and electronic devices it also plays a vital role in overall dust control within your space. By effectively reducing airborne particles, this technique contributes to a healthier indoor environment, making it an essential component of any cleaning routine you choose to embrace, as recommended by experts from The Spruce.
Now that you have learned about effective dusting techniques, it’s time to start your dusting routine with these methods!
3. Vacuuming
Vacuuming is an essential part of your dust management strategy. It effectively whisks away dust particles from floors and upholstery, maintaining a clean and healthy living space.
A vacuum cleaner with a HEPA filter, such as the Miele Complete C3, is highly recommended by cleaning experts. HEPA filters trap tiny dust particles and allergens, improving air quality.
Want the best results? Vacuum high-traffic areas at least twice a week. Less frequented spots can benefit from your attention once a week.
When you vacuum, remember to use attachments like crevice tools and upholstery brushes. They re perfect for reaching tricky corners and handling delicate fabrics, ensuring a thorough clean.
Adopting a systematic approach starting from the farthest corner of a room and working your way toward the exit can make the process more efficient, leaving no area overlooked.
4. Electrostatic Dusting
Electrostatic dusting uses charged tools to attract and trap dust and allergens. This method reduces airborne particles and creates clean spaces for those sensitive to dust-related issues.
The specialized dusting tools, crafted from microfiber materials, effectively hold onto particles until you can dispose of them. You ll find various options, including:
- Handheld dusters
- Extendable dusters for hard-to-reach places
- Washable and reusable dusting cloths
For significant dust accumulation or specialized areas, consulting cleaning experts can provide valuable insights into advanced techniques and tools for a thorough clean.
5. Compressed Air
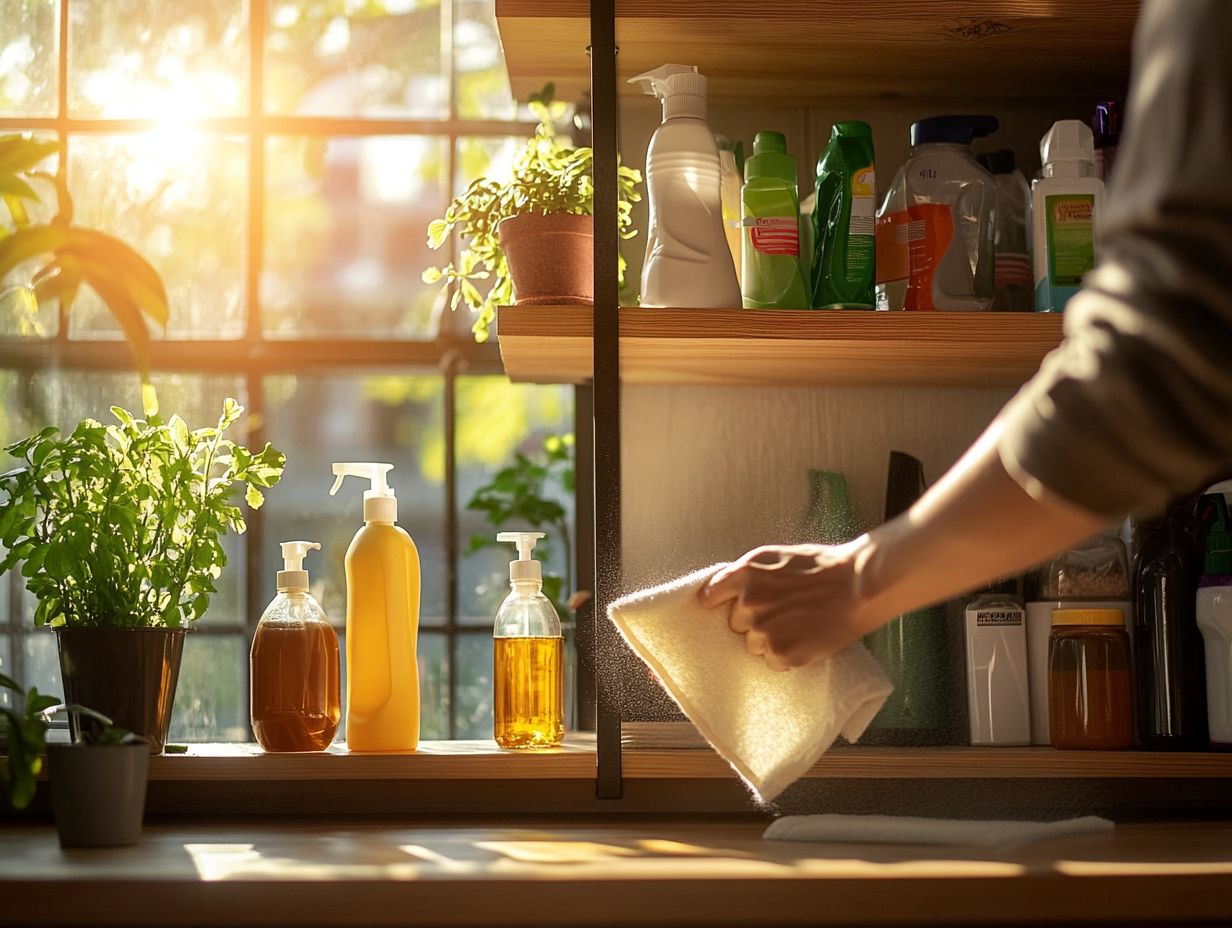
Using compressed air is incredibly effective for tackling dust accumulation in hard-to-reach areas, like your electronics and complex appliances. It’s one of the top cleaning hacks to ensure thorough dust removal.
This technique enhances the longevity of your devices and prevents dust from interfering with their functionality. Places such as the crevices of your keyboard, the vents of your computer, and the interiors of your printer often require regular attention to prevent dust buildup.
To safely use compressed air, hold the canister upright; this prevents any liquid propellant from escaping. Keep the nozzle at a safe distance to protect delicate components from potential damage.
Regular maintenance in these areas significantly reduces dust settling and transforms it into a long-term issue. This ultimately improves the overall hygiene and efficiency of your equipment.
What Are Some Tips for Effective Dusting?
Effective dusting goes beyond selecting tools; it requires a systematic approach that incorporates strategic cleaning tips and techniques for comprehensive dust management.
By adhering to a well-crafted dusting schedule and focusing on high-touch areas, you can minimize dust accumulation and cultivate a healthier living environment.
This guide presents practical insights to elevate your dusting routine, ensuring every aspect is addressed while meeting the optimal cleaning standards endorsed by experts from the Good Housekeeping Institute and The Spruce.
1. Start from the Top
Start your dusting routine from the top. This game changer ensures dust settles downward, making your cleaning efforts more effective.
Begin with higher surfaces like ceiling fans, shelves, and light fixtures. Capturing dust here prevents it from drifting onto lower surfaces.
This method saves you valuable time and boosts your overall efficiency during cleaning. Tackle high-touch areas first for a streamlined process.
Leave easier-to-reach surfaces, like coffee tables and countertops, for last. This strategy avoids the hassle of re-cleaning lower areas.
Jason Donnelly, a cleaning expert, highly recommends this method for thorough dust management. Don’t miss out on this essential cleaning tip!
2. Use a Gentle Touch
Using a gentle touch while dusting protects your surfaces. It effectively removes dust without sending it swirling into the air.
Different materials like wood, glass, and fabric demand specific techniques. For delicate items, a feather duster efficiently removes dust without scratching.
A microfiber cloth works wonders on hard surfaces. Adjust your pressure based on the sensitivity of the material.
Gentle strokes are best for polished woods, while a firmer touch suits resilient surfaces like countertops. This careful approach keeps your surfaces safe.
By understanding the right tools and techniques, you can ensure thorough yet safe cleaning. The right cleaning supplies make a big difference.
3. Dust in a Circular Motion
Dusting in a circular motion helps trap dust particles effectively. This technique ensures every surface is left impeccably clean.
Circular movements engage dusting tools fully with surfaces, reaching pesky crevices where dust hides. This method minimizes the chance of sending allergens back into the air.
Start at the top of the room and work your way down. This approach prevents dust from falling onto areas you ve already cleaned.
Using a microfiber cloth can elevate your dusting game even further. These dust magnets are essential for any effective dusting strategy.
4. Dust Underneath Objects
It s essential for you to dust underneath objects like furniture and appliances, as these often-overlooked areas tend to harbor a lot of dust that can compromise your overall air quality.
Using a vacuum cleaner with the right vacuum attachments can make this task more manageable. Regularly addressing these hidden spots is crucial for maintaining a clean and healthy living environment.
To tackle dust under large items easily, consider investing in a microfiber duster with an extendable handle; it allows you to reach those tricky corners without the hassle of moving heavy furniture all the time. Small vacuums equipped with specialized attachments can also help you extract dust from tighter spaces with ease.
Incorporating these practices into your dusting schedule ensures no area is left neglected. By establishing a cleaning schedule that includes these neglected zones, you can prevent them from becoming overwhelming or forgotten.
This approach promotes a thorough cleaning routine and enhances both your home s aesthetic appeal and the well-being of everyone inside.
5. Don’t Forget About Hidden Areas

Hidden areas, like the spaces behind your appliances and under your rugs, often get overlooked during dusting, but ignoring them can lead to a significant buildup of dust over time.
Incorporating these frequently neglected spots into your cleaning routine not only elevates your overall cleanliness but also enhances indoor air quality, making your living space healthier for everyone.
To effectively find these hidden locations, take a moment to survey your home. Look in those tight corners, behind your furniture, and beneath large appliances where dust likes to hide.
Use a vacuum equipped with a crevice tool a narrow tool designed to clean tight spaces or a microfiber cloth to tackle these tricky areas. Make it a habit to include these spots in your regular dusting schedule to reap long-term benefits.
You’ll reduce allergens, minimize pest problems, and create a more pleasant environment to live in. This approach also prevents significant dust buildup over time.
How Often Should You Dust?
Establishing how often you should dust is crucial for maintaining a pristine and healthy living space. This frequency largely hinges on factors like the size of your household, whether you have pets, and your lifestyle choices.
Consistent dust maintenance not only helps manage dust allergens but also enhances your overall air quality, making it vital to create a regular dusting schedule.
Cleaning experts recommend that you dust high-touch surfaces on a weekly basis, while other areas may warrant less frequent attention.
What Are Some Common Dusting Mistakes?
Many people fall into the trap of common dusting mistakes that can seriously undermine their efforts to maintain a dust-free home. These missteps often lead to ineffective cleaning and a rise in dust allergens in the air.
Avoiding these mistakes is crucial for maintaining high cleaning standards. Recognizing these pitfalls and learning how to avoid them is essential for anyone seeking to enhance their dusting routine and achieve the highest cleaning standards.
Whether it s employing the wrong tools or overlooking proper dust maintenance techniques, these errors can have a notable impact on the cleanliness of your living space. Make a point to check those hidden areas today!
1. Using the Wrong Tools
One of the most significant dusting mistakes you can make is using the wrong tools. This can lead to ineffective dust removal and even potential damage to your surfaces.
Many people reach for feather dusters, which tend to push dust around instead of capturing it. Others grab cloths that are either too large or too small for the job. This often results in unnecessary frustration and a less-than-satisfactory outcome.
To achieve the best results, choose dusting tools specifically designed for the task. Microfiber cloths are exceptional for trapping dirt and debris, while electrostatic dusters use static electricity to attract dust particles. Using the right tools for dusting ensures a more effective cleaning process.
Make sure your tools are appropriately sized for various surfaces. This greatly enhances your cleaning efficiency and minimizes the risk of scratching or damaging delicate areas. Regularly update your cleaning checklist to keep track of which tools are best suited for specific tasks.
2. Not Dusting Often Enough
Neglecting to dust frequently can lead to a buildup of dust, creating an ideal breeding ground for dust mites and allergens.
This situation can significantly impact your home’s cleanliness and your overall health especially if anyone in your household suffers from allergies or respiratory issues. Create a regular dusting schedule. Generally, dust high-traffic areas like living rooms and kitchens at least once a week, while bedrooms may only need attention every two weeks.
Consistent dust management alleviates immediate discomforts like sneezing and itchy eyes. It also offers long-term benefits. By keeping dust at bay, you reduce the risk of dust-related health problems and help extend the life of your furnishings.
3. Not Dusting in the Correct Direction
Dusting in the wrong direction can spread dust particles instead of eliminating them, undermining your cleaning efforts.
This is why it’s essential to follow a systematic dusting technique for optimal results. Start at the top and work your way down. This ensures that any airborne dust settles onto lower surfaces, allowing for a more thorough clean.
Using a left-to-right approach helps you maintain a consistent flow and minimizes the chances of missing spots. To be more effective, use microfiber cloths or dusters that trap dust instead of just pushing it around. Remember to shake out your cloths outdoors between uses to prevent dust from accumulating in your home.
4. Using Too Much Pressure

Applying too much pressure while dusting can damage sensitive surfaces, pushing dust deeper into crevices and making it challenging to remove.
To ensure a thorough yet gentle cleaning experience, adjust the pressure you apply, especially with delicate materials like wood, glass, or fabric. For polished wood surfaces, a feather-light touch is essential, as excessive force can scratch or ruin the finish.
On sturdier surfaces like tile or metal, you can use a firmer grip, but still approach with caution to maintain their integrity. This is a key part of surface cleaning that often goes overlooked.
Opting for microfiber cloths can significantly enhance your dusting effectiveness. They attract dust without the need for vigorous scrubbing, making gentle dusting a rewarding practice that preserves the beauty of your cherished items.
Start dusting smarter today and protect your home from allergens!
5. Not Cleaning Dusting Tools
Neglecting to clean your dusting tools can lead to less effective cleaning and may even reintroduce dust into your home after all your hard work.
Regular maintenance of these essential cleaning items is crucial for ensuring their performance. After each use, it s wise to shake out or wash your microfiber cloths to rid them of dirt and allergens. Similarly, vacuum or wipe down your dusters to eliminate any dust buildup. This simple step helps prevent the reintroduction of household dust into your living space.
Laundering microfiber cloths weekly is also a good habit; just remember to use a gentle detergent and skip the fabric softeners since they can clog the fibers. These simple steps ensure your cleaning tools stay effective.
Keep your dusting tools in top shape and watch your cleaning efficiency soar!
Frequently Asked Questions
What Are the Best Methods for Dusting?
The best methods for dusting depend on the surface being cleaned and the type of dust present. Some tips include using microfiber cloths, dusting from top to bottom, and using a gentle touch.
What Are the Benefits of Dusting Regularly?
MarthaStewart.com and the Good Housekeeping Institute recommend regular dusting for optimal home care. Regular dusting means fresher air and a cleaner home! Say goodbye to allergens!
Dusting regularly helps improve indoor air quality, reduce allergens, and keep your home looking tidy. It can also prevent the buildup of dust and dirt, which can damage surfaces over time. This cleaning advice is endorsed by experts like Carolyn Fort and Madeline Buiano.
What Are Some Tools That Can Help with Dusting?
Cleaning experts like Kathy Cohoon from Two Maids and Madeline Buiano from MarthaStewart.com emphasize that using the right tools is essential for effective dusting.
Tools that make dusting easier and more effective include microfiber cloths, feather dusters, vacuum attachments, and electrostatic dusters. Electrostatic dusters attract dust like a magnet, making cleaning a breeze! You can also use a mix of water and vinegar for certain surfaces or consider cleaning solutions with essential oils for dust removal.
How Often Should I Dust My Home?
Jennifer Parnell from Humble Suds and Carolyn Fort from the Good Housekeeping Institute recommend following cleaning tips to avoid dust accumulation.
This frequency depends on various factors, such as the level of dust in your home, the types of surfaces you have, and how often you open windows and doors. As a general rule, it’s best to dust at least once a week to maintain a dust-free home and improve air quality. Following a consistent dusting schedule helps prevent dust buildup.
What Are Some Common Mistakes to Avoid When Dusting?
Experts from The Spruce and Jason Donnelly suggest using proper cleaning equipment to avoid common mistakes.
Common mistakes to avoid include using a dry cloth (which can spread dust), applying too much pressure (which can damage surfaces), and overlooking hard-to-reach areas like ceiling fans and behind furniture. Effective cleaning and dust management are crucial for maintaining a clean home.
Are There Any Natural Methods for Dusting?
Incorporate natural cleaning methods into your routine for a more environmentally friendly approach.
Yes, there are natural methods for dusting, such as using a mixture of water and vinegar or using essential oils diluted in water. These methods can be just as effective as store-bought products and are often more eco-friendly. They also help control dust allergens, minimizing dust accumulation in your home. Keeping a cleaning checklist ensures that natural cleaning methods become part of your regular routine.
Ready to conquer dust? Grab your microfiber cloths and get started!

