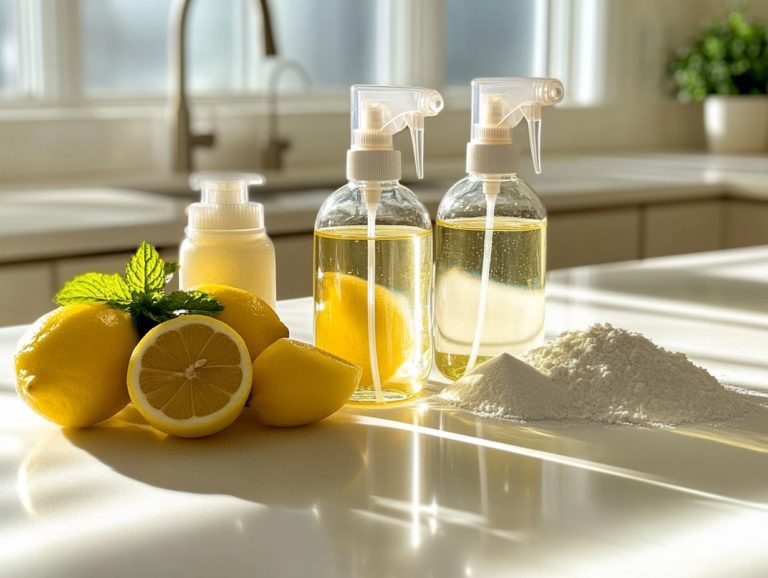
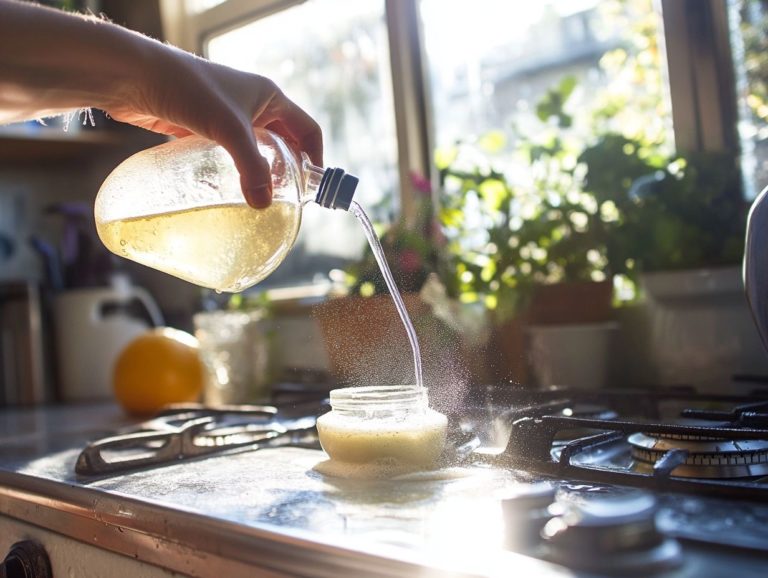
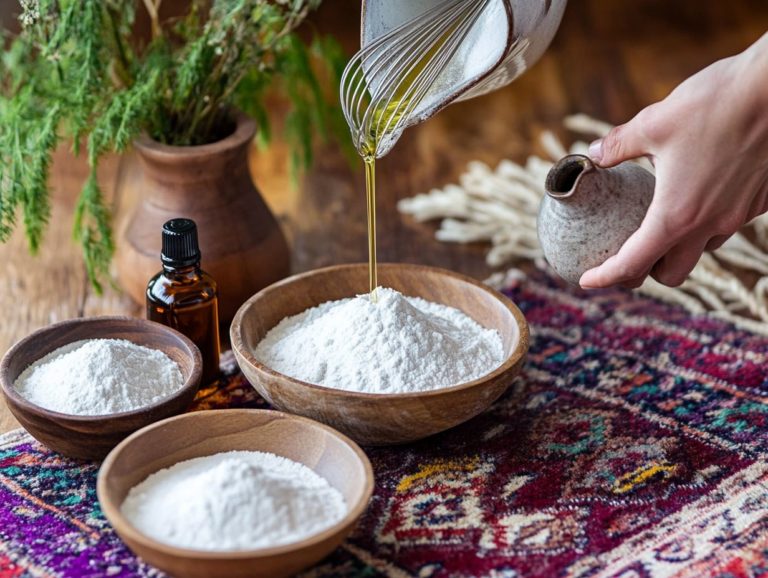
DIY All-Purpose Cleaner: Simple Recipe and Tips
Are you weary of managing a plethora of cleaning products that not only clutter your cabinets but also pose a threat to the environment? Discover natural cleaning options that simplify your routine and are better for the planet.
Uncover the transformative potential of a homemade all-purpose cleaner, a natural cleaner crafted from just a handful of simple ingredients.
This guide delves into the essence of an all-purpose cleaner, highlights the many benefits of creating your own, and offers a straightforward cleaner recipe that anyone can follow.
You will also find essential tips for effective use and some cleaning hacks, ensuring your home remains impeccably clean without unnecessary hassle.
Contents
- Key Takeaways:
- What Is An All-Purpose Cleaner?
- Why Make Your Own All-Purpose Cleaner?
- What Are The Ingredients Needed For DIY All-Purpose Cleaner?
- How To Make DIY All-Purpose Cleaner?
- How To Use DIY All-Purpose Cleaner?
- What Are The Tips For Using DIY All-Purpose Cleaner?
- Frequently Asked Questions
- What is a DIY all-purpose cleaner and why should I make my own?
- What is the recipe for a simple DIY all-purpose cleaner?
- Can I use this DIY cleaner on all surfaces?
- How long does this DIY all-purpose cleaner last?
- Are there any surfaces I should avoid using this cleaner on?
- Can I substitute the white vinegar for something else?
Key Takeaways:
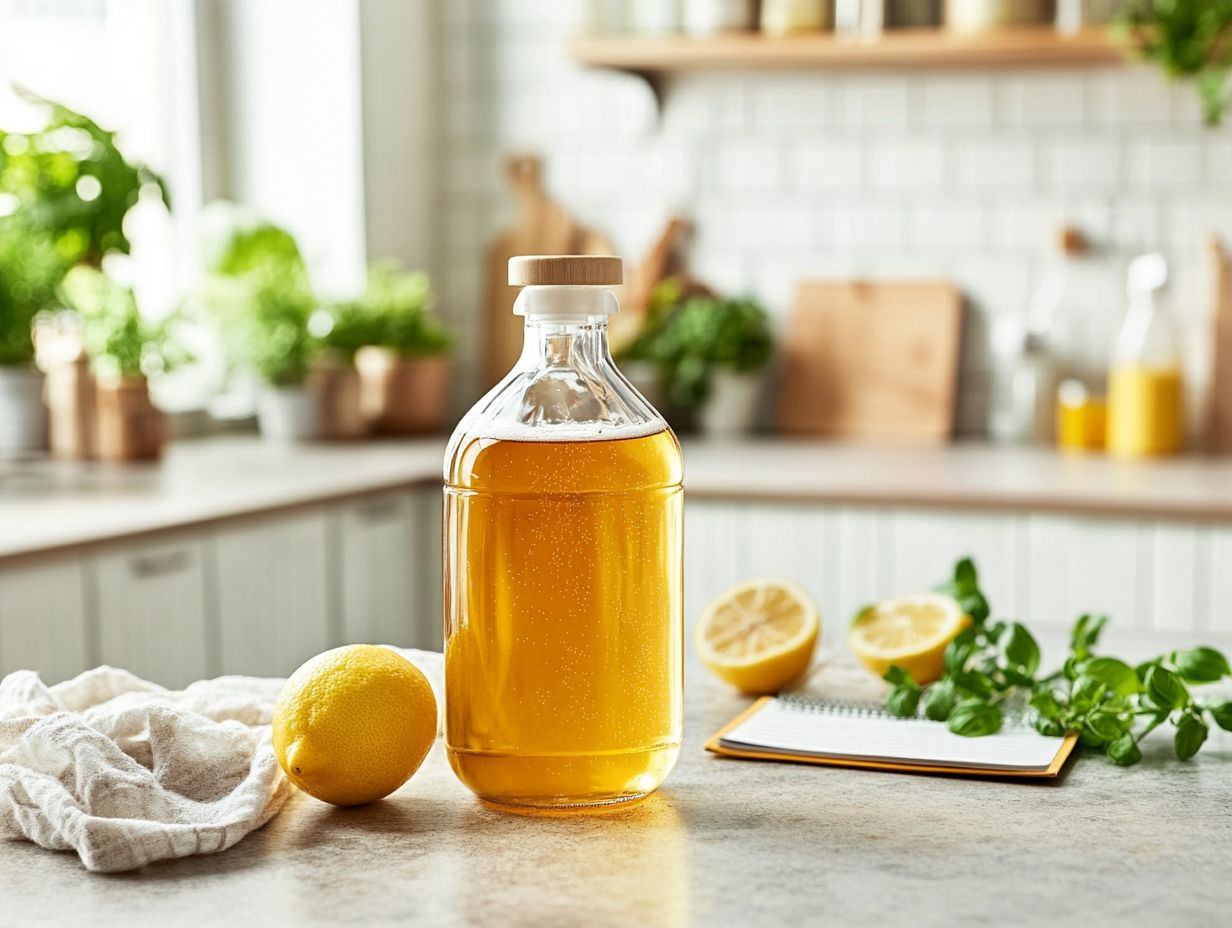
- Save money and reduce chemicals by making your own cleaner!
- The key ingredients of vinegar, baking soda, essential oils (like tea tree oil and lavender essential oil), and distilled water are effective and versatile for cleaning a variety of surfaces.
- Follow safety tips such as testing the solution on a small area first and avoiding mixing with bleach to ensure the best results when using DIY all-purpose cleaner. Consider using a spray bottle for easy application.
What Is An All-Purpose Cleaner?
An all-purpose cleaner is your go-to solution, crafted to handle a multitude of household and toddler messes, making it an essential ally in your quest for a pristine and healthy living space.
These cleaners are expertly formulated to eliminate grime and dirt across various surfaces, from kitchen counters to bathroom tiles, all without relying on harsh chemicals, thus supporting a more eco-conscious lifestyle.
By choosing DIY all-purpose cleaners made with natural ingredients like vinegar, Castile soap (a plant-based soap), and essential oils, you can achieve remarkable cleaning results while prioritizing the safety of both your loved ones and the planet.
Why Make Your Own All-Purpose Cleaner?
Creating your own all-purpose cleaner is not only an enjoyable and fulfilling DIY project, but you can easily create a safer, more sustainable formula that you ll love!
By choosing a homemade cleaner, you significantly reduce your exposure to the harsh chemicals often lurking in commercial cleaning products, ensuring a non-toxic environment for your family particularly important if you have toddlers around.
Using simple ingredients like vinegar, baking soda, and essential oils such as lemon essential oil or lavender essential oil, you can harness effective cleaning power while keeping your budget intact and making an environmentally friendly choice.
What Are The Benefits Of DIY All-Purpose Cleaner?
The benefits of using a DIY all-purpose cleaner are numerous, seamlessly blending efficiency, safety, and environmental awareness into a single cleaning solution. By crafting your own cleaner at home, you can ensure it is completely eco-friendly and non-toxic, precisely tailored to your specific cleaning needs while effectively tackling various types of grime and dirt.
Plus, adding essential oils not only boosts the cleaning power but also leaves behind a delightful fragrance, transforming cleaning into a more enjoyable experience.
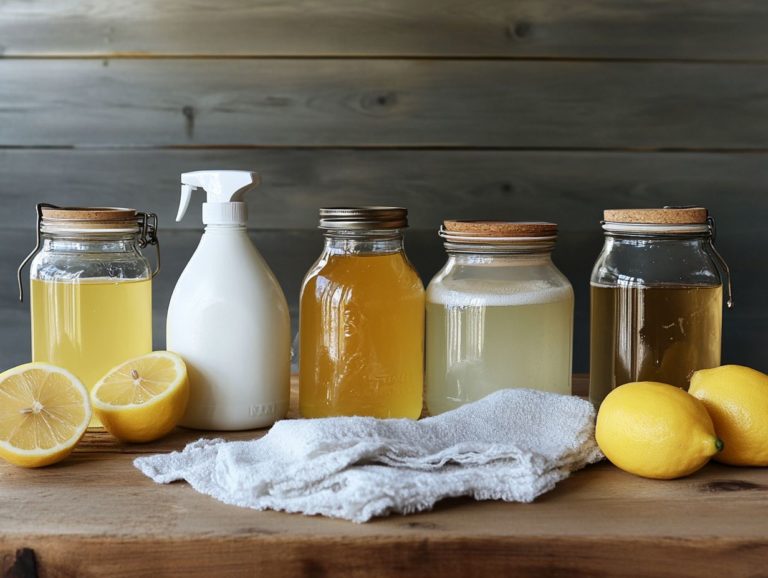
You can customize scents by choosing your favorite essential oils. This creates a refreshing atmosphere in your home. This approach not only leads to cost savings compared to commercial alternatives but also significantly cuts down on plastic waste since you can use reusable spray bottles multiple times. Consider using citrus-infused vinegar for an added natural fragrance.
By embracing eco-friendly practices through DIY cleaners, you can make a meaningful contribution to environmental sustainability while enjoying a cleaner home that is free from harsh chemicals. The effectiveness of these homemade solutions proves that caring for the environment doesn’t compromise cleanliness; in fact, it enhances it. Incorporate cleaning tips to maximize the effectiveness of your routine.
Ready to make your home clean and green? Let s get started!
What Are The Ingredients Needed For DIY All-Purpose Cleaner?
To craft an effective DIY all-purpose cleaner, you’ll want to gather a few simple yet potent ingredients. Each plays a crucial role in the overall effectiveness and safety of your solution. This cleaning recipe will ensure you have all the necessary components.
Essential components include:
- Vinegar, is a powerful cleaner celebrated for its disinfectant qualities, making it a powerful surface disinfectant;
- Castile soap (a gentle soap made from vegetable oils), which serves as a gentle surfactant (a substance that helps break down dirt and grease) and effective grime remover;
- Essential oils like peppermint oil and eucalyptus oil, which not only add a delightful fragrance but also provide antimicrobial benefits;
- Distilled water to maintain the purity of your mixture and enhance its cleaning efficacy.
With these ingredients, you re all set to create a powerful cleaner that s safe for your home and family! If you’re looking to elevate your cleaner even further, consider incorporating ingredients like baking soda, washing soda, and borax. These can significantly boost its ability to tackle stubborn household messes and enhance its overall cleaning power.
1. Vinegar
Vinegar is a powerful cleaner with impressive disinfectant properties. Its acidic nature allows it to dissolve mineral deposits, grime, and soap scum, effectively serving as a grime remover on various surfaces throughout your home.
Since vinegar is non-toxic and eco-friendly, you can rest easy knowing it s safe for toddlers and pets. This is an essential consideration when dealing with household messes. Consider using citrus peels to create a citrus-infused vinegar for added cleaning power.
However, it s worth noting that vinegar isn t suitable for all surfaces. For example, using it on marble and granite can lead to damage due to its acidity, resulting in dulling and etching.
When cleaning, think about pairing vinegar with baking soda to unleash a powerful foaming action that tackles tough grime without scratching surfaces. Diluting vinegar with water can also enhance its effectiveness on sensitive areas while still delivering a thorough clean.
Whether you re freshening up laundry, deodorizing carpets, or cutting through kitchen grease, vinegar offers a versatile and economical solution. It s a staple in environmentally conscious households like yours.
2. Baking Soda
Get ready to enjoy a cleaner home! Baking soda is celebrated for its remarkable ability to neutralize odors. It also doubles as an effective abrasive for scrubbing surfaces.
This non-toxic superstar enhances homemade cleaning products, particularly when you’re confronting tough stains or sticky residues. Whether you use it solo or blend it with other ingredients, baking soda can transform your home into a fresh-smelling, spotless haven essential for maintaining a healthy environment.
Its uses go far beyond basic cleaning. For instance, when you want to deodorize carpets, just sprinkle baking soda generously over the surface and let it sit for a few hours. This simple act absorbs unpleasant odors, leaving your space smelling fresher. It also pairs well with lemon juice to tackle stubborn stains.
This versatile powder also works great for unclogging drains. Mix it with vinegar to create a fizzing reaction that breaks down grime effortlessly. Regarding stubborn stains, a paste of baking soda and water proves remarkably effective at lifting marks from both fabrics and surfaces.
Baking soda and vinegar-based cleaner combinations are particularly effective at tackling tough cleaning jobs. Opting for this eco-friendly alternative not only ensures a cleaner home but also contributes to a healthier planet, making baking soda an essential component of your cleaning routine.
Gather these ingredients and make your own all-purpose cleaner today!
3. Essential Oils
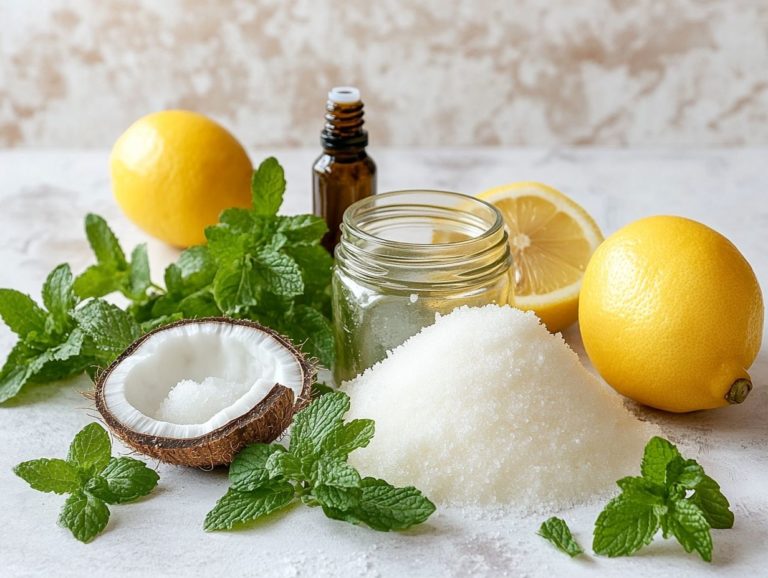
Essential oils are strong plant extracts that elevate the fragrance of your homemade cleaning products while delivering remarkable cleaning power and antimicrobial benefits. Oils like lemon, lavender, and tea tree not only serve as natural disinfectants but also make wonderful additions to any DIY all-purpose cleaner.
Imagine infusing your cleaning routine with the invigorating scents of peppermint oil and orange oil, transforming a mundane task into a refreshing experience. The versatility of essential oils goes far beyond simply enhancing aromas; each oil offers its unique advantages.
Eucalyptus oil is celebrated for its potent antibacterial properties, making it an excellent choice for sanitizing surfaces. Rosemary essential oil adds a pleasant fragrance and effectively combats mold and mildew.
Tea tree oil is also known for its strong antifungal properties. You are encouraged to mix and match these oils to craft your own signature cleaning solutions, tailored to your preferences while maximizing the effectiveness of your homemade cleaners.
This kind of experimentation creates powerful cleaning agents, turning cleaning into a fun activity! It also makes the chore of cleaning a more enjoyable endeavor.
4. Water
Water, particularly distilled water, is an essential element in your DIY cleaning solutions. It serves as the foundation for many homemade cleaners and plays a key role in effectively diluting the main cleaning agents.
Opting for distilled water is vital because it keeps impurities and minerals commonly found in tap water from interfering with the cleaning efficacy of other components. This ensures that your cleaning solution remains powerful and safe for every surface.
Moreover, it assists in the easy application of your homemade cleaner, making it an incredibly user-friendly choice for a variety of cleaning tasks. Use a microfiber cloth to maximize the effectiveness of your cleaning agents.
Beyond its fundamental role in these formulations, the purity of distilled water can significantly enhance the longevity and performance of your cleaning solutions. When you choose distilled water over tap water, you maintain the stability of essential oils and other active ingredients.
This avoids any unwanted reactions that might occur due to the minerals and chemicals typically present in municipal water supplies. Additionally, distilled water is essential not only for cleaning but also for rinsing surfaces thoroughly without leaving any residue behind especially beneficial for glass and mirrors.
This versatility highlights the necessity of selecting the right type of water for your cleaning routines, ensuring optimal results while protecting the integrity of your household surfaces.
How To Make DIY All-Purpose Cleaner?
Creating your own DIY all-purpose cleaner is a remarkably simple endeavor, enabling you to tailor your cleaning solution to your specific preferences and requirements.
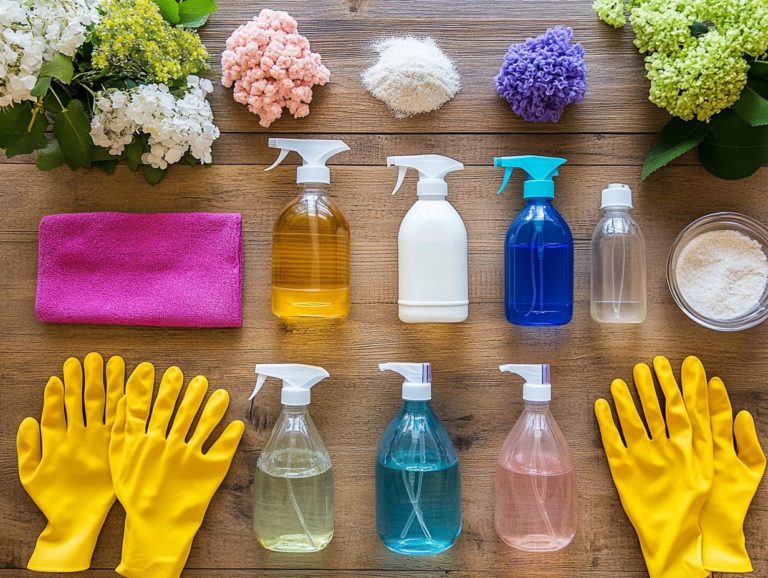
The process generally involves blending natural ingredients like vinegar, baking soda, and essential oils in a spray bottle for effortless application. With just a few straightforward steps, you can craft a potent eco-friendly cleaner like this DIY cleaner for kitchen appliances capable of addressing a variety of household messes.
This ensures that your cleaning routine remains both effective and safe for your family. Don’t wait! Start creating your own DIY furniture cleaner today. It’s simple and allows you to customize your cleaning solution to meet your unique needs!
Step 1: Mix Vinegar and Water
The journey to crafting your own all-purpose cleaner begins with the perfect blend of vinegar and water. This sets the stage for a powerful cleaning solution. Mix equal parts vinegar and water to create a balance that effectively tackles various household messes while softening the strong smell of vinegar.
This mixture forms the backbone of your cleaner, offering exceptional cleaning prowess while remaining safe for a multitude of surfaces. Feel free to adjust the vinegar-water ratio based on the specific cleaning challenge you re facing.
For tougher stains or sticky residues, consider bumping up the vinegar to a 2:1 ratio. This enhances its acidic properties, making it a formidable ally against stubborn grime. For lighter tasks or routine surface maintenance, a more diluted mix of 1 part vinegar to 4 parts water will keep any lingering vinegar smell to a minimum.
Always conduct a patch test on a small area first. A patch test means trying the cleaner on a small area to check for any damage or discoloration. Don t hesitate to experiment until you find the perfect balance for your cleaning needs while keeping safety intact.
Step 2: Add Baking Soda
In this step, you ll add baking soda to your vinegar and water mixture. This amplifies the cleaning power of your DIY all-purpose cleaner. Exercise caution, as the blend of vinegar and baking soda will trigger a fizzy reaction, producing foam that lifts dirt and grime from surfaces.
This addition not only enhances cleaning but also neutralizes odors. The delightful chemical reaction occurs because vinegar, being an acid, interacts with baking soda, a base, releasing carbon dioxide gas. This effervescence helps break down stubborn stains.
To keep the foam in check, opt for a larger container to prevent overflow. Apply the solution gradually to avoid a volcanic eruption. It s advisable to test the mixture on a small area first to ensure it s compatible with the surface you re cleaning.
This powerful combination creates a natural cleaning agent that can tackle everything from countertops to bathroom tiles, streamlining your cleaning process while being eco-friendly. Get started on your cleaning journey today!
Step 3: Add Essential Oils
Next, add essential oils to your DIY all-purpose cleaner. This not only infuses a delightful fragrance but also enhances the cleaning power of your solution. Choose from a variety of essential oils, like lemon, lavender, or tea tree oil, each offering unique benefits and antimicrobial properties.
Blending oils like eucalyptus and peppermint can invigorate your spaces and provide antibacterial benefits. If you prefer a calming atmosphere, consider incorporating chamomile or ylang-ylang, turning your cleaning routine into a spa-like experience.
For the best scent combinations, start with a base note such as sandalwood, layer in middle notes like geranium, and finish with bright top notes like citronella. Don t hesitate to experiment with proportions for unique blends that cater to your tastes!
Step 4: Shake Well
Once you ve added all the ingredients to your spray bottle, the next step is to give it a good shake. Shaking ensures that the vinegar, baking soda, and essential oils mix thoroughly, maximizing their collective cleaning power. After shaking, your DIY all-purpose cleaner is ready for action!
To preserve the integrity of your homemade cleaner, store it in a cool, dark place, away from direct sunlight, which can degrade the ingredients over time. Be sure to label the bottle clearly to indicate that it s a cleaning solution and note the date it was made.
For optimal results, shake the bottle gently before each use, as the ingredients may settle. This ensures effectiveness and redistributes the essential oils that provide the delightful scent. For a fantastic cleaner, consider trying this DIY shower cleaner recipe. Regularly check and refill your DIY cleaner, keeping it within reach for those quick clean-ups around your home. Share your experiences and variations of the cleaner you’ve developed!
How To Use DIY All-Purpose Cleaner?
Utilizing your DIY all-purpose cleaner is not only straightforward but also incredibly effective. It improves your cleaning tasks for a variety of surfaces throughout your home.
For the best results, spray the solution generously onto the desired surface and effortlessly wipe it down with a soft cloth, like a microfiber cloth, which traps dust and dirt effectively, or a sponge. This exceptional multi-surface cleaner is made to fight against grime, grease, and bacteria, ensuring your home stays a safe and healthy environment for your family especially those little mess-makers known as toddlers.
What Are The Tips For Using DIY All-Purpose Cleaner?
To maximize the effectiveness of your DIY all-purpose cleaner, consider implementing a few thoughtful tips and tricks that can elevate your cleaning experience and results. These straightforward strategies help you make the most of your homemade cleaner while encouraging safe and effective cleaning practices throughout your home.
From mastering proper application techniques to adopting smart storage solutions, these insights will enable you to maintain a cleaner, healthier living space.
1. Test On A Small Area First
Before you unleash your DIY all-purpose cleaner on a larger surface, it s a smart move to test it on a small, hidden area first. This precaution can save you from potential damage or discoloration on delicate surfaces like wood, fabrics, or certain tiles. Testing is important, especially for porous materials (materials that can absorb liquids) like marble or granite, which can be sensitive to harsh chemicals and may suffer from staining or etching.
Similarly, painted surfaces and wallpapers might react in unexpected ways, so ensuring that your cleaner is compatible before going all in can save you both time and money. For example, if you re planning to use the cleaner on stainless steel or glass, a simple spot test can confirm that you won t end up with streaks or tarnishing issues that could detract from your home s visual charm. By incorporating these safe cleaning practices, you not only protect your surfaces but also help ensure their longevity.
2. Use A Spray Bottle
Utilizing a spray bottle for your DIY all-purpose cleaner is a game-changer. It allows you to apply the solution precisely where it’s needed, eliminating waste in the process. With a spray bottle, you can achieve a controlled mist that evenly distributes the cleaner across surfaces, making it highly effective against grime and germs. This simple tool can elevate your cleaning routine, enabling you to tackle tasks quickly and efficiently.
When choosing the right spray bottle, consider the various types and sizes that best suit your homemade cleaners. A 16-ounce bottle often strikes the perfect balance for general cleaning, while smaller bottles are ideal for spot cleaning or when you’re on the go. Adjustable nozzles are another feature to look for; they let you switch from a fine mist to a more concentrated stream, providing the versatility needed for different surfaces and messes.
Embracing the spray bottle not only supports eco-friendly practices by minimizing waste, but it also simplifies storage. Essential oils and vinegar-based cleaners become easy to keep on hand for everyday use, making your cleaning regimen both efficient and sustainable. Consider adding Castile soap and distilled water to your cleaning routines for added cleaning power.
Try these tips today to keep your space sparkling clean! Don’t wait start cleaning smarter today!
3. Avoid Mixing With Bleach
Avoid mixing your DIY cleaner with bleach! It can trigger harmful reactions that produce toxic fumes. Not only does mixing incompatible cleaning products diminish their effectiveness, but it also poses serious health risks to you and your family. Always use your homemade cleaning products on their own to maintain a safe cleaning environment.
When combined, substances like ammonia and bleach release chloramine gases, which can lead to respiratory issues and other serious health problems. To promote safer cleaning practices, take the time to read labels carefully and never combine different cleaners. Instead, use one cleaner thoroughly before transitioning to another. Consider donning gloves and masks for extra protection.
By following these precautions, you can effectively minimize the risk of chemical exposure and create a healthier home environment for everyone.
4. Store In A Cool, Dark Place
Storing your DIY all-purpose cleaner in a cool, dark place is crucial for preserving its effectiveness and longevity. When exposed to light and heat, the quality of the natural ingredients can degrade, diminishing their cleaning power over time. By choosing an appropriate storage location, you enhance its shelf life and ensure it remains potent and ready for action whenever you need it.
Using dark glass containers is a smart choice, as they offer additional protection against UV light, which can lead to premature spoilage. It’s wise to keep the cleaner away from humidity and fluctuating temperatures, steering clear of areas like sinks or stoves.
Regularly inspecting the product for any signs of separation or unusual odors is a smart way to assess its usability. By following these simple precautions, you can enjoy the effectiveness of your DIY cleaners for an extended period, maximizing the benefits of your homemade cleaning solutions. These practices are important for eco-friendly and sustainable living.
5. Label The Bottle
Label your DIY all-purpose cleaner bottle today! It s a simple step that keeps your home safe and organized. A clear label allows you to easily identify the contents, ensuring that everyone in your household is aware of what the cleaner contains. This significantly reduces the risk of accidental misuse.
It’s crucial to include specific details such as the ingredients, spray instructions, and any necessary safety precautions. This enhances your efficiency by making it easier to locate and recognize your cleaners, fostering a systematic approach to household cleaning.
Proper labeling becomes an important part of your safe cleaning practices, enabling everyone to understand how to use the products safely and effectively. This way, you can prevent any mix-ups and ensure that cleaning tasks are executed with the right solutions.
Frequently Asked Questions
What is a DIY all-purpose cleaner and why should I make my own?
A DIY all-purpose cleaner is a homemade cleaning solution that can be used to clean various surfaces in your home. Making your own cleaner is not only safe, but it s also fun and rewarding! You can control the ingredients and avoid harmful chemicals found in store-bought cleaners. Plus, you can use organic cleaning ingredients to align with sustainable living practices.
What is the recipe for a simple DIY all-purpose cleaner?
A simple recipe for a DIY all-purpose cleaner includes mixing equal parts water and white vinegar, and adding a few drops of your favorite essential oil for a fresh scent. You can also add a tablespoon of liquid dish soap or Castile soap for extra grease-cutting power. Consider using lemon essential oil, lavender essential oil, or orange essential oil for a pleasant aroma.
Try making your own all-purpose cleaner today and enjoy a cleaner, safer home!
Can I use this DIY cleaner on all surfaces?
Yes! This all-purpose cleaner works on most surfaces, including countertops, mirrors, and floors. Always spot test a small area first to ensure it s safe.
For specific areas like the kitchen or bathroom, consider making targeted cleaners with special ingredients.
How long does this DIY all-purpose cleaner last?
This cleaner lasts for several months in an airtight container. However, for the best freshness and effectiveness, make smaller batches and use them within a few weeks.
Using dark glass containers can also extend its shelf life.
Are there any surfaces I should avoid using this cleaner on?
Avoid using this cleaner on natural stone surfaces like marble or granite. The acid in vinegar can damage them, so use a mild soap and water solution instead.
For tough messes, try using borax or washing soda; these are effective alternatives!
Can I substitute the white vinegar for something else?
Yes! Lemon juice is a great natural alternative to white vinegar. Just keep in mind it may not disinfect as effectively.
You can also make citrus-infused vinegar using citrus peels for another powerful option!
