DIY Cleaning Paste: A Natural Recipe
Are you weary of relying on harsh chemicals to clean your home? A homemade DIY cleaning paste could be just the solution you’ve been searching for.
This versatile and eco-friendly alternative is simple to create with just a handful of ingredients. It effectively tackles grime and stains on a variety of surfaces, including stainless steel and porcelain.
You’ll discover everything you need to know about DIY cleaning paste, including its benefits and a step-by-step recipe to craft your own batch at home.
Get ready to transform your cleaning routine in a natural and refreshing way! You’ll also get tips and instructions on how to use it effectively.
Contents
Key Takeaways:
- DIY Cleaning Paste is a natural and cost-effective alternative to store-bought cleaning products.
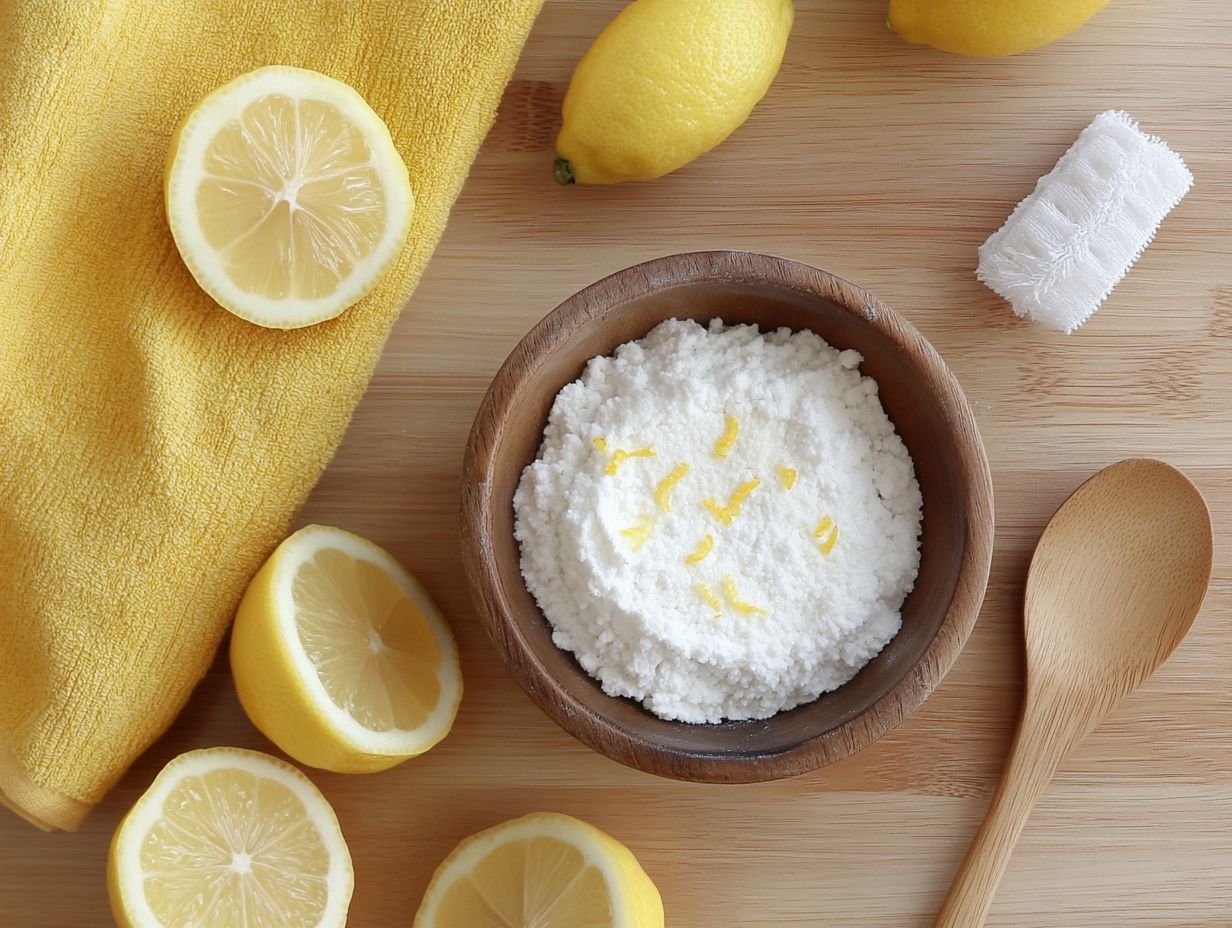
- Three simple ingredients baking soda, white vinegar, and essential oils combine to create a powerful cleaning paste.
- This homemade cleaning paste suits various surfaces, including countertops, sinks, and tile floors.
What Is DIY Cleaning Paste and Why Use It?
DIY cleaning paste is your go-to solution for a versatile, natural, and safe cleaning experience. You can whip it up at home using affordable ingredients like baking soda, dish soap, and essential oils.
This homemade wonder not only tackles grime and stains on various surfaces but also creates a safer environment for you and your family by reducing the chemical hazards often found in conventional cleaning products. Companies like Wendyl Nissen’s Green Goddess and Sarah from The Little Fig also endorse such natural alternatives.
More and more individuals are embracing DIY cleaning methods as a savvy and sustainable choice over commercial cleaners. These often harbor harsh chemicals that can be detrimental to health, introducing unnecessary toxins into your home.
By crafting your own cleaning paste, you can achieve that deep clean you desire while also being kind to the planet.
Why Use DIY Cleaning Paste?
There are countless reasons to embrace DIY cleaning paste, especially its remarkable effectiveness as a cleaner that prioritizes both your family’s safety and the health of the environment. This natural alternative to conventional cleaning products banishes harmful chemicals, making it the ideal choice for households mindful of chemical exposure.
Moreover, DIY cleaning paste is a budget-friendly solution, enabling you to craft an effective cleaner at a fraction of the cost of store-bought options. It delivers a thorough clean on various surfaces, from kitchen counters to bathroom fixtures.
By utilizing simple ingredients like baking soda and essential oils, you can achieve outstanding results without sacrificing your family’s well-being. Using homemade cleaners significantly reduces the risks of chemicals associated with conventional products.
What Are The Ingredients Needed To Make DIY Cleaning Paste?
Creating your own DIY cleaning paste is a breeze, and all it takes are a few simple, natural ingredients that are as effective as they are safe perfectly safe for your family and the environment.
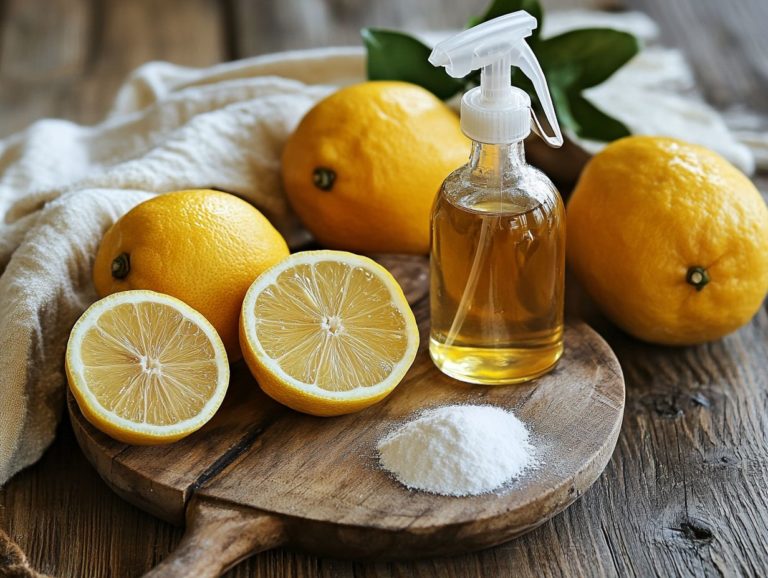
Start with baking soda, a superstar when it comes to banishing stains and grime. Next, introduce white vinegar to the mix; it not only amps up the cleaning power but also tackles tough residues with ease.
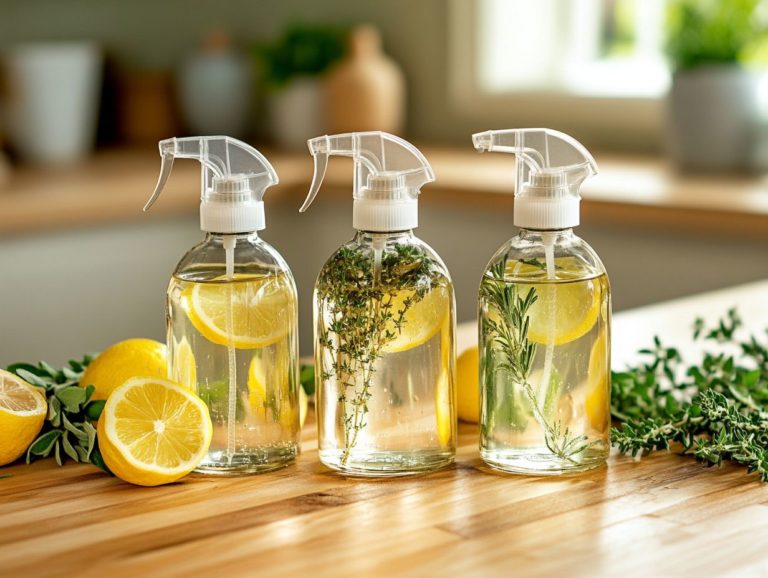
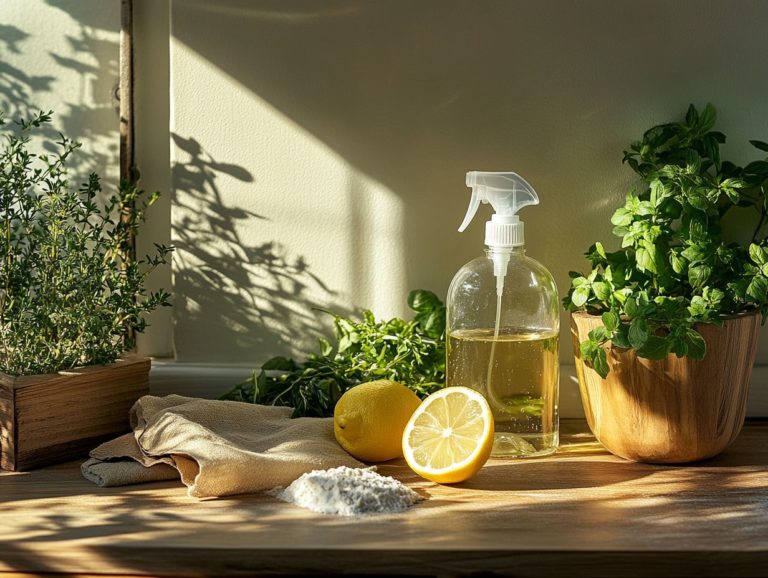
To elevate your paste even further, consider adding essential oils like lemon, orange, or peppermint. Not only do these oils enhance the cleaning prowess, but they also fill your home with refreshing fragrances.
You ll find these ingredients in most households or at your local store without breaking the bank, making this a frugal option for many.
1. Baking Soda
Baking soda is an essential ingredient in your DIY cleaning arsenal, renowned for its impressive ability to scrub surfaces and tackle stubborn stains with ease. Its mild abrasiveness helps banish grime from many surfaces think stainless steel, porcelain, and tile offering you a safe and non-toxic alternative to harsh chemical cleaners.
Baking soda also works well as a deodorizer, neutralizing unpleasant odors in your home and ensuring a refreshing environment for your family. With its remarkable versatility and effectiveness, it s no wonder baking soda is a favorite in so many homes!
This versatile powder not only brings a shine to surfaces but also excels at tackling specific stains like grease, coffee, and pet accidents. Its non-toxic nature guarantees safety around children and pets, providing your family with peace of mind.
From freshening carpets to rejuvenating the refrigerator, the applications of baking soda are vast and varied. Many find it particularly effective in laundry, where it boosts the cleaning power of regular detergents, brightening whites and deodorizing fabrics. With such a plethora of practical uses, it s clear why so many incorporate this time-tested remedy into their regular cleaning routines. Azure Standard offers bulk buying options for baking soda, making it even more convenient and cost-effective.
2. White Vinegar
White vinegar stands out as an essential ingredient in your DIY cleaning arsenal, celebrated for its natural cleaning prowess and effectiveness in breaking down grime and mineral deposits. This versatile liquid is not just a powerful cleaner that removes grease; it also neutralizes odors and disinfects surfaces, making it an invaluable addition to your cleaning routine.
When you mix white vinegar with baking soda, it bubbles up, lifting dirt away and elevating its cleaning prowess. This combination is so effective that it’s a staple in many homemade cleaner recipes. Plus, its non-toxic nature makes it a safe choice for anyone wanting to maintain a healthy home environment.
In the kitchen, white vinegar shines by cutting through oily residues on countertops and appliances, while its odor-eliminating abilities ensure that lingering food smells are a thing of the past. In the bathroom, it effectively combats soap scum and mineral stains on sinks and faucets.
When mixed with baking soda, the fizzy reaction effortlessly lifts grime that traditional cleaners often struggle to tackle. By incorporating other ingredients like lemon juice, you can further enhance its potency, creating a powerful yet eco-friendly paste capable of conquering even the toughest cleaning challenges throughout your home. Store this mixture in an air-tight container to maintain its effectiveness.
3. Essential Oils
Essential oils can be a remarkable enhancement to your DIY cleaning paste, offering not just delightful fragrances but also valuable cleaning properties that boost the overall effectiveness of your concoction. Some popular choices include lemon, orange, and peppermint essential oils for their refreshing scents and potent cleaning capabilities.
By harnessing the potent benefits of these natural extracts, you can elevate your cleaning routine while cultivating a pleasant atmosphere in your home. When choosing essential oils, it s crucial to select those that are 100% pure and, ideally, organic, as synthetic alternatives may undermine the health benefits you seek.
Consider these popular combinations:
- Tea tree and lavender for a refreshing bathroom cleaner
- Eucalyptus and lemon for a powerful kitchen disinfectant
These blends do more than just banish dirt and grime; they leave behind a soothing aroma that lingers long after you’ve finished cleaning, transforming those mundane chores into a much more rewarding experience. Don t miss out on using these amazing ingredients!
How To Make DIY Cleaning Paste?
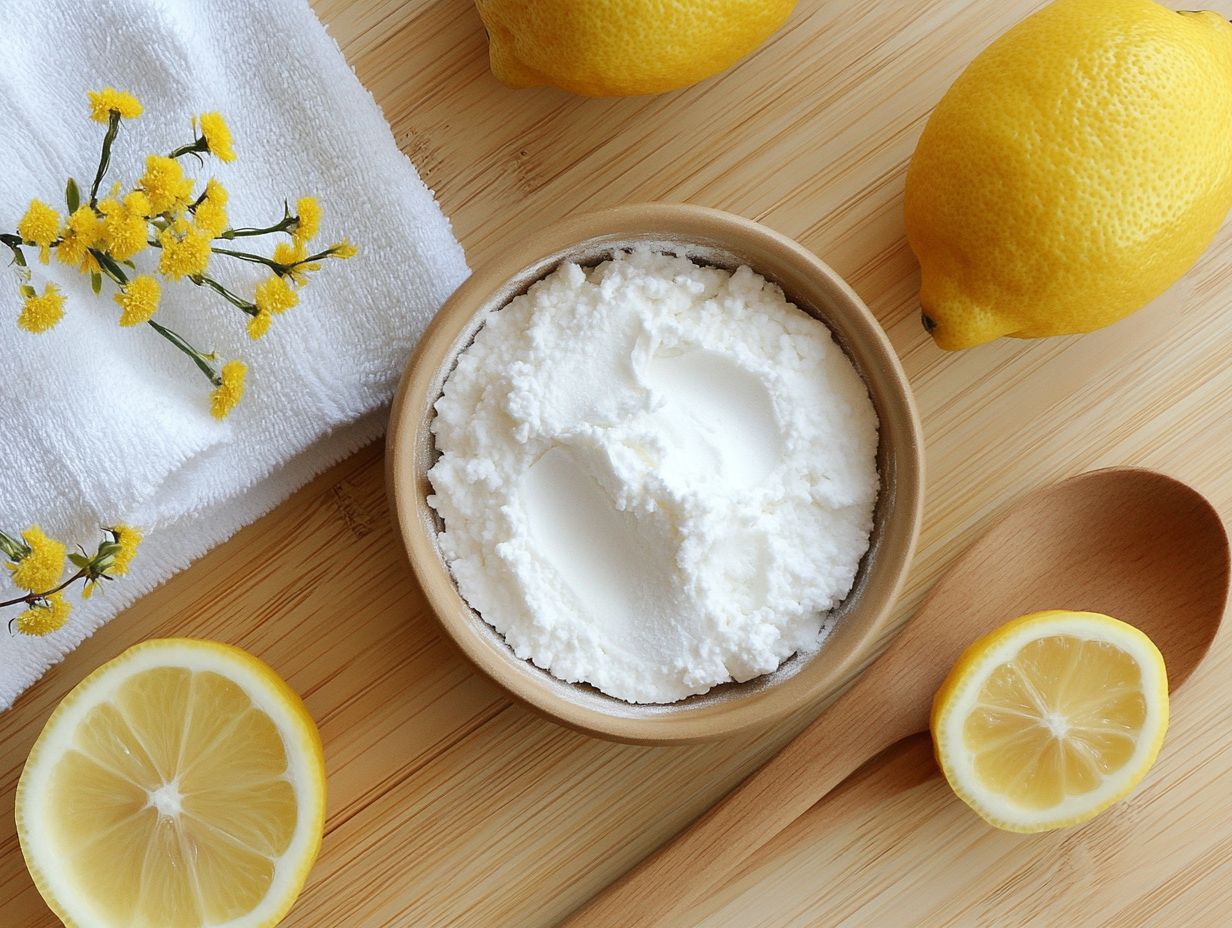
Creating your own DIY cleaning paste is super easy! You ll love how simple it is to make your own cleaning solution that delivers an effective and natural way to clean your home.
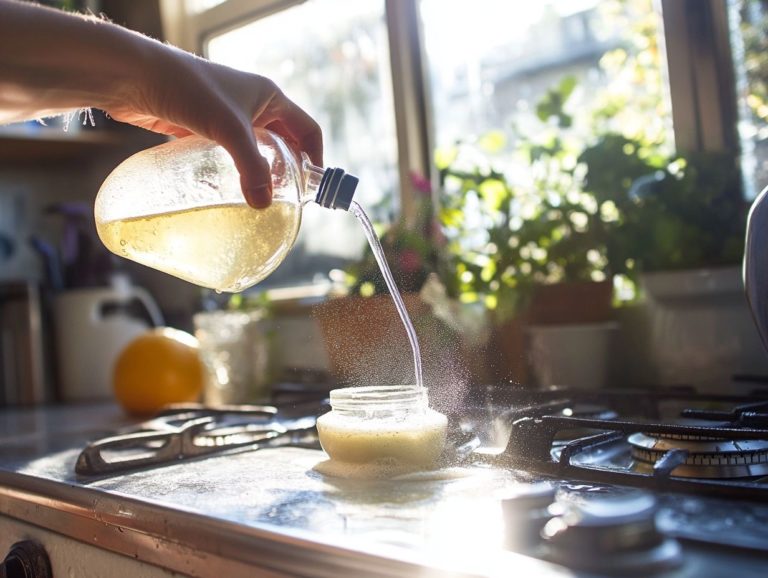
Start by gathering your ingredients, which usually include baking soda, white vinegar, dish soap, and your favorite essential oils. In a mixing bowl, combine the baking soda with a small amount of white vinegar until you achieve a paste-like consistency.
After blending, add a few drops of essential oil for a delightful fragrance and enhanced cleaning power. This easy recipe gives you a powerful cleaner suitable for various surfaces, ensuring a thorough clean without harsh chemicals.
1. Mix Baking Soda and White Vinegar
To create the foundation of your DIY cleaning paste, mix baking soda and white vinegar. These two ingredients react beautifully, forming a thick paste that tackles dirt and grime effectively.
A tried-and-true approach is to use one cup of baking soda and a quarter cup of white vinegar in a bowl. Initially, this mixture will foam and bubble; once the fizzing subsides, you ll have a paste ready for cleaning various surfaces.
Use a spoon to mix and a soft cloth to apply the paste. Scrub gently, then rinse with water for the best results. For tougher stains, adjust the quantities slightly try using a third of a cup of vinegar for a denser paste that packs a punch. Ensure you use a bowl that can accommodate the initial reaction’s expansion.
Stir slowly to achieve your desired consistency thicker for scrubbing surfaces like tile and grates, and slightly thinner for larger areas. Don t forget to use a soft cloth to apply and scrub the paste, making sure to remove all dirt and grime.
If you d like, adding a few drops of essential oils can elevate your cleaning experience, leaving a fresh scent that lingers long after you re done. For an extra touch, try combinations like eucalyptus and lemon for kitchen surfaces or tea tree and lavender for bathrooms.
2. Add Essential Oils
Once you’ve perfected the consistency of your baking soda and white vinegar mixture, it s time to elevate your cleaning paste with essential oils. Adding about 10-20 drops of your favorite essential oil, such as lemon, infuses a refreshing scent and boosts cleaning power, helping to kill germs.
Using oils like tea tree or eucalyptus supercharges your paste with powerful antibacterial and antifungal properties, ensuring that surfaces are not just clean but truly sanitized.
Experiment with combinations like lavender and peppermint for a calming scent while effortlessly tackling dirt and grime. You can also try orange and clove for a refreshing atmosphere that helps deodorize stubborn odors.
By carefully selecting the right oils, you ll enhance the cleaning power of your paste and cultivate a more inviting and pleasant environment in your home. Don t miss out on this natural solution!
What Surfaces Can Be Cleaned With DIY Cleaning Paste?
DIY cleaning paste is an incredibly versatile tool that can be effectively used on various surfaces in your home, making it an essential addition to your cleaning repertoire.
In the kitchen, it shines on countertops, sinks, and stovetops, effortlessly restoring their luster and banishing stubborn stains. In bathrooms, this homemade cleaner works wonders on porcelain fixtures, tile surfaces, and even chrome accessories.
Plus, its non-toxic composition ensures safety for your family while delivering a deep clean that often outperforms commercial products.
Try making your own DIY cleaning paste today for a cleaner home!
1. Countertops
Countertops are among the key surfaces where your DIY cleaning paste truly excels. It effortlessly tackles grime, stains, and food residues while maintaining a safe environment for all your culinary adventures. The non-toxic ingredients, like baking soda and essential oils, make this paste an ideal choice for your kitchen, as it cleans without leaving behind any harmful chemical residues.
Simply apply the paste to your countertop, allow it to sit for a few minutes, and then scrub with a soft cloth for a sparkling clean finish that looks and feels impeccably fresh.
When applying the paste, consider the material of your countertop. For granite surfaces, opt for a soft-bristled brush to avoid scratches. Laminate countertops appreciate gentle circular motions to prevent any damage.
Always conduct a test in an inconspicuous area first to ensure compatibility. Homemade cleaners not only save you money but also reduce your exposure to harsh chemicals often lurking in commercial products, creating a healthier kitchen.
By choosing this eco-friendly alternative, you re actively protecting both your family s health and the environment. Don t wait start cleaning today!
2. Sinks
Using a DIY cleaning paste on your sinks, especially if they re stainless steel or porcelain, will amaze you at how well it works in achieving a deep clean and restoring that coveted shine. The scrubbing power of baking soda enables you to scrub away stubborn stains and soap scum effectively, all without scratching the surface.
For the best results, apply the paste to your sink, let it sit for a few minutes, and then scrub gently with a non-abrasive sponge or cloth. Your sink will look as good as new, and you’ll be doing it all without harmful chemicals.
To whip up this effective cleaning paste, simply mix equal parts of baking soda and water until you achieve a thick consistency. If you re tackling particularly tough stains, consider adding a few drops of dish soap to amp up the cleaning power.
When cleaning stainless steel sinks, remember to scrub in the direction of the grain to avoid any potential scratches. For porcelain sinks, a gentle touch is key, as their surfaces are more delicate.
Choosing non-toxic cleaners enhances the air quality in your home and ensures that any residues left behind are safe for food preparation areas. This creates a healthier environment in both your kitchen and bathroom. Try this eco-friendly cleaning solution today and see the difference for yourself!
3. Bathtubs and Showers
DIY cleaning paste is an exceptional choice for keeping your bathtubs and showers pristine. It effortlessly tackles grime, soap scum, and hard water stains without resorting to harsh chemicals. The gentle yet powerful combination of baking soda and white vinegar works harmoniously to lift those stubborn residues, leaving your bathing areas sparkling clean and safe for your family.
For optimal results, apply the paste generously to surfaces, allow it to sit for a few moments, and then scrub gently with a soft sponge before rinsing with water. This will unveil a fresh and sanitized space.
If you encounter particularly stubborn soap scum or hard water stains, consider layering on a slightly thicker application of paste to those trouble spots. Letting it sit for about 10 to 15 minutes can significantly boost its effectiveness. When dealing with hard water stains, a gentle scrub with a soft-bristled brush can work wonders, penetrating the surface without risking damage to your fixtures.
Always ensure proper ventilation while you clean, and rinse thoroughly to eliminate any residual paste. By employing this method, you not only create a clean environment but also prioritize the safety and well-being of everyone who uses these essential spaces.
We d love to hear how these tips work for you. Share your results with us!
4. Stovetops
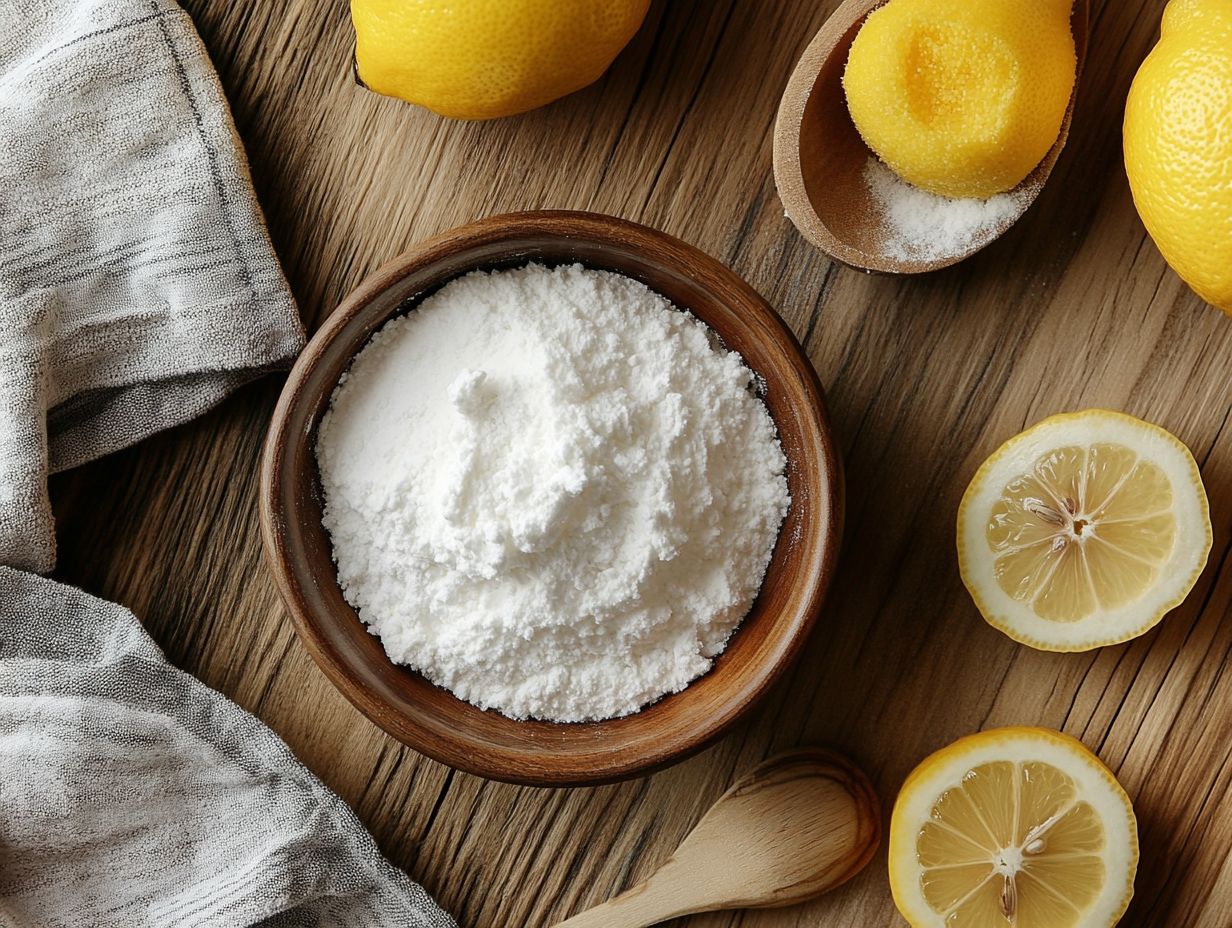
Your stovetop is a magnet for grease and grime. It s the perfect candidate for a deep clean with a DIY cleaning paste that tackles stubborn cooking residues with ease. The baking soda in this effective mixture serves as a gentle abrasive, lifting tough stains without scratching, while white vinegar dissolves grease.
To get started, apply the paste to your stovetop. Let it sit for a few minutes to penetrate the grime, then scrub with a soft sponge. You ll be rewarded with a sparkling clean surface that s safe for your family!
Regular maintenance is essential for keeping your stovetop in peak condition and preventing deterioration over time. If you have a glass stovetop, approach it with care to avoid scratches. Use a microfiber cloth with the paste for excellent results without harming the glass. For stainless steel stovetops, the paste s grease-cutting abilities will leave you with a beautiful, streak-free shine!
Avoid harsh chemicals at all costs to protect your health and home! By establishing a routine cleaning schedule, you can prevent buildup and keep your stovetop looking great!
5. Tile Floors
DIY cleaning paste is your secret weapon for tackling tile floors. It removes dirt, stains, and even stubborn grout residue without risking damage to the surface. The delightful combination of baking soda and essential oils makes this cleaning option both powerful and safe, ensuring a gentle touch on your tiles while delivering an impressive deep clean.
To refresh your tile floors, apply the paste and allow it to sit for a few minutes. Then scrub with a soft cloth or brush, and rinse away to unveil a pristine surface!
This method enhances the aesthetic appeal of your floors and extends their lifespan. By choosing natural cleaners like this DIY paste, you’re opting for a safer choice, free from harsh chemicals that can be harmful to families and pets!
To whip up your paste, mix equal parts baking soda and water until thick. Add a few drops of your favorite essential oil for a pleasing fragrance.
For particularly dirty grout lines, apply the paste and let it sit overnight for remarkable results. Regular sweeping is key to preventing dirt build-up, while an occasional vinegar solution can keep your grout looking its best!
How To Use DIY Cleaning Paste?
Using DIY cleaning paste is an effortless and highly effective method for rejuvenating various surfaces in your home. This allows you to achieve a deep clean without resorting to harmful chemicals!
The process is straightforward: apply the paste to the surface you wish to clean. Allow it to sit for a few minutes to enable it to penetrate and break down dirt and stains effectively.
Next, take a soft sponge or cloth and scrub the area gently to lift away the grime. Finally, rinse with water to reveal a sparkling clean surface that is safe for your family!
By following these simple instructions, you can effortlessly maintain a clean and healthy home environment!
1. Apply Paste to Surface
To begin your journey with DIY cleaning paste, apply it directly to the surface you intend to clean. Cover any visible stains or grime effectively. Don’t hesitate to use a generous amount of paste; it s essential for allowing the product to work its magic, especially on stubborn stains that cling to countertops, sinks, and stovetops.
For the best outcome, consider the type of surface you re addressing. When dealing with porous materials (materials that can absorb liquids) like wood or unsealed stone, use a thinner layer of paste to prevent damage or discoloration. On the other hand, non-porous surfaces (materials that do not absorb liquids) can withstand a thicker application, allowing the paste to adhere better while tackling stubborn stains!
When confronting challenges like burnt-on food or greasy residues, let the paste sit for a few minutes before scrubbing. This pause will loosen the dirt, making your cleaning efforts all the more efficient!
Always perform a spot test on any delicate surfaces to avoid unexpected damage!
2. Let Sit for a Few Minutes
After you apply that DIY cleaning paste to your chosen surface, let it sit for a few moments to unlock its full cleaning potential! This waiting period helps the ingredients break down grime and stains effectively. Giving the baking soda and white vinegar time to work their magic enhances the cleaning power of the paste.
You can let it sit anywhere from 5 to 15 minutes to optimize the cleaning process while safeguarding the surface from potential damage.
For delicate surfaces like glass or painted finishes, choose the shorter end of that time frame. On the other hand, more durable materials such as tile or stainless steel can often handle a longer duration without a hitch.
During this waiting period, a fascinating chemical reaction unfolds: baking soda gently lifts dirt while vinegar acts as a solvent, dissolving oily residues. This harmonious interaction not only boosts the effectiveness of your ingredients but also reduces the need for excessive scrubbing afterward. In essence, a little patience on your part can lead to impressive cleaning results.
3. Scrub with a Sponge or Brush
Once your DIY cleaning paste has had ample time to sit and work its magic on the grime, grab a sponge or brush and scrub the surface to lift away the dirt effectively. With a gentle scrubbing motion, focus on areas with heavier staining, making sure the paste is evenly spread and worked into the surface. This not only helps banish stubborn residues but also polishes the surface, revealing its natural shine while keeping it safe for your family.
To achieve optimal results, adapt your scrubbing technique based on the surface type. For delicate surfaces like glass or polished metals, reach for soft sponges that won t scratch. On tougher surfaces such as tile or concrete, a soft-bristled brush can dislodge embedded dirt without causing harm.
The effectiveness of your scrubbing method is crucial in the overall cleaning process, as it not only battles grime but also enhances the appearance and longevity of your surfaces, leaving them looking refreshed and well-maintained.
4. Rinse with Water
The final step in your DIY cleaning paste journey is to rinse the surface thoroughly with water, ensuring any lingering residue is washed away for a pristine finish. This crucial step prevents leftover paste from marring the surface s appearance or leaving behind a dull film.
With a clean, soft cloth or sponge, wipe away the paste and rinse the area with water, transforming your surfaces into a sparkling clean canvas that’s safe for your family to enjoy.
Taking the time to rinse meticulously not only enhances the visual appeal of the surface but also safeguards against potential damage from residue buildup over time. After rinsing, gently dry the surface with a microfiber cloth to avoid pesky streaks and water spots.
For an added flourish, consider polishing the area with a specialized cleaner or a dab of olive oil on a soft cloth. This touch will make your surfaces shine like never before! This final attention to detail not only enhances aesthetics but also extends the longevity of your surfaces, making your everyday spaces effortlessly inviting.
Frequently Asked Questions
What is DIY Cleaning Paste and why should I use it?
DIY Cleaning Paste is a natural and chemical-free cleaning solution that you can easily make at home. It is a safe and effective alternative to harsh cleaning products that can be harmful to your health and the environment.
What ingredients do I need to make DIY Cleaning Paste?
The main ingredients for DIY Cleaning Paste are baking soda and liquid castile soap. Other optional ingredients include essential oils, vinegar, and lemon juice for added cleaning power and a fresh scent.
How do I make DIY Cleaning Paste?
To make DIY Cleaning Paste, mix together 1 cup of baking soda and 1/4 cup of liquid castile soap in a bowl. Gradually add in small amounts of water until the mixture forms a thick paste. You can also add a few drops of essential oils for a refreshing scent. Store the paste in an airtight container for later use.
What surfaces can I use DIY Cleaning Paste on?
You can use DIY Cleaning Paste on many surfaces. It works great on kitchen and bathroom countertops, sinks, tubs, tile, and even stubborn clothing stains.
It is safe for most surfaces, but remember to test a small area first to avoid any damage or discoloration!
Is DIY Cleaning Paste safe to use around kids and pets?
Absolutely! DIY Cleaning Paste is non-toxic, making it safe for kids and pets.
It doesn t have strong cleaning chemicals or fumes that could harm their health. However, keep it out of reach of children and supervise them while using it.
Can DIY Cleaning Paste replace my regular cleaning products?
Yes! You can use DIY Cleaning Paste as a natural and effective substitute for strong cleaning products.
It’s perfect for everyday cleaning and can handle tough stains and grime. Plus, it s more affordable and better for the planet!
