How to Make a Homemade Grout Cleaner
Grout often falls by the wayside in your cleaning routine. Yet, it plays a crucial role in maintaining both the appearance and hygiene of your tiled surfaces. Over time, dirt and grime can build up, making it essential to clean your grout regularly using effective grout cleaner recipes.
This guide will help you grasp the significance of grout maintenance, explain why keeping it clean matters, and show you how to make an effective homemade grout cleaner using simple ingredients like baking soda, hydrogen peroxide, and vinegar.
You will also find tips and alternative methods to keep your grout looking fresh.
Jump in now to discover the secrets of keeping your grout sparkling clean!
Contents
Key Takeaways:
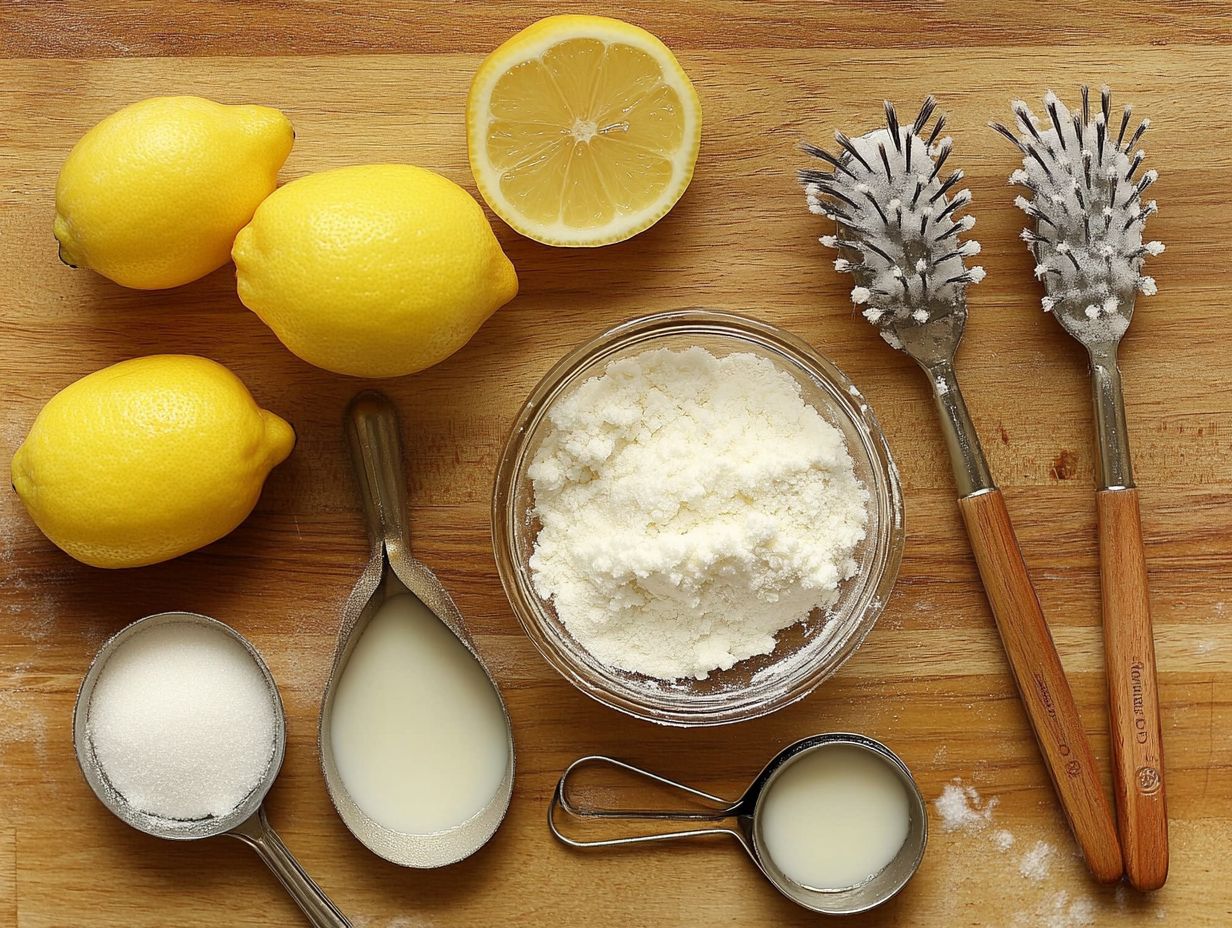
- Make your own grout cleaner using simple ingredients like baking soda, vinegar, hydrogen peroxide, and essential oils.
- Scrubbing with a toothbrush or stiff-bristled brush and sealing with a grout sealer can help maintain clean grout.
- Alternative methods like steam cleaning and oxygen-based bleach can also effectively clean grout.
What Is Grout?
Grout plays an essential role in the spaces between tiles in various installations, notably in kitchens and bathrooms. It fills the gaps between tiles and provides stability, preventing water and dirt from seeping underneath. This ensures a durable and lasting finish. Regularly cleaning tile floors is crucial for this reason.
This material, which is porous (meaning it has tiny holes that can absorb liquids), is typically composed of a blend of cement, water, and occasionally sand. It is vital for maintaining both the integrity and aesthetic appeal of your tile floors.
Regular grout maintenance and using safe, non-toxic cleaners can help ensure your grout remains in excellent condition. However, as time goes by, grout can become a magnet for dirt and stains. This underscores the importance of effective grout maintenance to preserve the surfaces it safeguards.
Why Is It Important to Clean Grout?
Cleaning grout is essential for several reasons. It impacts both the health and visual appeal of your space. Grout can easily accumulate dirt, stains, and even mold or mildew, which not only diminishes the beauty of your tile floors but can also pose health hazards.
By making regular grout maintenance a priority and using effective cleaners, you can prevent build-up and ensure that your kitchen or bathroom remains a safe and hygienic haven. Embracing proper cleaning methods, including DIY grout cleaner recipes, empowers homeowners like you to protect the longevity and allure of your tiled surfaces. Remember to wear rubber gloves and safety glasses when cleaning to protect your hands and eyes from potential irritation.
What Are the Ingredients for a Homemade Grout Cleaner?
Crafting your own DIY grout cleaner is not only an effective solution but also a cost-savvy approach to banishing dirt and stains from your tile grout. The charm of homemade cleaners lies in their reliance on natural ingredients, many of which are likely already at hand in your kitchen.
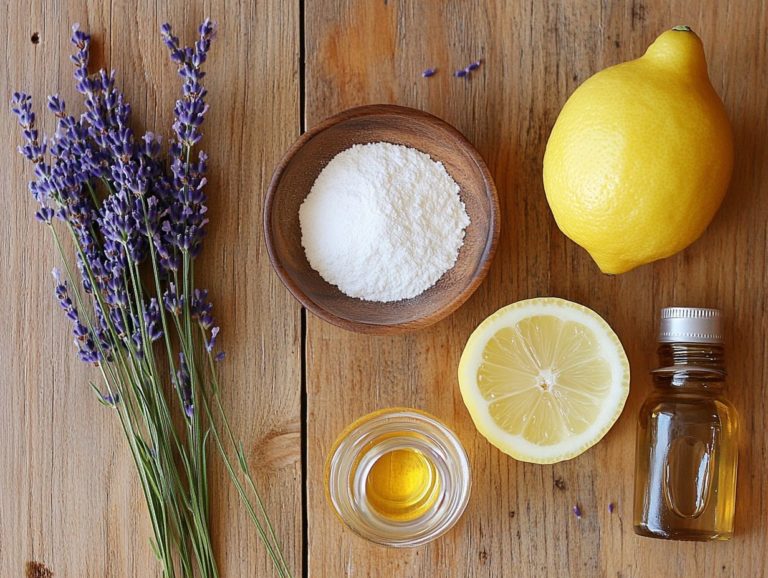
Key players like baking soda and hydrogen peroxide join forces to deliver a formidable cleaning punch when combined. Meanwhile, vinegar and washing soda can elevate the potency of your cleaning solution. To add a touch of luxury, consider incorporating essential oils, transforming your cleaning routine into a sensory delight with inviting fragrances. You can mix these ingredients in a small bowl or plastic bucket for ease of use.
1. Baking Soda
Baking soda is a remarkable ingredient in many homemade cleaning solutions! It’s safe to use because it s non-toxic and has gentle abrasive properties. When it comes to tackling grout, baking soda is a powerful stain remover, breaking down dirt and grime without harming your tile surfaces. Mix it with hydrogen peroxide for effective grout cleaning.
Its versatility makes it a staple in DIY grout cleaner recipes. It s a top choice for anyone seeking a safe and effective cleaning alternative for their home. Plus, when combined with other cleaning agents like hydrogen peroxide and dish soap, it significantly boosts their effectiveness.
This natural wonder eliminates stains and neutralizes odors, providing a comprehensive solution for maintaining clean and fresh-smelling spaces. You ll love how baking soda is safe for pets and children! For best results, use a stiff-bristled brush to apply the mixture to grout lines.
Baking soda is also environmentally friendly! This means you can keep your home spotless without contributing to chemical pollution.
Incorporating baking soda into your cleaning routine helps you achieve sparkling grout without compromising your health or safety. Rinse away the cleaning solution with warm water, then use a microfiber cloth to wipe the area clean.
2. Vinegar
Vinegar is a popular natural cleaning agent, celebrated for its ability to dissolve mineral deposits, dirt, and even mold. It s an excellent addition to any homemade grout cleaner! The main ingredient in vinegar, acetic acid, initiates a powerful reaction that breaks down tough stains. Its non-toxic nature guarantees safety for use in kitchens and bathrooms.
Incorporating vinegar into your cleaning solution enhances effectiveness and infuses your living spaces with a fresher scent. However, remember not to mix vinegar with ammonia or bleach, as this can create toxic fumes.
When faced with stubborn grout stains, try combining vinegar with baking soda or hydrogen peroxide. This dynamic duo boosts your cleaning power; the fizzing reaction works wonders to lift grime and discoloration from grout lines.
By using this eco-friendly approach, you can tackle mold growth without harsh chemicals! Regular maintenance with vinegar helps prevent future buildup, preserving the appearance of your grout and contributing to a healthier home environment. For spot cleaning, use a clean cloth or sponge to apply vinegar.
3. Hydrogen Peroxide
Hydrogen peroxide is a strong cleaner that works wonders for tough stains and disinfecting surfaces. When incorporated into your homemade grout cleaner recipes, it triggers a chemical reaction that effectively dismantles stubborn dirt and grime while combating mold and mildew growth.
Its safe and non-toxic characteristics make it an excellent choice for maintaining a pristine and healthy home, especially in moisture-prone areas. Always wear rubber gloves to protect your skin and avoid using hydrogen peroxide with chemical cleaners like bleach or ammonia.
This versatile solution revitalizes dull grout lines and guarantees thorough disinfection. It obliterates bacteria and viruses that flourish in damp settings. To harness the full potential of hydrogen peroxide, mix equal parts of it with baking soda to create a paste.
Apply this mixture generously to the grout and let it sit for approximately 10-15 minutes. Then scrub with a brush and rinse thoroughly with water. You ll unveil a sparkling finish that enhances the overall appearance of your tiled surfaces, reinforcing hygiene and aesthetic appeal. Use a microfiber cloth for the final wipe-down.
4. Essential Oils
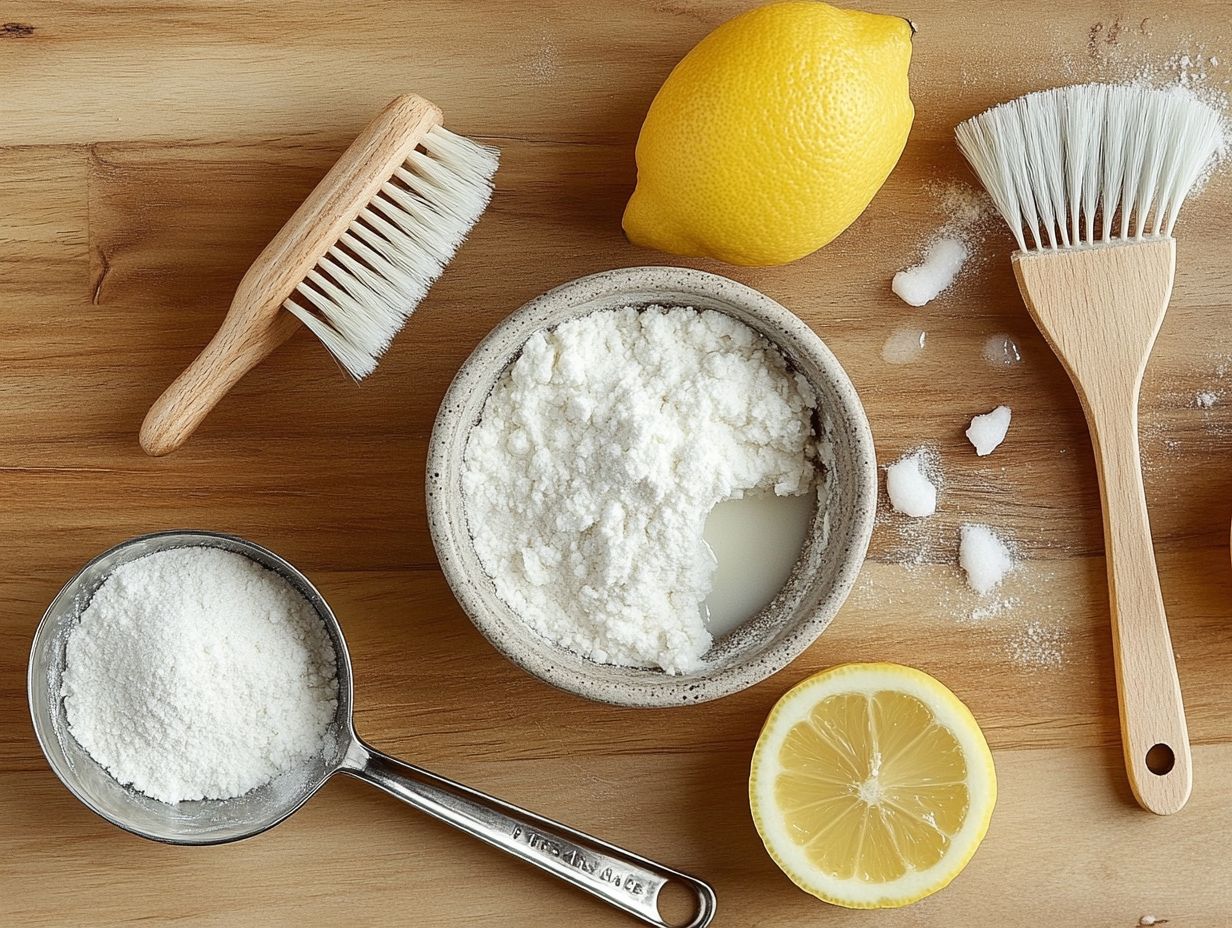
Essential oils not only infuse your homemade grout cleaner with delightful fragrances. They also have germs fighting abilities that enhance your cleaning routine.
Oils such as tea tree, lavender, and lemon do more than just mask unpleasant odors; they enhance the cleaning power of your DIY solutions. They also provide a safe alternative to chemical cleaners, effectively removing mold and supporting general cleaning.
By incorporating these essential oils, you transform your effective cleaner into a multifunctional solution that not only cleans but also leaves your home enveloped in fresh, inviting aromas.
These natural ingredients work in harmony to tackle stubborn stains and grime, offering you a safer alternative to chemical-laden products. The antimicrobial properties of essential oils help inhibit the growth of mold and mildew, which often thrive in damp areas like bathrooms and kitchens.
This potent combination ensures a thorough clean, while the pleasant scents elevate your space, turning mundane chores into enjoyable experiences. Using essential oils in your cleaning routine creates a healthier home filled with delightful scents!
This DIY approach ensures that you use natural ingredients to maintain a clean and inviting home.
How to Make a Homemade Grout Cleaner?
Crafting a homemade grout cleaner is an elegantly simple endeavor that gives you the power to harness natural ingredients for effective cleaning.
Begin by gathering essential components such as baking soda, vinegar, hydrogen peroxide, dishwashing liquid, and washing soda. Combine them in a small bowl or plastic bucket. This easy-to-make cleaner can be applied to your grout lines, offering a formidable solution to the dirt and stains that have settled in over time.
Use proper removal techniques to ensure optimal results while preserving the beauty of your tile surfaces. Always allow the cleaned area to air-dry thoroughly to avoid mold or mildew growth.
1. Mixing the Ingredients
To create your own homemade grout cleaner, start by accurately measuring and mixing the ingredients in a small bowl or plastic bucket. By combining the right proportions of baking soda, hydrogen peroxide, dish soap, and warm water, you ll craft a powerful cleaning solution that cleans dirt and stains from grout.
- Begin by measuring about one cup of baking soda, which acts as a gentle abrasive, ideal for scrubbing surfaces without causing any damage; it’s a DIY home remedy.
- Next, add a quarter cup of hydrogen peroxide and dishwashing liquid or vinegar a potent disinfectant that works wonders in lifting stubborn stains and dirt.
- Finally, incorporate a few drops of dish soap to enhance the grease-cutting power of your mixture.
Mix these ingredients thoroughly until you achieve a thick paste for your DIY grout cleaner. If you encounter particularly tough stains, consider increasing the amount of hydrogen peroxide or adding oxygen-based bleach. On the other hand, if the solution feels too thick, add some warm water; a splash of water in a small bowl will help facilitate application.
Always test a small area first to avoid any surprises later! This ensures it meets your expectations and is safe for grout with proper removal!
2. Applying the Cleaner
Once you ve prepared your homemade grout cleaner, the next step is to apply it skillfully using a plastic bucket to the grout lines of your tile floors that deserve your attention. Grab a stiff-bristled scrub brush or a microfiber cloth or a dedicated grout brush, and evenly distribute that cleaning solution of baking soda and hydrogen peroxide over the stained or dirty areas. Make sure it penetrates the grout for optimal cleaning. Take your time to work the solution into the grout for effective cleaning, allowing it to sit for several minutes for the chemical reaction to take place so it can maximize its effectiveness against those tough stains.
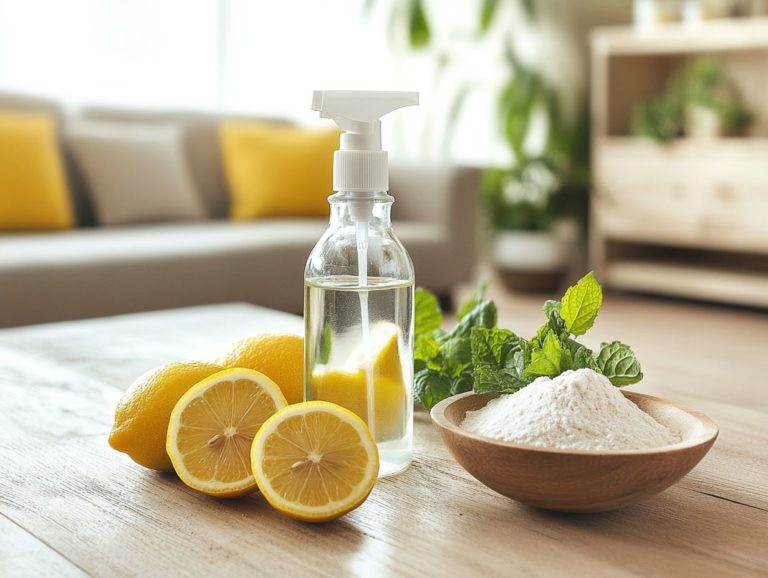
To elevate your cleaning game, keep a spray bottle handy for easy application, especially in those tight spaces where grime loves to hide. When applying the cleaner, focus on high-traffic areas and spots in your kitchen or bathroom prone to moisture, as these are typically the culprits for accumulating more dirt.
While you scrub grout, don t forget to pay close attention to corners and edges, where debris tends to gather. Using circular motions can help lift stubborn dirt more effectively. After letting the solution sit, rinse the area thoroughly with warm water with warm water and a clean cloth to remove any residue. This way, your grout not only looks clean but also ensures mold removal cleaner but is also free of lingering cleaning agents, leaving it fresh and revitalized.
3. Scrubbing the Grout Lines
After allowing the cleaning solution to soak into the grout lines, it s time for you to roll up your sleeves and scrub vigorously to banish any dirt and stains. Grab a scrub brush or a dedicated grout brush, and apply firm pressure while concentrating on those areas that display noticeable discoloration or build-up. This scrubbing process will help loosen the grime, allowing your homemade grout cleaner to work its magic and restore the original beauty of your tile floors.
For those particularly stubborn stains, consider using a circular scrubbing motion; it can lift dirt more effectively. Don t forget to pay special attention to corners and edges, as these spots tend to accumulate grime over time.
If you encounter any obstinate spots, give the cleaning solution a few extra minutes to soak before you dive back in with the scrubbing. It s crucial to avoid using overly abrasive tools or harsh chemicals that could scratch or dull your tiles. Instead, opt for softer brushes and gentle cleaning agents to preserve the integrity of your flooring.
4. Rinsing and Drying
After you’ve meticulously scrubbed the grout lines, the next step is to rinse away any lingering cleaning solution with warm water. Utilize a clean cloth or sponge to wipe down the tiled surfaces with a sponge, ensuring that every trace of your homemade grout cleaner is eliminated. Allow your tile floors to air-dry completely after rinsing, air-dry completely; this is crucial to prevent any mold or mildew moisture from seeping back into the grout, which could foster the growth of mold or mildew.
Be diligent about rinsing multiple times if needed, as even the smallest remnants of cleaning agents can leave a dull film on your tiles and encourage staining. Once you’ve rinsed, gently pat the grout lines with a dry cloth to soak up any excess water.
For enduring grout cleanliness, think about applying a sealant once the tiles are completely dry; this offers an extra layer of protection against dirt and grime buildup. Consistent upkeep, such as occasional deep cleaning and quick wipes to tackle spills, will further extend the lifespan of your grout, keeping it fresh and pristine.
What Are Some Tips for Cleaning Grout?
To preserve the cleanliness and longevity of your grout, adopting effective cleaning strategies can greatly enhance your results. Regular maintenance not only keeps your tile floors looking pristine, but it also prevents the buildup of dirt and stubborn stains that can be difficult to tackle.
By using the right tools, like a stiff-bristled scrub brush, and establishing a consistent cleaning schedule, you ll find that these straightforward yet powerful techniques can keep your grout in superb condition for years to come.
1. Use a Toothbrush for Tough Stains
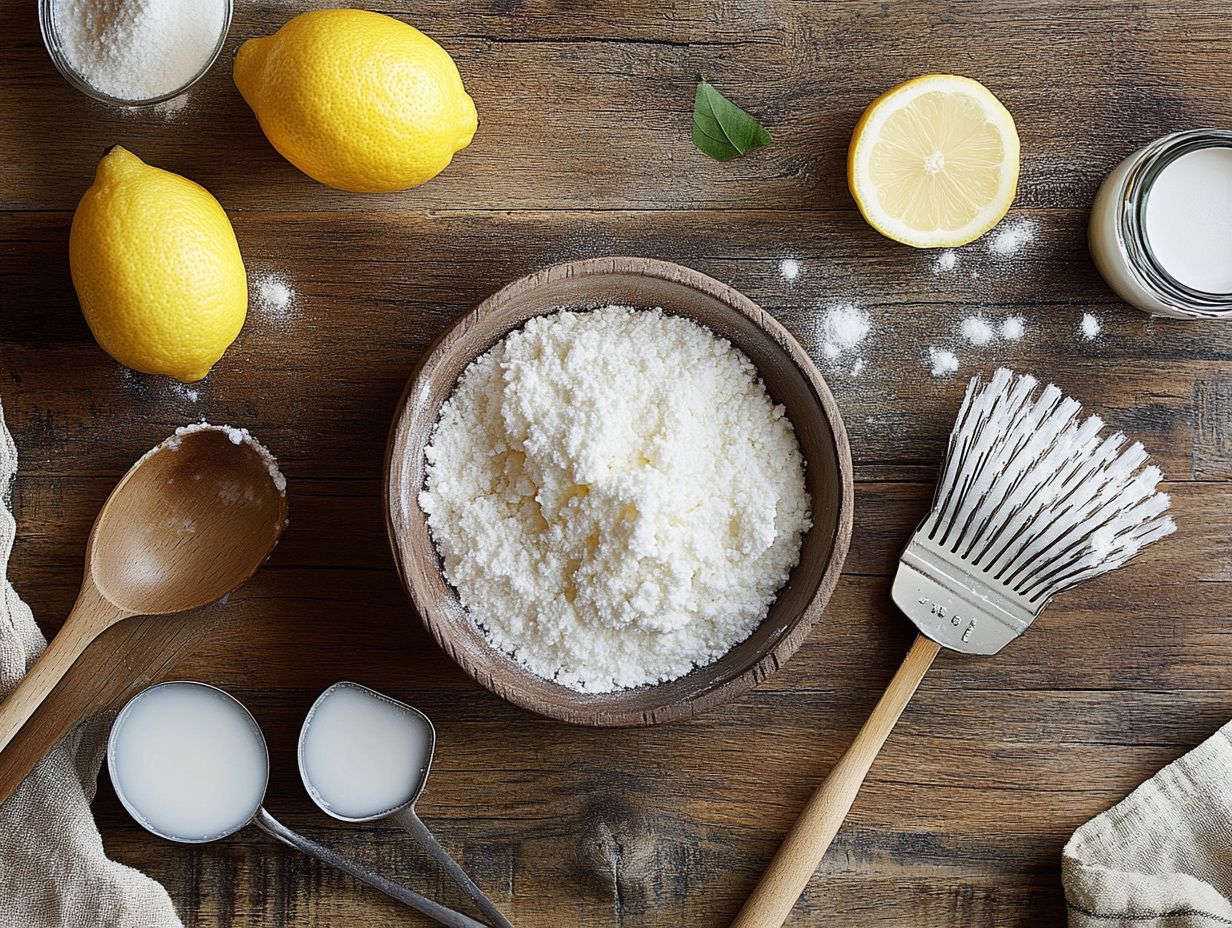
When facing tough stains in grout lines, you’ll discover that an old toothbrush can be surprisingly effective. Its bristles are perfectly suited for navigating those narrow crevices, allowing you to apply a focused scrubbing action that lifts stubborn dirt and grime beyond the reach of larger brushes. By applying your homemade grout cleaner to the stained area and gently scrubbing with the toothbrush, you can achieve a thorough clean without risking damage to the tile surface.
The ergonomic design of a toothbrush gives you better control. This enables you to apply just the right amount of pressure to tackle embedded stains without any abrasion. For optimal results, consider soaking the toothbrush in a cleaning solution like a mixture of vinegar and baking soda before diving in. This trick boosts the stain-removal power and ensures that your cleaning method remains safe for various surfaces.
Using this tool when you clean can save you both time and effort, transforming tedious tasks into manageable ones and ensuring that every corner sparkles.
2. Test the Cleaner on a Small Area First
Before you go all in with your homemade grout cleaner, take a moment to test it on a small, discreet area. This little precaution ensures that your cleaner is compatible with your tile type and helps prevent any unwanted discoloration. By doing this, you can assess the effectiveness of your solution while confirming it’s a non-toxic option that won t cause any damage.
To conduct your test effectively, simply apply a small amount of the cleaner to your chosen spot. Let it sit for a few minutes before wiping it away. This approach allows you to evaluate the cleaner’s performance and gives you insight into how it interacts with grout or tile surfaces over time.
Keep in mind that caution is key; different tile types can react differently, and this initial testing phase is essential for ensuring the safe and effective removal of dirt and stains.
3. Use a Grout Sealer to Prevent Stains
Applying a grout sealer after you’ve cleaned can be an incredibly effective strategy for protecting your grout from future stains. This product forms a barrier that keeps dirt and moisture from seeping into the porous surface of the grout, significantly minimizing the chances of mold and mildew taking hold.
By incorporating the regular use of a grout sealer into your maintenance routine, you can keep your tile floors looking pristine while extending the life of your grout. The benefits go beyond just looks; utilizing a grout sealer is key for achieving long-term cleanliness.
Use rubber gloves for safety, and ensure that the grout is clean and dry before evenly applying the sealer with a brush or applicator. This proactive step maintains the integrity of your grout, making it easier to clean down the line as the sealed surface naturally repels spills and stains.
As a result, you can enjoy a more hygienic living space and cut down on the frequency of those dreaded deep cleaning sessions. Ultimately, you will save both time and money on grout repairs or replacements.
What Are Some Alternative Grout Cleaning Methods?
Along with your homemade solutions, there are several alternative grout cleaning methods that can be remarkably effective in maintaining the integrity of your tile and grout. One highly regarded option is steam cleaning, which employs high-temperature steam to loosen and lift dirt. This delivers a deep clean without relying on harsh chemicals.
You ll also find an array of commercial grout cleaners available, often containing specialized ingredients crafted to combat tough stains and inhibit mold growth. Another noteworthy alternative is oxygen bleach, a safe cleaning agent that can remove tough stains when used properly.
1. Steam Cleaning
Steam-cleaning has become the go-to method for tackling grout, thanks to its remarkable ability to penetrate with vinegar and ammonia and sanitize surfaces without resorting to harsh chemicals. By harnessing high-pressure steam, this technique loosens stubborn dirt and grime, allowing you to effortlessly scrub grout and wipe it away with a clean microfiber cloth.
Perfect for kitchens and bathrooms, steam cleaning not only cleans but also disinfects, offering you an environmentally friendly solution for grout maintenance. This means the cleaner is safe for the planet and doesn’t contain harmful substances.
The steam cleaning process involves transforming water into steam at impressively high temperatures, usually around 200 degrees Fahrenheit, ensuring that even the most stubborn stains are eliminated with ease. One of the standout benefits of this method is its capacity to eradicate bacteria, allergens, and mold, fostering a healthier living environment for you and your loved ones.
Be sure to follow safety precautions when using steam cleaning. Always operate the machine in accordance with the manufacturer’s instructions and wear protective gear, such as rubber gloves and safety glasses, as the steam can reach extreme temperatures, posing a burn risk.
Overall, steam cleaning offers a highly effective and safe alternative for preserving the integrity and cleanliness of grouted areas, ensuring your spaces remain pristine and inviting.
2. Oxygen Bleach
Oxygen bleach is a must-try for its stain-fighting power! It stands out as a powerful alternative for cleaning grout, celebrated for its ability to effectively eliminate stains while safeguarding tile surfaces. Unlike chlorine bleach, this non-toxic cleaner releases oxygen when mixed with water, delivering impressive cleaning results without the harsh chemical scent. It s the ideal choice for anyone seeking a commercial-grade grout cleaner that s safe and efficient for regular use in their home or for those looking for DIY cleaning solutions.
To harness the full potential of oxygen bleach for grout cleaning, follow these steps, and incorporate it as part of your grout maintenance routine:
-
Begin by mixing one part oxygen bleach with four parts warm water in a plastic bucket. Stir the mixture thoroughly with a measuring cup until the bleach is completely dissolved.
-
Next, apply the solution generously to the grout lines using a scrubbing brush or an old toothbrush. Allow it to sit for about 10-15 minutes, penetrating the dirt and stains, then scrub the grout vigorously.
-
Finally, rinse the area with clean water using a microfiber cloth to eliminate any residue, unveiling refreshed, cleaner grout without any harmful chemicals lingering behind. Allow the area to air-dry completely.
3. Commercial Grout Cleaners and DIY Solutions
Commercial grout cleaners are readily available products expertly designed to combat dirt, stains, and mildew lurking in your grout lines. These cleaners use powerful agents to tackle tough stains, making them an attractive option for those with a busy lifestyle. However, it’s crucial to carefully read the instructions and safety guidelines before using them, as certain products may contain harsh chemicals that could be detrimental to both your health and the environment.
While many consumers appreciate the convenience and immediate gratification these cleaners provide, it s wise to consider the pros alongside the potential drawbacks. On one hand, effective commercial grout cleaners can remove tough stains and bacteria, creating a cleaner and more hygienic space. On the flip side, some of these cleaners may pose health risks if inhaled or if they accidentally touch your skin.
When selecting a grout cleaner, you should prioritize options that are not only effective but also environmentally friendly and safe for your home. Keep in mind your specific grout type and the stains you re targeting.
Delving into customer reviews and consulting product specifications can give you the power to make a well-informed choice. You can also explore DIY grout cleaner options and grout cleaner recipes for effective solutions. Don t wait to find the right cleaner for your needs!
Frequently Asked Questions
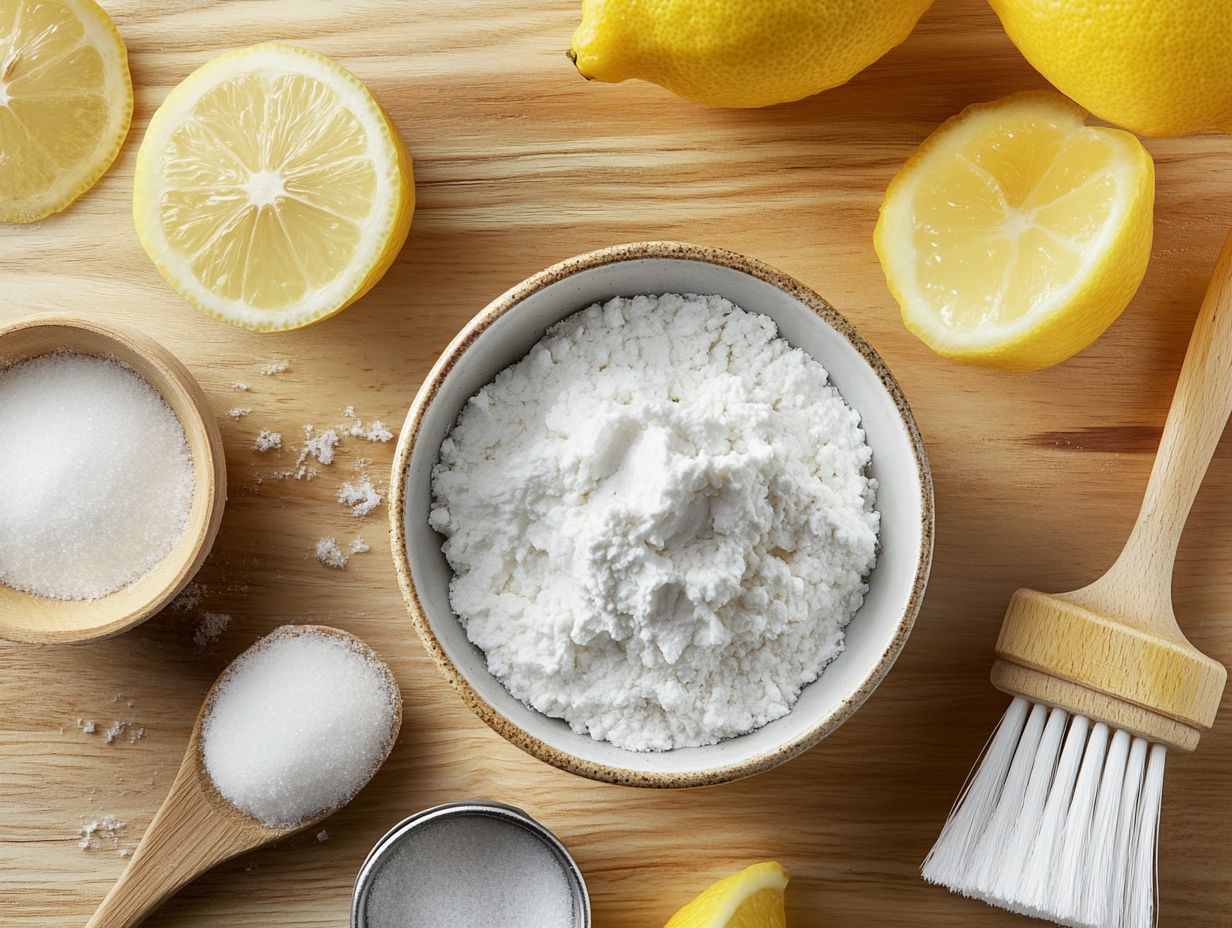
What ingredients do I need to make a homemade grout cleaner?
To make a homemade grout cleaner, you need baking soda, white vinegar, and water. You can also add lemon juice, hydrogen peroxide, or essential oils for a nice scent.
Can I use store-bought cleaners to clean grout?
Store-bought cleaners can be harsh and might harm your grout. A homemade cleaner is a safer and more natural choice.
How do I mix the ingredients to make the grout cleaner?
In a spray bottle, mix equal parts of baking soda and white vinegar. If you want, add a few drops of lemon juice, hydrogen peroxide, or essential oils. Then fill the bottle with water and shake well.
Is it safe to use on all types of grout?
This homemade grout cleaner is safe for all types of grout, including ceramic, porcelain, and natural stone. Always test a small area first to ensure there are no negative effects.
How do I apply the grout cleaner?
Spray the cleaner on the grout lines and let it sit for 5-10 minutes. Then, scrub with a grout brush or toothbrush in a circular motion. Rinse with water and a clean cloth, and repeat if needed.
Can I use this grout cleaner on colored grout?
This cleaner is safe for colored grout too. Test a small area first to check for discoloration. If you see any, dilute the cleaner with more water and try again.

