How to Make a Simple Homemade Soap Cleaner
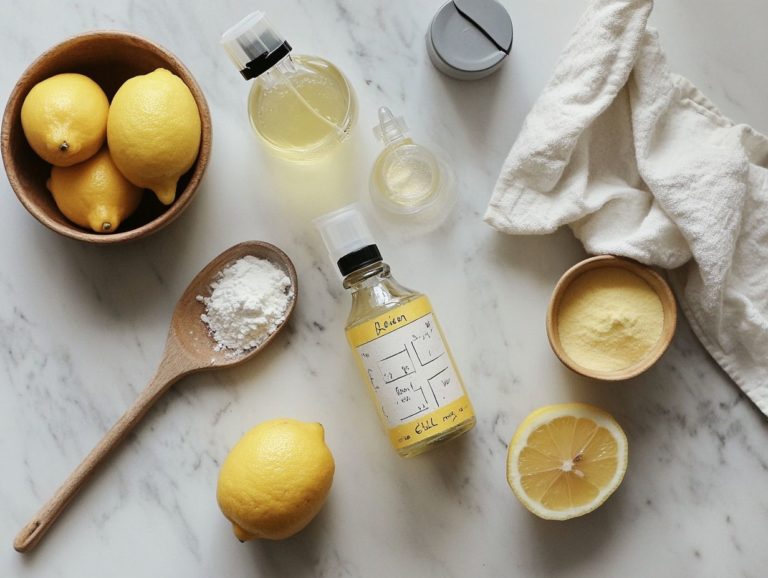
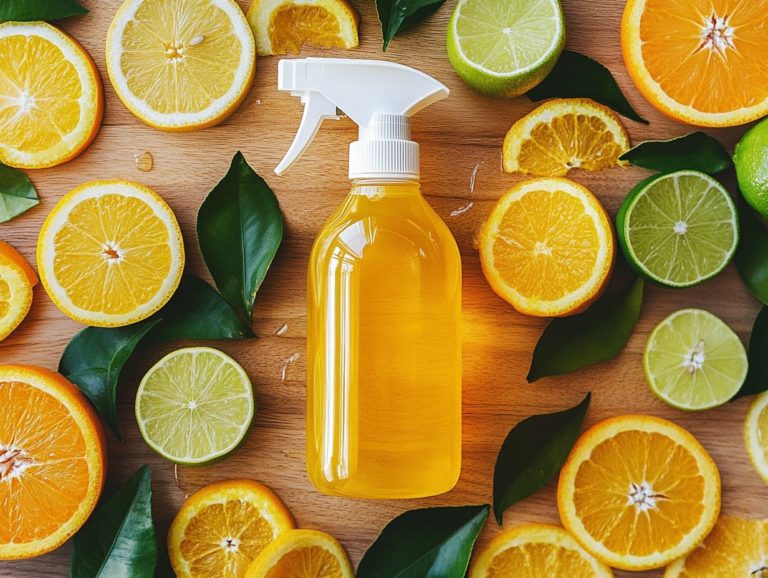
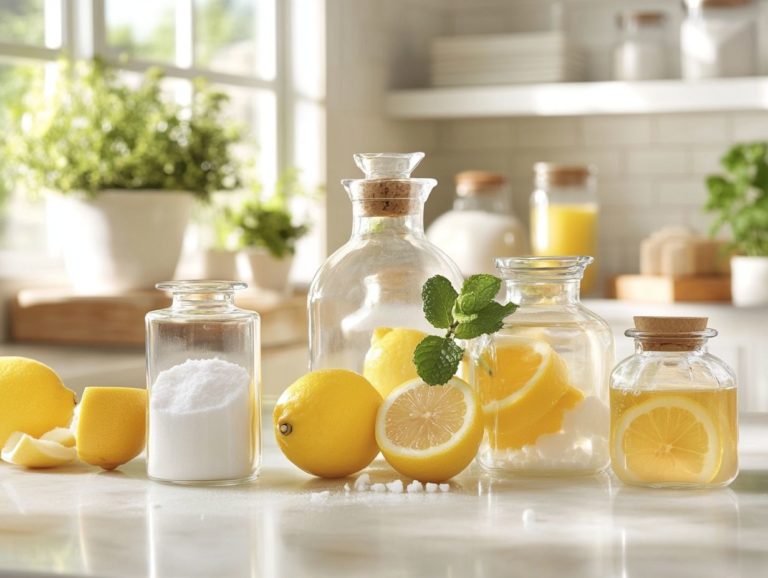
Are you weary of the harsh chemicals lurking in your cleaning products and seeking a more natural alternative? Homemade soap cleaner, such as a DIY dish soap or all-purpose cleaner, could be the solution you’ve been searching for. Not only is it budget-friendly and kind to the environment, but it also empowers you to select the ingredients that align with your personal preferences, such as essential oils, baking soda, and white vinegar.
This guide will walk you through the essential tools and ingredients needed to craft your own soap cleaner. You’ll find a straightforward step-by-step process and valuable tips on how to effectively use and store your creation, including how to use a digital scale, mold soap, and stir soap. Get ready to transform your home into a cleaner, greener haven!
Contents
- Key Takeaways:
- What is Homemade Soap Cleaner?
- Why Make Your Own Soap Cleaner?
- What Tools and Ingredients Do You Need?
- How to Make the Soap Cleaner?
- How to Use the Homemade Soap Cleaner?
- How to Store the Homemade Soap Cleaner?
- Frequently Asked Questions
- What ingredients do I need to make a simple homemade soap cleaner?
- How do I make a simple homemade soap cleaner?
- Is it safe to use homemade soap cleaner on all surfaces?
- How does homemade soap cleaner compare to store-bought cleaners?
- Can I customize the scent of my homemade soap cleaner?
- How long can I store homemade soap cleaner?
Key Takeaways:
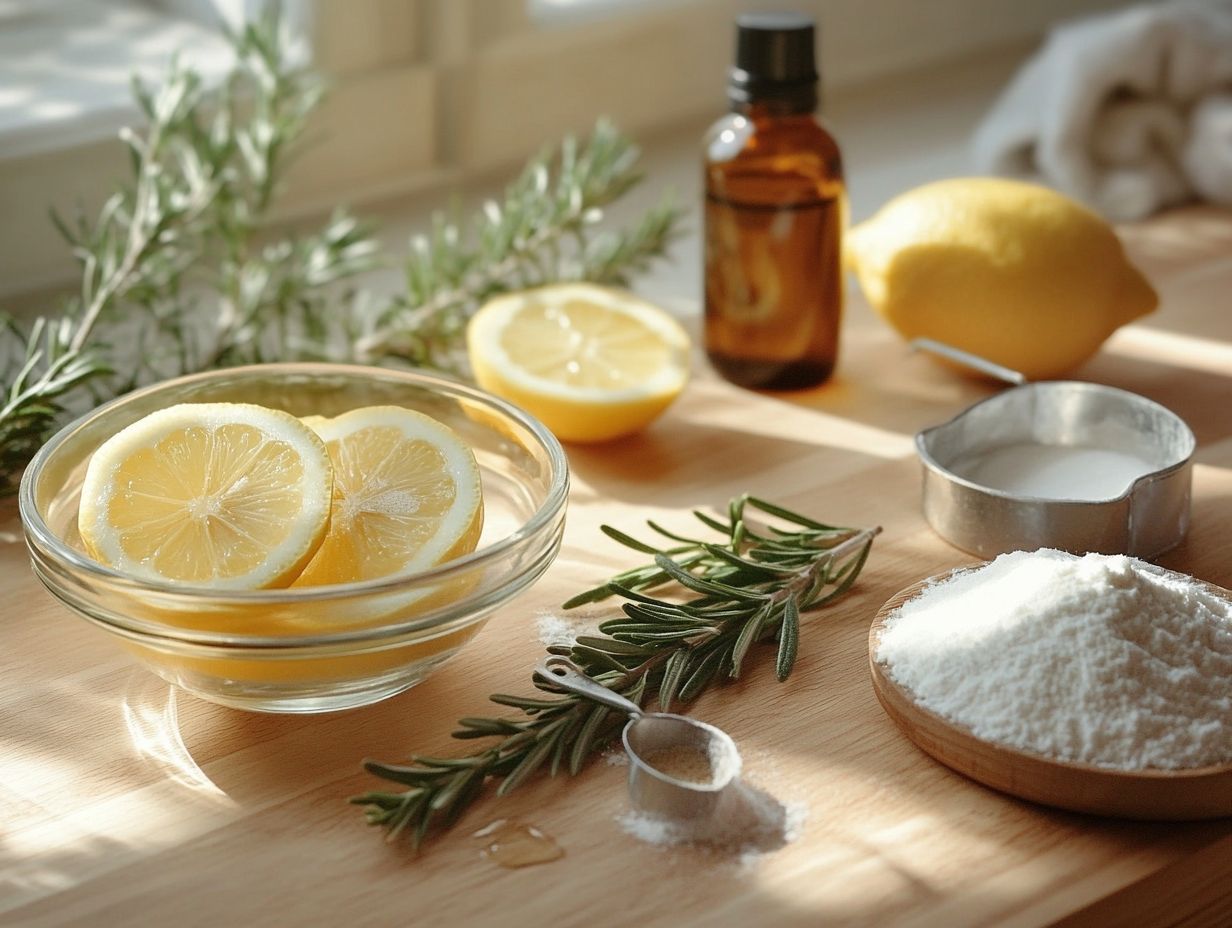
- Making your own soap cleaner is easy and saves money.
- It’s better for the environment than store-bought options.
- You can personalize your cleaner with your favorite scents or oils.
What is Homemade Soap Cleaner?
Homemade soap cleaner stands out as a versatile and eco-friendly alternative to commercial cleaning products. It is made from natural ingredients such as coconut oil, lye, and essential oils. This not only delivers effective cleaning but also reduces the presence of harmful chemicals in your environment, making it a superior choice over commercial soap.
You can customize this DIY solution to meet your specific cleaning needs, whether it’s tackling stubborn laundry stains or serving as an all-purpose cleaner. It’s an essential addition to your household cleaning arsenal and can also function as a scrubbing cleanser or a stain remover for tough spots.
With just a few simple ingredients and tools, you can effortlessly create your own cleaning soap at home. This approach promotes sustainability and health-conscious living. Essential tools include a digital scale and safety gear to ensure accurate measurements and safe handling of ingredients like lye, a strong base used in soap-making that requires careful handling.
Why Make Your Own Soap Cleaner?
Creating your own soap cleaner embodies a resourceful approach to maintaining household cleanliness and champions a sustainable lifestyle, significantly reducing your environmental impact. By using ingredients like grated soap or castile soap, you can craft various cleaning solutions such as a DIY dish soap or a multipurpose cleaner.
By choosing DIY cleaning solutions, you save money while gaining complete control over the ingredients and their effectiveness. This gives you the power to craft products specifically tailored to your needs, whether it s a homemade dish soap or an all-purpose cleaner. Using common household items like baking soda and white vinegar can further enhance your homemade cleaning products.
This project sparks your creativity, promotes environmentally responsible choices, and paves the way for healthier living by eliminating the harmful chemical agents often found in commercial cleaning products.
1. Saves Money
Creating your own homemade soap cleaner can significantly slash your expenses! Save big with this simple DIY project while using high-quality cleaning supplies tailored to your needs. By investing in bulk ingredients like coconut oil, lye (a strong alkaline solution used in soap making), and essential oils, you can whip up multiple batches of effective cleaning soap for just a fraction of the cost of store-bought alternatives.
Using simple recipes with basic household items like baking soda and white vinegar enhances your savings and helps you avoid the steep prices of commercial cleaning products. For instance, you can make a homemade dish soap or liquid soap using just a few ingredients, providing an effective alternative to more expensive options.
This approach keeps your budget in check and promotes a more sustainable lifestyle by minimizing waste. A typical commercial bottle of multi-surface cleaner can cost $3 to $7, while your homemade soap can cut that cost to mere cents per bottle! Also, using reusable containers like a spray bottle for your homemade cleaning solutions helps reduce plastic waste.
When you consider how often you need to purchase cleaning supplies, the total savings can be remarkable over time. You can easily customize your cleaning agents by crafting them yourself, ensuring the scents and ingredients align perfectly with your preferences. This makes your home cleaning experience not only more enjoyable but also more effective.
2. Environmentally Friendly
Homemade soap cleaners are an exceptionally eco-friendly choice, allowing you to forgo commercial products that often contain harmful chemicals. This minimizes your household’s environmental footprint and promotes a more sustainable way of living. By using natural ingredients like coconut oil and essential oils, you can create effective cleaning solutions that protect both your family’s health and the planet.
Switching to DIY cleaning methods addresses health concerns linked to the chemical agents in conventional cleaning supplies and ensures that your cleaning capabilities remain uncompromised.
These homemade alternatives significantly reduce your exposure to toxic substances and cut down on plastic waste, as they can typically be stored in reusable containers. By opting for chemical-free soap, you contribute positively to your environment, cultivating a healthier living space free of synthetic additives and pollutants.
Many natural ingredients in these cleansers are biodegradable, breaking down safely and supporting ecological balance. Transitioning to natural cleaners ensures that your household cleaners are both effective and safe!
Embracing natural cleaners aligns with a broader commitment to sustainability, fostering mindful consumption and nurturing a deeper connection to the earth. Ready to get started and save money today?
3. Customizable Ingredients
One of the major advantages of crafting your own soap cleaner is the exceptional ability to customize the ingredients according to your specific cleaning preferences and fragrance desires. By selecting particular essential oils, like lavender or tea tree, or incorporating delightful additives such as fragrance oil, you can elevate your homemade soap with scents that invigorate your cleaning routine. You can even create unique soap recipes that incorporate soap flakes or grated soap for added texture and cleaning power.
This level of personalization not only gives you the power to create effective cleaning solutions tailored to your needs but also ensures that the ingredients you choose align with your values, whether they are eco-friendly, hypoallergenic, or simply aromatic.
With a world of customizable ingredients at your fingertips, you have the opportunity to design unique soap recipes that tackle a myriad of cleaning challenges, from banishing stubborn grease to neutralizing pesky odors in your home. For example, incorporating a thickening agent can improve the consistency of your soap, making it easier to use in various cleaning applications.
For instance, if your kitchen surfaces are in need of some serious antibacterial action, adding tea tree oil can significantly enhance the disinfecting properties of your formula. Alternatively, blending in citrus essential oils not only uplifts your mood with their refreshing fragrance but also boosts the cleaning power through their natural grease-cutting abilities. You can also experiment with other natural additives like castile soap or liquid soap to further customize your cleaning solutions.
The endless combinations you can create provide a personal touch that transforms cleaning into a more enjoyable experience.
What Tools and Ingredients Do You Need?
To create your own homemade soap cleaner successfully, you’ll want to gather a selection of essential tools and ingredients that prioritize both safety and effectiveness. Essential items include a digital scale, safety gear (like gloves and goggles), and soap molds for shaping your bars.
Start with a reliable soap base, which you can craft using coconut oil combined with a lye solution, along with distilled water to achieve the perfect consistency. Don t forget to prepare your soap molds to shape your bars, and equip yourself with safety gear such as gloves and goggles. You may also need additional ingredients like soap flakes or fragrance oils to enhance your homemade cleaning soap.
This way, you can confidently embark on your soap-making journey, ensuring a fun and hazard-free experience while crafting your ideal cleaning solution. Remember to melt coconut oil properly and use a caustic solution like lye safely while mixing your ingredients to avoid any accidents.
1. Soap Base
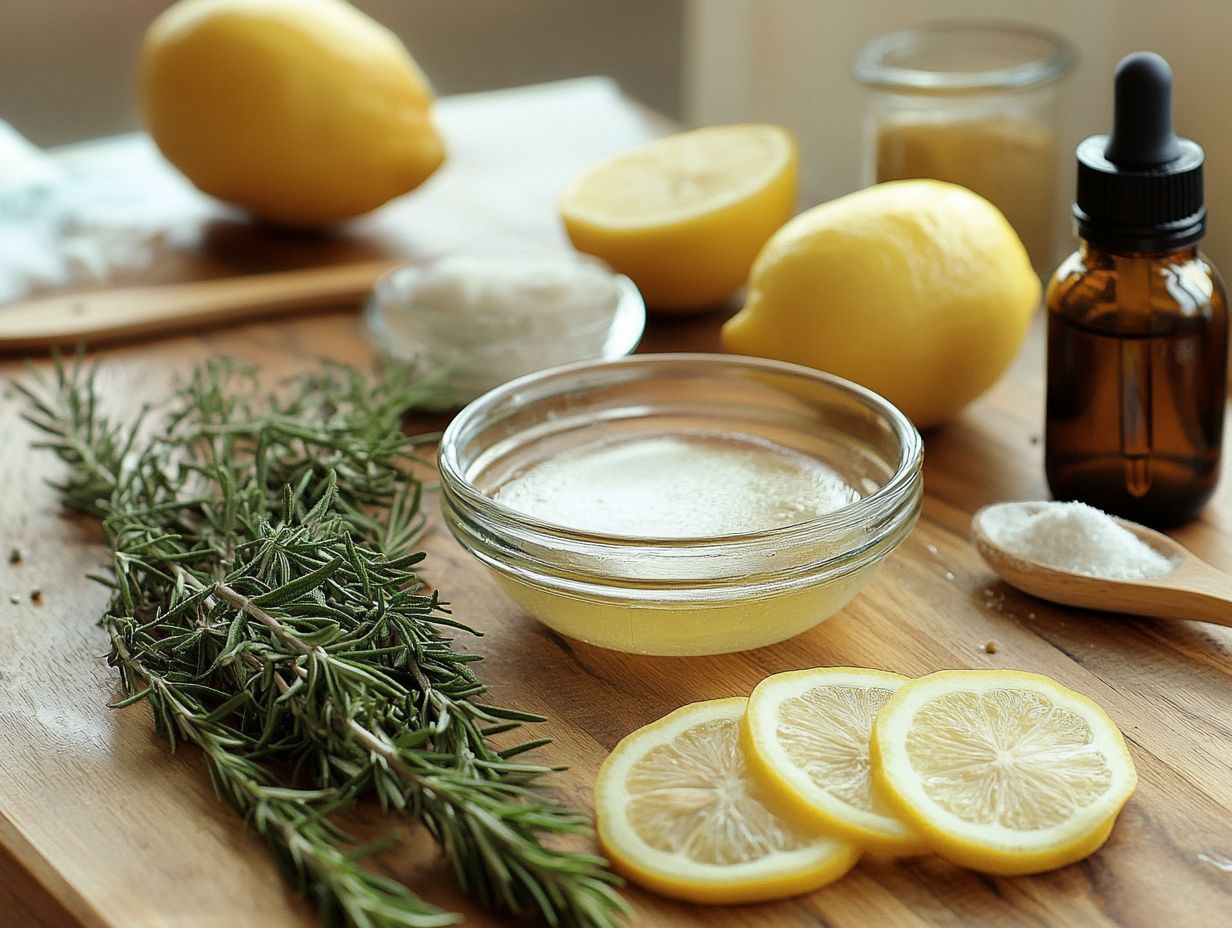
The soap base is an essential element in your journey to creating homemade soap cleaners, serving as the cornerstone that influences the quality and effectiveness of your cleaning concoction. When choosing a base, you’ll likely lean towards coconut oil, celebrated for its natural cleansing properties and ability to generate a luxurious lather. This makes it an excellent choice for a variety of cleaning tasks, from scrubbing cleansers to all-purpose cleaners.
By selecting the right soap base, you can elevate the cleaning power of your DIY soap, resulting in an efficient and eco-friendly solution tailored to your cleaning needs. For instance, using a base of castile soap can enhance the moisturizing and cleaning properties of your homemade soap.
Incorporating coconut oil into your soap base means the final product will offer superior moisturizing qualities, especially beneficial if you have sensitive skin. This natural ingredient not only provides a gentle touch but also enhances the soap’s ability to dissolve dirt and oils, ensuring a thorough clean without the need for harsh chemicals. Additionally, using coconut oil in liquid soap or bar soap forms can cater to various cleaning applications around the house.
The unique fatty acids present in coconut oil contribute to the soap’s durability and stability, making it a smart choice for anyone eager to craft their own homemade soap. Ultimately, integrating coconut oil into your soap base will significantly enhance the effectiveness of your cleaning soap, perfectly aligning with your commitment to a sustainable lifestyle.
2. Essential Oils
Essential oils are an essential component in your homemade soap cleaners, not only filling the air with delightful fragrances and enhance the cleaning capabilities of your creations. These natural extracts bring many benefits, from antibacterial properties to uplifting aromas, ensuring a more enjoyable and effective cleaning experience.
You can incorporate these oils into various soap recipes, from bar soap to liquid soap, to tailor your cleaning products to your preferences. By thoughtfully selecting essential oils, you can tailor your homemade soap to meet specific cleaning needs or personal preferences, whether you choose the refreshing zest of lemon or the natural antiseptic properties of tea tree oil.
Incorporating essential oils elevates ordinary cleaning into a fragrant ritual that rejuvenates both your space and your mood. Fragrance oils are oils that add different scents and, when artfully blended with essential oils, introduce depth and variety, allowing you to explore an even broader array of scents, perfect for DIY cleaning.
Pairing these oils with natural cleaning agents, including homemade soap, tackles grime and bacteria while infusing your environment with soothing or energizing aromas that can lift spirits.
For those of you who have a particular scent profile or seek therapeutic benefits, adjusting the ratio of essential oils allows you to create a uniquely personalized cleaning experience. Your cleaning sessions can become a delightful journey tailored specifically to your tastes and preferences, whether for spot cleaning or more extensive tasks.
3. Distilled Water
Distilled water stands as a cornerstone in the soap-making process, particularly when it comes to crafting the lye solution essential for saponification the transformative chemical reaction that turns oils into soap. By opting for distilled water, you ensure purity, effectively sidestepping any unwanted minerals or chemicals that could disrupt the soap-making journey, resulting in a cleaner, more effective end product.
This meticulous attention to detail allows you to create homemade soap that is not only safe and effective but also perfectly suited for cleaning various surfaces throughout your home. Using distilled water significantly elevates the overall quality and performance of your finished soap.
Whether you make soap for general cleaning or specialized uses like laundry detergent, it’s important to recognize that impurities in water can lead to unpredictable outcomes, affecting both lathering ability and texture. Choosing distilled water achieves a consistent lye solution, a crucial element for attaining the right balance and desired effects during saponification.
Incorporating distilled water, therefore, not only enhances the aesthetic qualities of your soap but also ensures it meets the cleanliness and efficiency standards that discerning consumers expect.
4. Soap Molds
Soap molds are an essential tool in your journey to create homemade soap, enabling you to shape and design your soap to perfection whether you prefer traditional bar soap or whimsical shapes for gifting. These molds come in a variety of materials, including silicone and plastic, each offering its own advantages.
For instance, silicone molds are incredibly user-friendly, allowing for easy release of the soap once it has hardened. Choosing the right soap mold not only enhances the visual appeal of your handcrafted creations but also improves their functionality in everyday cleaning tasks.
The type of soap mold you select can significantly affect both the appearance and texture of your final product. Silicone molds are a favorite among soap-making enthusiasts for their flexibility, allowing intricate designs to be released effortlessly without any damage to the soap. On the other hand, wooden molds exude a rustic charm and can retain heat, which is particularly advantageous for certain cold process soap techniques.
With the right mold, you can create stunning soaps that are perfect for gifts or home decor. By utilizing a variety of molds, you have the opportunity to experiment with different shapes and sizes, leading to unique creations that can serve as thoughtful gifts or stylish decorative pieces in your home.
The right choice of mold is vital to the overall soap-making experience, as it influences not only the geometry of your soap but also its final presentation and appeal, whether you are making DIY dish soap or general-purpose cleaners.
Start experimenting with essential oils, distilled water, and molds in your soap-making adventures today!
How to Make the Soap Cleaner?
Creating a cleaner soap at home is a simple process. This allows you to combine natural ingredients into an effective cleaning solution. Begin your soap-making journey by melting coconut oil, which acts as the foundation for your homemade soap. This is an excellent approach for DIY cleaning initiatives.
Once the oil has melted, prepare a lye solution. This step is crucial for the process of turning oils into soap. Carefully combine the lye solution with the melted coconut oil, ensuring you stir the mixture thoroughly to achieve a perfectly smooth consistency.
After that, pour the mixture into soap molds. Allow it to cool and harden, transforming it into beautiful cleaning soap bars that you can take pride in.
1. Melt the Soap Base
The first step in your soap-making journey is to melt the soap base. Coconut oil serves as the foundation for your homemade soap cleaner. Gently heat the coconut oil until it transforms into a liquid. Be careful not to raise the temperature too high, as this could compromise its beneficial properties.
Once melted, you can blend the soap base with other ingredients to craft a powerful cleaning product tailored to various household tasks. To achieve that perfect melting point, consider employing the double boiler method. This is a gentle way to melt your soap. Place the soap base in a heat-resistant bowl set over a pot of simmering water. The indirect heat allows for a gradual melt, minimizing the risk of overheating.
You can also heat water on the stove and place the soap base bowl on top. Maintaining precise temperature control is crucial; ideally, aim to melt the soap base at around 120 F to 130 F. If you prefer using a microwave, opt for short intervals of 15-20 seconds, ensuring to stir between each burst for even melting.
By paying careful attention to temperature, you’ll preserve the quality of the coconut oil, ultimately enhancing the cleaning efficacy of your soap.
2. Add Essential Oils
Want to make your soap even better? Add essential oils or fragrance oils to the mix! This step infuses your homemade soap cleaner with delightful scents and enhances its cleaning capabilities. Oils like lavender, lemon, or eucalyptus not only offer pleasant aromas but also bolster the soap’s antibacterial properties, making your cleaning agents even more effective against germs and grime.
This is your chance to create something truly unique! Choosing the right essential oils can significantly enhance your experience with your homemade soap. For example, tea tree oil is renowned for its powerful antiseptic qualities, making it ideal for tackling stubborn stains. Meanwhile, peppermint oil provides a refreshing burst of energy and alertness.
You can also experiment by blending various oils together, crafting unique combinations that not only smell divine but also offer extra benefits, such as calming effects or invigorating sensations.
By incorporating these natural aromas into your soap, you ll enrich both its scent and functionality. This transforms mundane cleaning tasks into a more enjoyable and satisfying experience. Don t miss out on the benefits of adding essential oils to your soap!
Whether you are removing stains or performing general cleaning, these additions make your tasks more pleasant. Start creating your soap cleaner today and enjoy a cleaner home!
3. Pour into Soap Molds
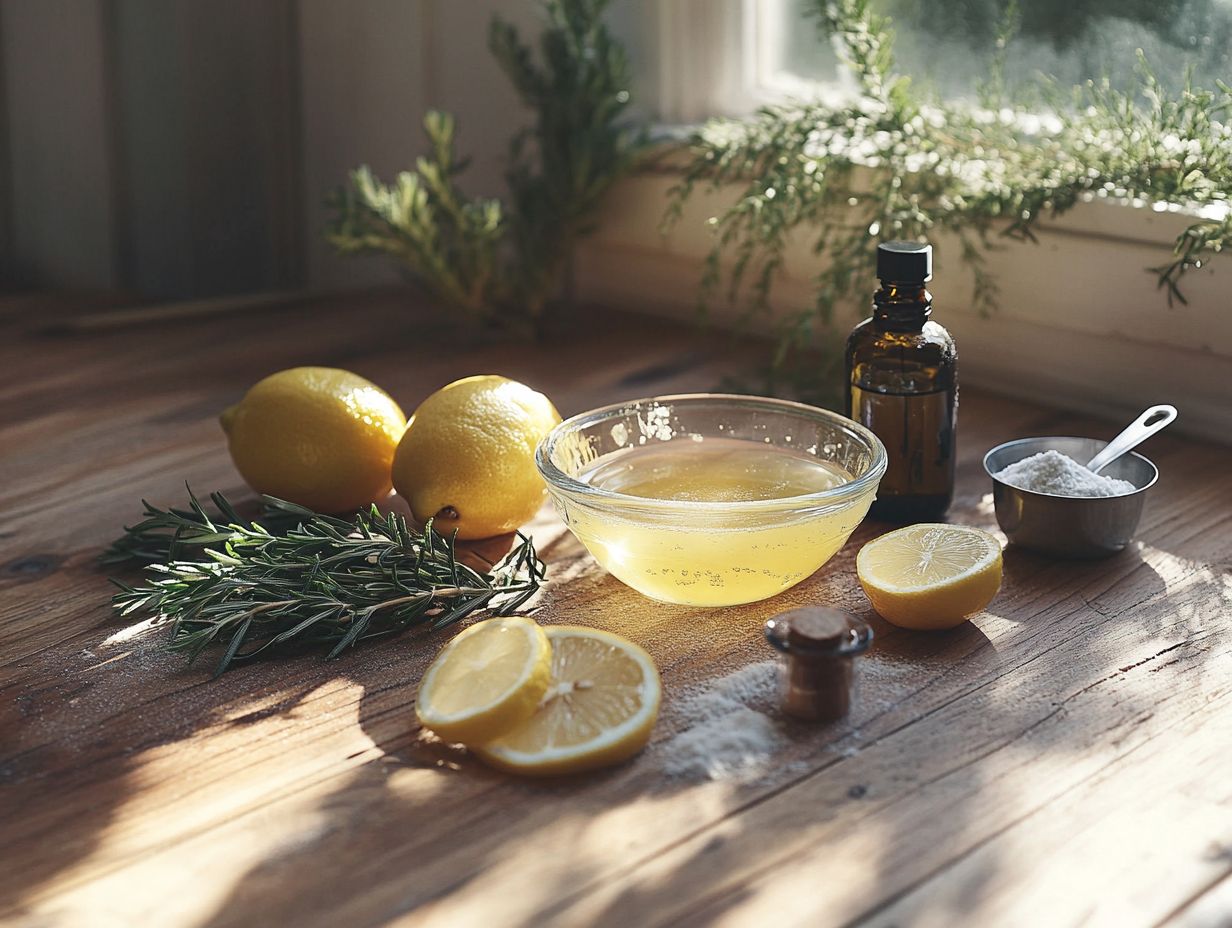
After blending the melted soap base with essential oils, pour the fragrant mixture into your soap molds. This transforms your creation into beautiful bars.
Make sure your molds are prepped properly whether you choose a silicone mold for effortless release or a sturdier one that requires lining to prevent sticking. This step is crucial, as it defines the shape and size of your soap bars and their aesthetic appeal and functionality for various cleaning tasks, like making custom soap for laundry detergent or DIY dish soap.
Take your time to ensure a smooth and even process as you pour. Rushing might lead to pesky air bubbles or uneven surfaces. Begin by gently pouring the mixture from the corner of the mold, allowing it to flow and gradually fill every nook and cranny.
Keep in mind the importance of your mold selection. Different materials can significantly impact the texture and finish of the final product. Silicone molds are especially beginner-friendly, offering the flexibility you might appreciate, while harder molds may require a bit more finesse during removing the soap from the mold.
For the best results, be patient. Allow the soap to cool completely before trying to remove it. This ensures a clean release and leaves you with beautifully crafted soap that you can be proud of.
4. Let it Cool and Harden
Once you ve poured the soap mixture into the molds, it s crucial to allow it to cool and harden properly. This step ensures that your final product achieves the desired firmness and cleaning power as a cleaning soap.
Letting the cleaning soap cool properly prevents unsightly cracks and uneven textures. It also allows any excess moisture to evaporate, resulting in a hard, long-lasting bar. The curing process, which can take several weeks, is vital for developing the soap s fragrance and lather, transforming it into a pleasurable experience during use.
During this period, make sure to place the soap in a well-ventilated area, away from direct sunlight, to achieve the best results. Keeping an eye on the hardness and texture throughout this time will lead to superior quality soap that performs exceptionally well on surfaces, making your cleaning tasks more efficient and effective.
How to Use the Homemade Soap Cleaner?
Using homemade soap cleaner is an exceptional way to maintain a pristine environment in your home. It offers a natural and effective alternative to those commercial cleaning products filled with unknown ingredients.
Begin by wetting the surface you wish to clean. Then take your bar of homemade soap and gently rub it onto the area. This will enable the soap to effectively break down dirt and grime. For particularly stubborn spots, you can employ the soap as a targeted spot cleaning solution.
With this approach, you not only guarantee a thorough clean but also control the quantity of homemade soap you use for each task. This maximizes performance while minimizing waste.
1. Wet the Surface
Before you apply your homemade soap cleaner, take a moment to wet the surface you intend to clean. This is a crucial step in DIY cleaning that ensures better results.
This simple act significantly enhances the soap’s ability to break down dirt and grime. By moistening the surface, you prepare it for a more effective cleaning process, allowing the soap to adhere better and penetrate stains with greater ease.
Whether you re tackling countertops, stubborn laundry stains, or even trying out a new DIY dish soap, starting with a wet surface is key to achieving optimal results.
Wetting the surface is not just a formality; it plays a vital role in ensuring that your cleaning soap can fully engage with the dirt and stains present. A wet surface helps create a stronger bond with the homemade soap and activates the natural cleaning agents it contains.
This straightforward yet powerful technique encourages the breakdown of stubborn residues, leading to a more efficient cleaning experience. Plus, it helps minimize scratching on delicate surfaces, giving you peace of mind while you take on everyday messes with your trusted cleaner.
In the grand scheme of effective and safe cleaning outcomes, the significance of this step simply cannot be overstated.
How to Store the Homemade Soap Cleaner?
Storing your homemade soap cleaner correctly is crucial for preserving its quality and effectiveness. This ensures it remains a reliable ally in your cleaning endeavors.
To maximize its shelf life, place your homemade soap in a cool, dry location. Keep it away from direct sunlight and humidity, as these elements can compromise its properties.
It s wise to use the soap within six months. This allows you to fully enjoy its cleaning prowess and maintain an effective solution for all your cleaning needs.
1. Keep in a Cool, Dry Place
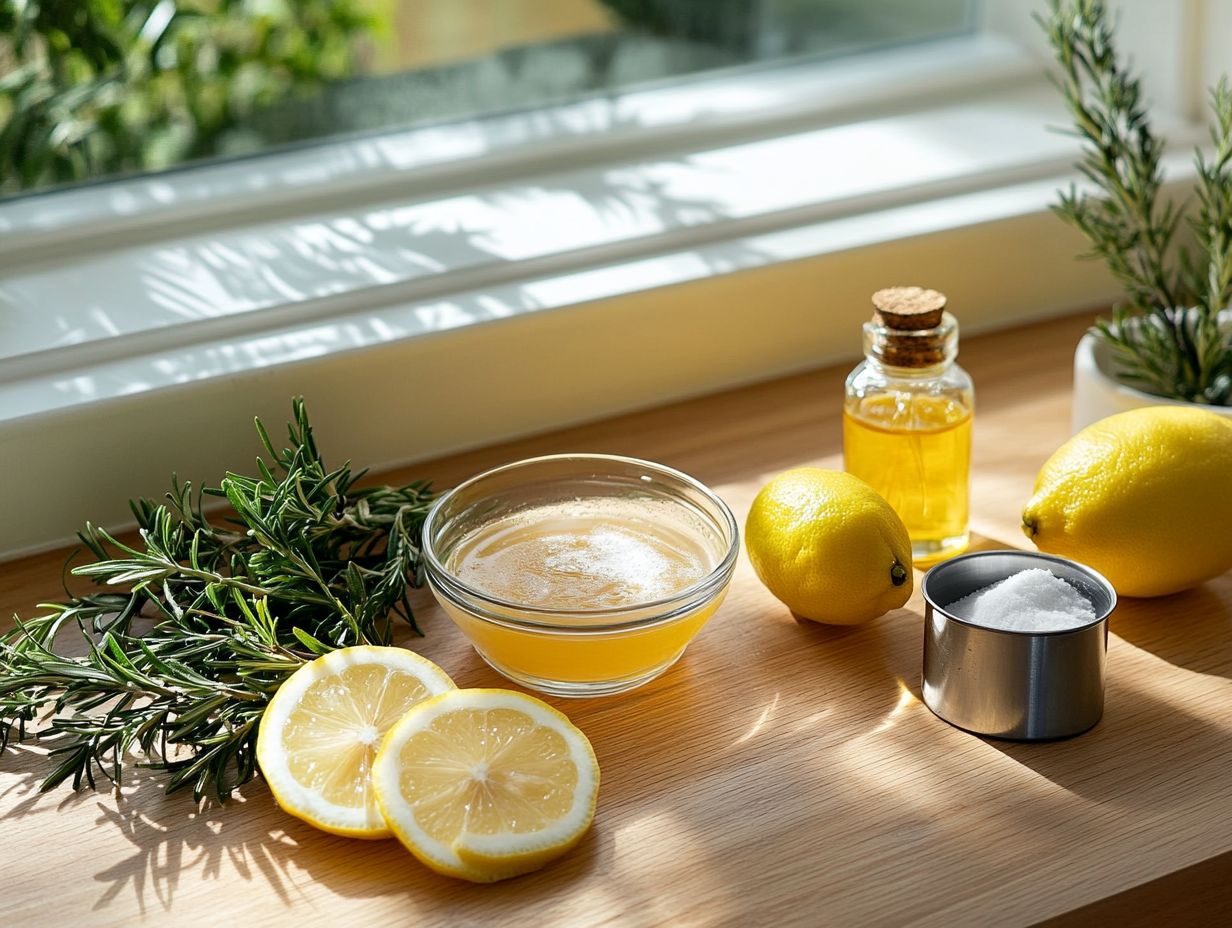
To maintain the quality of your homemade soap cleaner, store it in a cool, dry place. Keep it away from heat and moisture that could compromise its integrity. This prevents it from melting or deteriorating, ensuring it remains effective for your cleaning tasks and other soap-making endeavors.
The influence of temperature and humidity on soap is significant. Excessive heat can soften it, while high humidity may cause a tacky texture or even mold growth, undermining its effectiveness. Whether you’re crafting a fragrant lavender soap or an invigorating citrus blend, understanding these factors is crucial for maintaining quality.
By keeping your homemade soap in a cool, dry place, you maximize its shelf life and retain its intended benefits. This leads to a more efficient and pleasant cleaning experience across various surfaces.
2. Use Within 6 Months
For your homemade soap cleaner to work effectively, use it within six months of making it. This timeframe helps you harness its full cleaning potential.
As time passes, the ingredients can lose their effectiveness. Your soap may struggle to tackle dirt and stains if stored too long.
By watching your timeline, you set yourself up for optimal results in your cleaning efforts. This guidance is crucial for maintaining effectiveness.
Homemade soap is made from natural oils and fats, along with lye, which is a strong alkaline substance used in soap-making. These ingredients can change over time, potentially leading to a decline in effectiveness.
Using your homemade soap within six months not only gives you better cleaning power but also lets you enjoy the satisfaction of eco-friendly cleaning. It ensures a cleaner and healthier living space.
Frequently Asked Questions
What ingredients do I need to make a simple homemade soap cleaner?
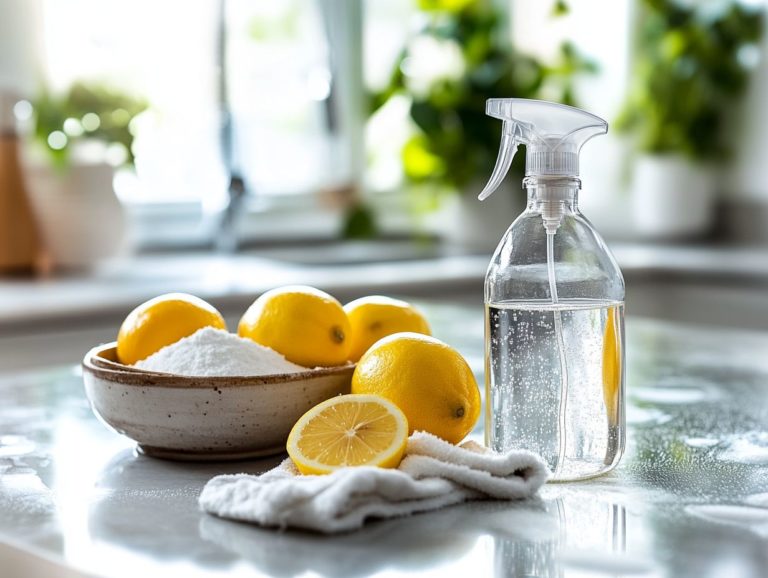
To make a simple homemade soap cleaner, you will need the following ingredients: soap flakes, baking soda, white vinegar, essential oils (optional), water, and a spray bottle. This DIY cleaning solution is a great multi-purpose cleaner for various surfaces.
How do I make a simple homemade soap cleaner?
To make a simple homemade soap cleaner, follow these steps:
- In a bowl, mix 1 cup of soap flakes with 1 cup of hot water until the soap flakes dissolve.
- Add 1 cup of baking soda and stir well.
- Slowly pour in 1 cup of white vinegar while stirring.
- Optional: Add a few drops of your favorite essential oils for a pleasant scent.
- Transfer the mixture to a spray bottle and fill it up with water. Shake well before using.
Is it safe to use homemade soap cleaner on all surfaces?
Yes, homemade soap cleaner is safe to use on most surfaces including countertops, sinks, and floors. However, always consider the specific needs of your DIY cleaning projects. It is not recommended for use on delicate surfaces such as marble or granite. Always test a small area before using on a new surface.
How does homemade soap cleaner compare to store-bought cleaners?
Homemade soap cleaner is a great alternative to store-bought cleaners as it is more eco-friendly, cost-effective, and free of harsh chemicals. It s a fantastic addition to your range of DIY cleaning products. It also cleans effectively and leaves a natural, pleasant scent.
Can I customize the scent of my homemade soap cleaner?
Yes, you can customize the scent of your homemade soap cleaner by adding a few drops of your favorite essential oils. Some popular choices include lavender, lemon, and peppermint.
How long can I store homemade soap cleaner?
Homemade soap cleaner can be stored for up to 2-3 months in a cool, dark place. However, it is best to make smaller batches to ensure freshness. If the mixture starts to separate, simply shake well before using. This applies to all your DIY cleaning solutions.
Get ready to make your cleaning routine more effective and eco-friendly! Share your experiences or tips for making homemade soap cleaner in the comments below!
