How to Make Your Own Disinfectant Wipes
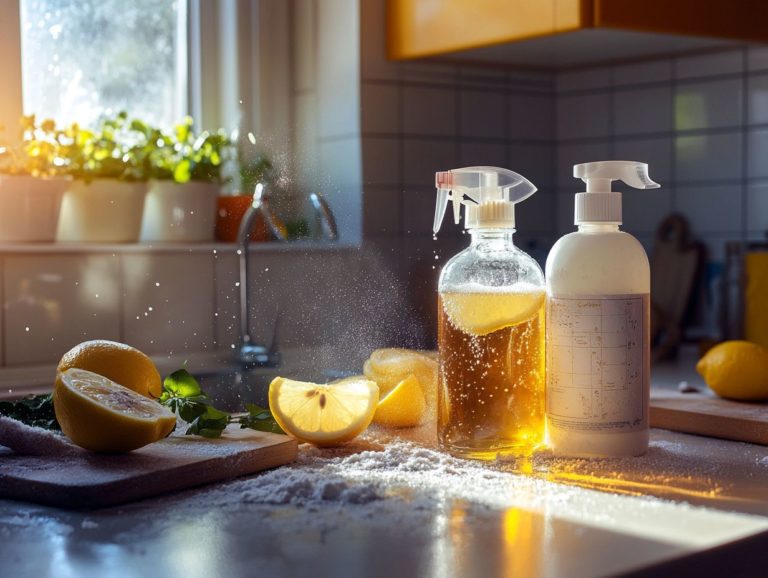
In today s world, prioritizing cleanliness has become paramount. Homemade disinfectant wipes, which are effective for surface disinfecting, present a sophisticated and practical solution.
These wipes not only save you money but also allow you to customize them according to your specific needs and preferences. You can select eco-friendly ingredients, such as essential oils, that align with your values.
Get ready to discover how easy it is to make your own disinfectant wipes at home! This guide will detail the essential ingredients, usage tips, and vital safety precautions recommended by the Centers for Disease Control and Prevention (CDC).
Embrace this effortless and sustainable cleaning option by utilizing homemade disinfectant wipes, and elevate your cleaning routine to a new standard.
Contents
- Key Takeaways:
- Why Make Your Own Disinfectant Wipes?
- What Ingredients Do You Need?
- How to Make Your Own Disinfectant Wipes?
- How to Use Your DIY Disinfectant Wipes?
- Precautions When Using DIY Disinfectant Wipes
- Frequently Asked Questions
- What ingredients do I need to make my own disinfectant wipes?
- How do I make my own disinfectant wipes without using paper towels?
- Can I use any type of rubbing alcohol for my disinfectant wipes?
- What essential oils can I add to my disinfectant wipes for a pleasant scent?
- How do I store my homemade disinfectant wipes?
- Can I use my homemade disinfectant wipes on all surfaces?
Key Takeaways:
- Making your own disinfectant wipes is cost-effective, customizable, and eco-friendly.
- All you need to make your own disinfectant wipes are a cleaning solution, absorbent material, and a container.
- Follow these easy steps to make your own disinfectant wipes: prepare the container, cut the absorbent material, mix the cleaning solution, soak the material, and store properly.
Why Make Your Own Disinfectant Wipes?
Homemade disinfectant wipes are an excellent alternative to commercial cleaning products like Lysol and Clorox. They offer personalized and eco-friendly cleaning solutions.
Creating your own disinfectant wipes at home has many advantages, making it a valuable DIY project for anyone invested in maintaining hygiene, safety, and sanitation within their space.
These homemade disinfectant wipes not only save you money but also allow you to customize the ingredients according to CDC recommendations for effective cleaning and disinfecting. This method supports less waste by using reusable wipes and minimizing single-use products, offering a more eco-conscious solution for your household cleaning needs.
1. Cost-Effective
Creating homemade disinfectant wipes is a remarkably cost-effective strategy that allows you to maintain a clean and sanitized home without straining your budget. With simple ingredients like rubbing alcohol or bleach, you can craft a potent disinfecting solution that won t leave your wallet empty.
When you consider the often steep prices of commercial cleaning products, you will see clear benefits from homemade wipes. Not only do you cut costs, but you also reduce your exposure to harsh chemicals in your living space.
For instance, a typical pack of disinfectant wipes can range from $5 to $10, depending on the brand and quantity. In contrast, a bottle of vinegar generally costs under $3 and can produce multiple batches of wipes. Adding household staples like rubbing alcohol, known for killing germs effectively, further enhances your savings, usually costing just a few dollars for a generous bottle.
In essence, DIY disinfectant wipes not only uphold high cleaning standards but also foster significant financial savings, enabling you to reallocate those funds toward other essential household needs, contributing to overall home hygiene.
2. Customizable Ingredients
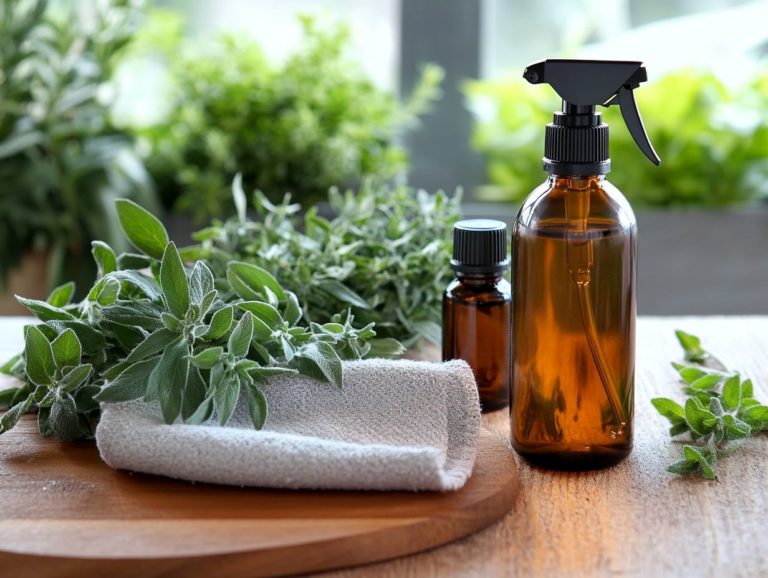
One of the most enticing aspects of crafting your own disinfectant wipes is the ability to tailor the ingredients to fit your specific needs and preferences. This flexibility gives you the power to integrate germ-fighting oils and other essential components, significantly enhancing the disinfectant properties of your homemade solution.
For example, when you choose essential oils like tea tree or eucalyptus, you not only infuse a delightful aroma but also introduce formidable antibacterial properties into the mix. These oils, recommended by sources like the American Journal of Essential Oils, can effectively tackle a variety of germs, making them perfect for households seeking a natural yet powerful cleaning alternative.
You can also customize the type of alcohol be it isopropyl or ethanol based on the cleaning task at hand. If you need to disinfect kitchen surfaces, a higher alcohol content might be your go-to, while a lower concentration may suffice for general household cleaning.
This adaptability ensures that your wipes meet specific needs, ultimately contributing to a cleaner and healthier home environment.
Start making your own wipes today and enjoy a cleaner, safer home!
3. Eco-Friendly
Choosing homemade disinfectant wipes is an exceptional eco-friendly decision! By doing so, you enhance sustainability by minimizing waste and reducing your dependence on single-use products. By sanitizing your home, you re also helping to protect our planet! How great is that?
Adopting this method lessens the environmental impact of traditional cleaning supplies, which often come in non-recyclable packaging and contain harsh chemicals. It also encourages a more mindful lifestyle. When you create your own cleaning solutions, you gain greater control over the ingredients. This allows you to avoid toxic substances that can affect your health and the environment.
As you shift away from disposable items, you play a vital role in combating plastic pollution. This contributes to clearer oceans and healthier ecosystems. Through this simple yet powerful approach, you can take a stand against the environmental challenges posed by conventional cleaning products.
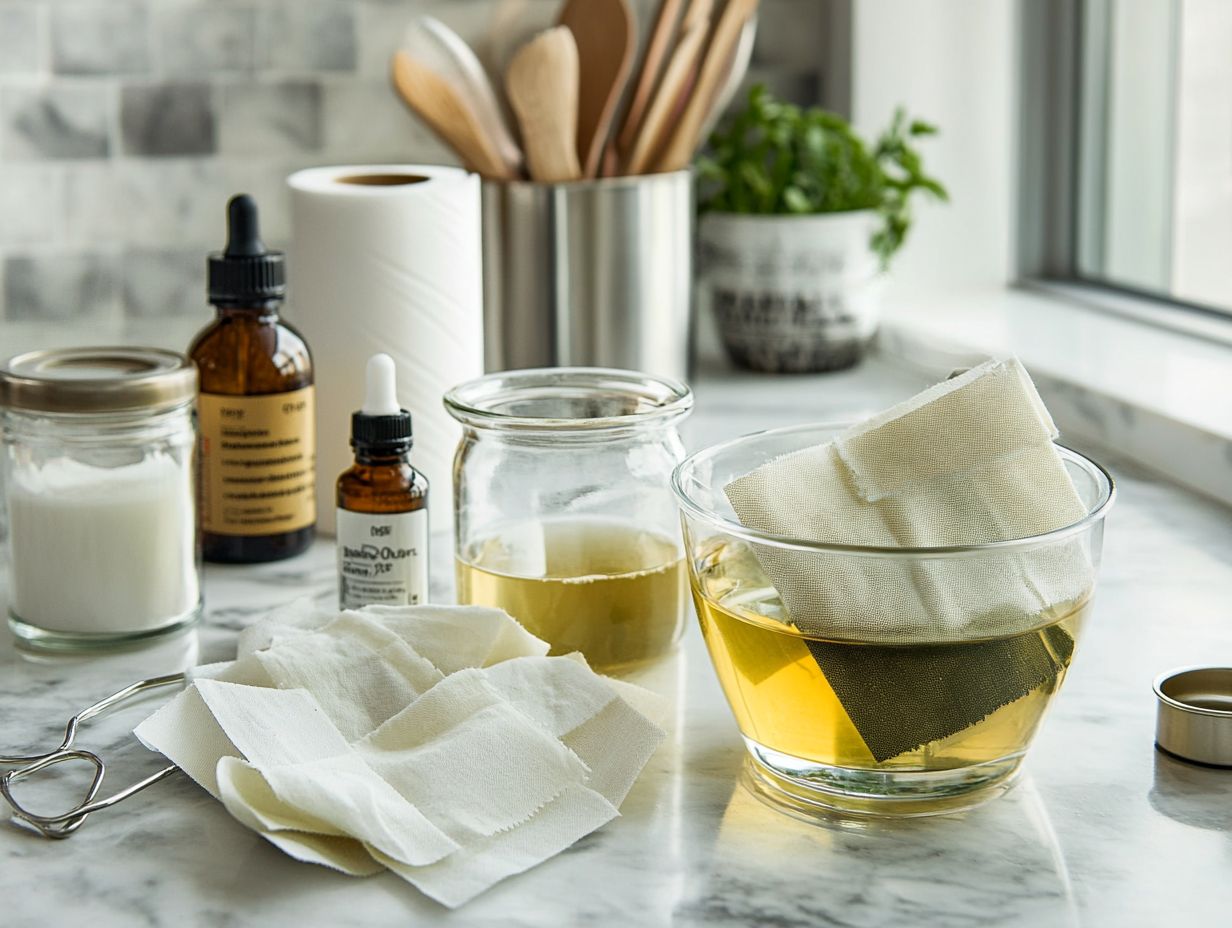
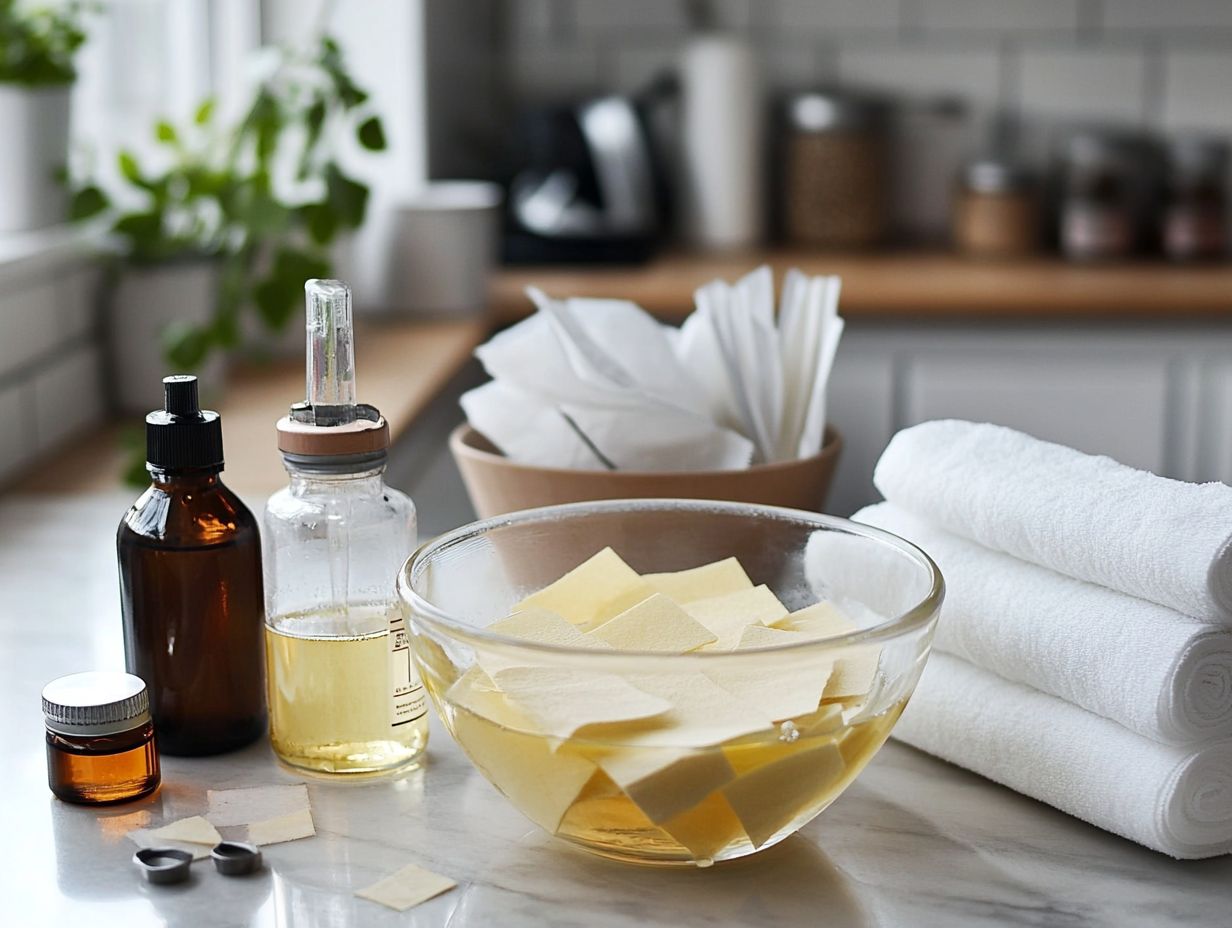
What Ingredients Do You Need?
To craft your own disinfectant wipes, you ll need a few essential ingredients for an effective cleaning solution. Gather a disinfecting solution, some absorbent materials like paper towels or microfiber cloths and a suitable container to safely store your wipes.
By following proper disinfectant guidelines, including those recommended by the U.S. Environmental Protection Agency, you ll enhance the cleaning effectiveness of your DIY endeavor, making it the perfect choice for sanitizing surfaces throughout your home.
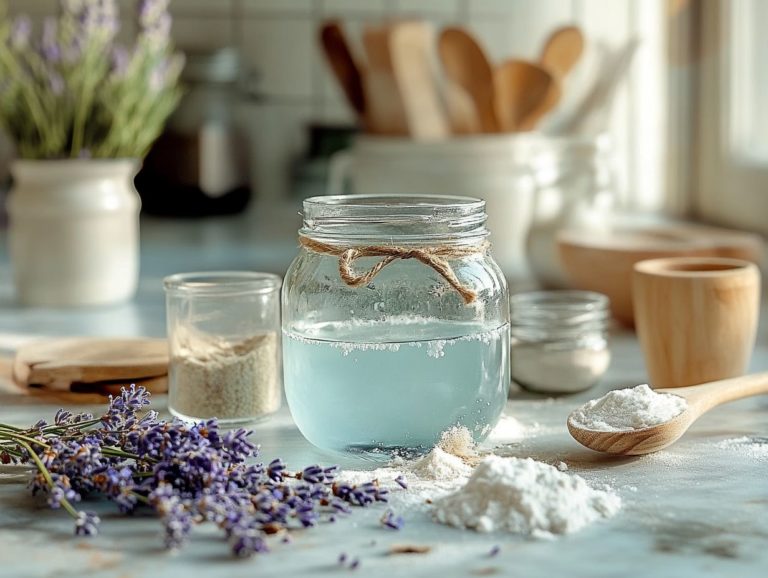
1. Cleaning Solution
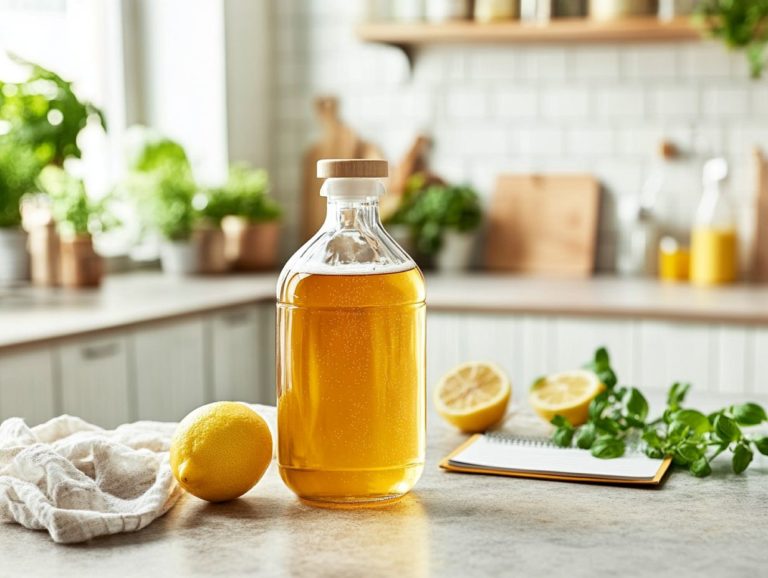
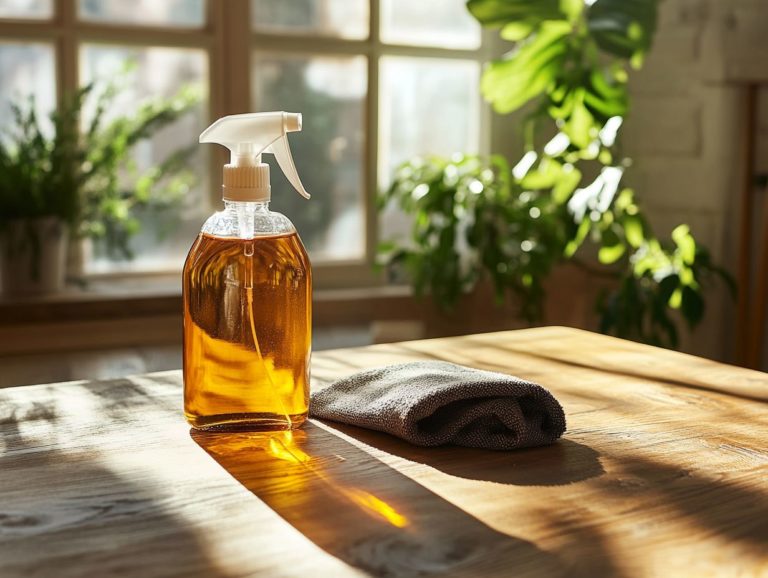
The cleaning solution is the foundation of your homemade disinfectant wipes. Options like rubbing alcohol or a vinegar solution serve as highly effective cleaning agents. These disinfecting solutions not only eliminate germs but also leave surfaces sanitized and pleasantly fresh. You might also consider a bleach mixture or hydrogen peroxide for extra disinfectant properties.
Rubbing alcohol, particularly isopropyl alcohol with a concentration of at least 70%, is celebrated for its remarkable ability to kill a wide range of germs that can make you sick. It works swiftly and evaporates rapidly after application, contributing to quicker drying times. Alternatively, ethanol or Everclear can also be used as effective disinfecting alcohol.
Vinegar, on the other hand, is a natural disinfectant, though it s best suited for minor sanitization tasks. Its acidity helps break down grime and odors, making it a useful addition to your cleaning arsenal.
When considering safety precautions, avoid mixing vinegar with bleach, as this combination produces harmful fumes. Always ensure good ventilation and wear gloves to protect sensitive skin while working with these solutions, following recommended sanitation tips.
2. Absorbent Material

Choosing the right absorbent material is essential when crafting your own disinfectant wipes. It directly influences both the effectiveness and overall convenience of your cleaning routine. You have options like paper towels or microfiber cloths. Opting for reusable wipes serves as an eco-friendly choice and helps in reducing waste.
This selection impacts how well the disinfectant is absorbed and distributed, aligning with your sustainability goals. While disposable paper towels offer quick-fix convenience, they contribute to the growing problem of landfill waste. On the other hand, microfiber cloths are incredibly absorbent, can be washed and reused multiple times, and save you the hassle of constant repurchase.
It’s important to consider your specific cleaning needs, as certain surfaces may respond better to a particular type of material. Ultimately, finding the right balance between effectiveness and environmental consciousness will guide you in selecting the best materials for your homemade disinfectant wipes, ensuring optimal cleaning methods.
3. Container
An air-tight container is essential for storing your homemade disinfectant wipes. It ensures they stay moist and effective when you need them. Proper disposal of used wipes is equally important for maintaining hygiene and adhering to sanitation practices that foster a clean living environment. Following proper disposal guidelines helps prevent plumbing issues and environmental damage.
An air-tight container minimizes evaporation, helping to retain the moisture and cleaning agents in the wipes. This enhancement boosts their efficiency when it s time to tackle germs and grime.
When disposing of used wipes, resist the temptation to flush them down the toilet. Don’t risk plumbing problems! Instead, place them in a designated trash bag that can be sealed securely to reduce odors and prevent potential contamination.
To keep your container clean and safe, make it a habit to wash it regularly with soap and water. This simple practice extends the life of your wipes while promoting overall cleanliness in your home, aligning with healthy home hygiene practices.
How to Make Your Own Disinfectant Wipes?
Creating your own disinfectant wipes is remarkably simple! It empowers you to personalize the ingredients to suit your preferences. By following straightforward cleaning instructions and employing effective cleaning techniques, you can craft reusable, eco-friendly disinfectant wipes. This ensures optimal cleaning and sanitation, providing alternatives to conventional household disinfectants.
1. Prepare the Container
The first step in crafting your own disinfectant wipes is to prepare an airtight container that will securely house your disinfecting solution and wipes. Choosing the right container is crucial because it keeps your disinfectant effective by preventing alcohol evaporation and contamination.
Opt for a container made from durable materials, such as plastic or glass. These materials can withstand potential chemical interactions and are easy to clean. Before filling it, wash and sanitize the container thoroughly, including the lid. Any lingering impurities could compromise the effectiveness of your disinfecting solution.
Once cleaned, allow the container to dry completely to prevent diluting your solution. Ensure the container is sealed properly by checking for a tight fit. Press the lid down and feel for any gaps. This step aligns with CDC recommendations for maintaining the efficacy of household disinfectants.
Finally, clearly label the container. This not only identifies the contents but also includes important safety warnings such as “Keep out of reach of children” and the date of preparation for easy tracking. Such practices guarantee safe storage and remind you to replace or dispose of the solution when necessary. For more sanitation tips and safe practices, consult resources like the U.S. Environmental Protection Agency and the Centers for Disease Control and Prevention.
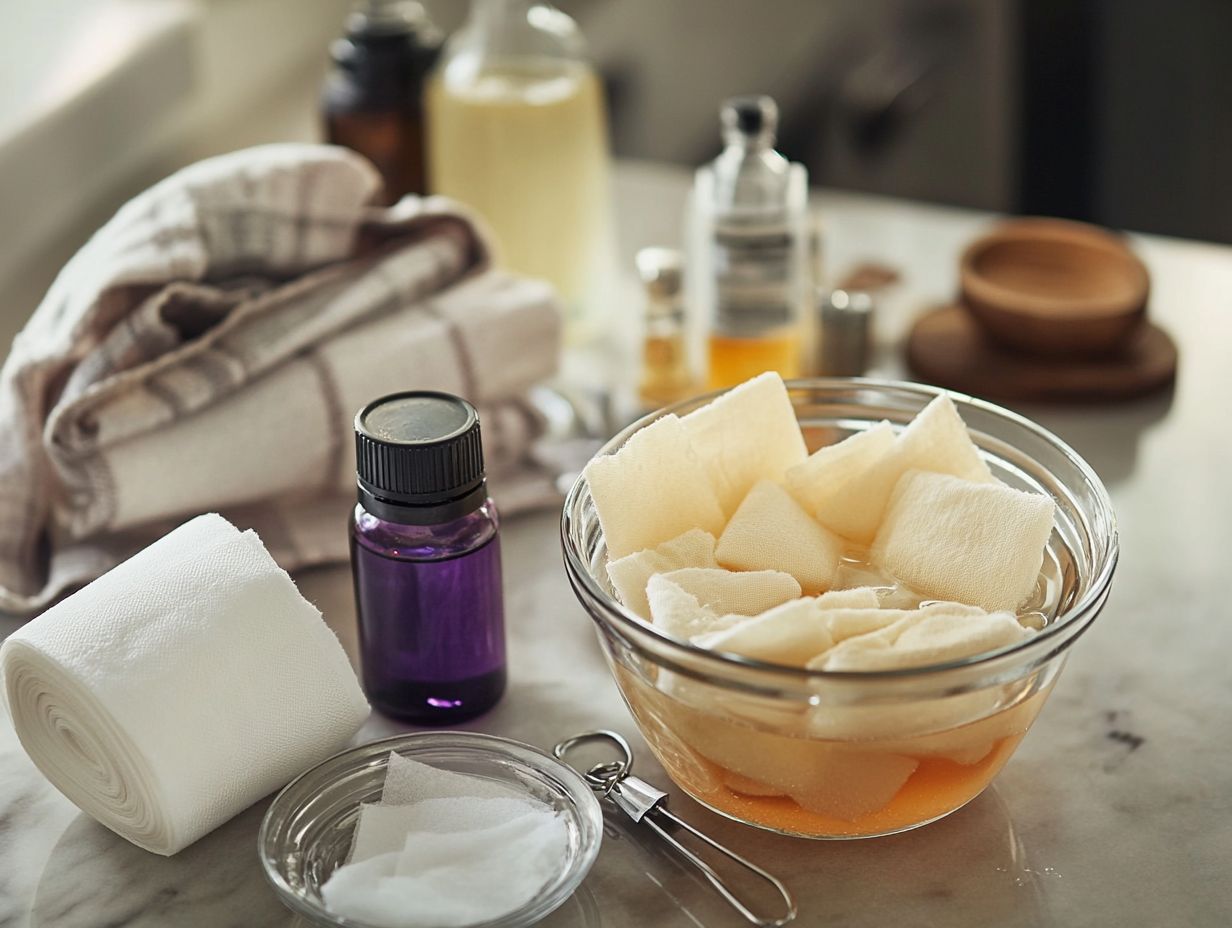
2. Cut the Absorbent Material
Once you ve prepared your container, the next step involves cutting the absorbent material into sizes that will fit perfectly within it. Depending on whether you prefer paper towels or reusable microfiber cloths, ensure these pieces are sized just right for practical use. Opting for reusable wipes can be an environmentally friendly choice.
Aim for squares or rectangles that measure about six to eight inches. This size strikes the ideal balance for effective wiping and soaking. If you choose paper towels, go for heavyweight, quilted varieties that excel in absorbency and durability. Microfiber cloths offer a versatile, eco-friendly option with the added benefit of reusability.
Before you start cutting, confirm that the material is fresh and clean, free from any residues left over from previous uses. Once you ve cut the pieces, lay them flat to facilitate easy soaking. This maximizes their surface area, ensuring they soak up the solution efficiently for optimal results when put to use. This step is essential for maintaining cleaning effectiveness.
3. Mix the Cleaning Solution
The next step requires you to mix your cleaning solution. This can vary based on the disinfectant you choose, such as rubbing alcohol or a vinegar solution. It’s crucial to get the proportions right for effective germ-killing power while ensuring safe usage.
Explore alternatives like bleach or hydrogen peroxide for different cleaning tasks. For a straightforward disinfectant, combine one part 70% rubbing alcohol with one part water. If you prefer a vinegar-based solution, simply mix equal parts of distilled white vinegar and water. Don’t forget to wear protective gloves during this process to prevent any skin irritation.
Adding a few drops of essential oils like tea tree or lavender can enhance the disinfectant properties of your homemade recipe. Consider the specific cleaning task at hand whether you’re focusing on kitchen surfaces, bathrooms, or other areas. Each situation may require a different formulation or concentration level to achieve the best results. For instance, a higher alcohol content may be necessary for tougher jobs or sanitizing surfaces prone to harboring more germs.
Always label your mixtures clearly and store them safely out of reach of children and pets to avoid any accidental ingestion. Proper labeling is part of following disinfectant guidelines and ensuring home hygiene.
4. Soak the Absorbent Material in the Solution
Once your cleaning solution is ready, it’s time to thoroughly soak the absorbent material in the disinfecting solution. This step is crucial to unlock the full germ-fighting power of your wipes!
For optimal saturation, aim to let the absorbent material sit in the solution for about 10 to 15 minutes. This timeframe allows the fibers to fully soak up the disinfectant, ensuring complete coverage.
Keep a close watch on the clock, as over-soaking can lead to unwanted leaks that may compromise effectiveness and create unnecessary mess.
To enhance proper absorption, consider stirring or gently agitating the material occasionally during the soaking process. This will help the solution penetrate more evenly, providing thorough disinfection without waste.
5. Store the Wipes Properly
After soaking the absorbent material, place it neatly in your prepared air-tight container for storage. Ensure the wipes are stacked or arranged for easy access. Proper storage is essential for maintaining the effectiveness of your DIY disinfectant wipes and ensuring safe use.
To extend their shelf life, consider opting for a container specifically designed for wet wipes. These often feature a secure closure mechanism that prevents moisture loss, keeping your wipes in prime condition.
It s wise to label the container clearly with the preparation date and the type of solution inside. This simple step not only helps you track freshness but also ensures you use the wipes within the appropriate timeframe.
Remember to dispose of used wipes properly by placing them in the trash instead of flushing them. This practice helps maintain hygiene and prevents unwanted plumbing issues.
By following these guidelines, you will enhance the efficiency of your wipes while contributing to a cleaner and more organized space.
How to Use Your DIY Disinfectant Wipes?
Utilizing your DIY disinfectant wipes serves as a straightforward yet highly effective method for upholding cleanliness and sanitation in your home. By adhering to clear and concise cleaning instructions, you can guarantee that surfaces are thoroughly sanitized and devoid of harmful germs.
1. Clean the Surface
Start by selecting the surface you wish to clean, ensuring it s free from any dust or debris. Taking the time to clean surfaces before applying your DIY disinfectant wipes will significantly enhance their effectiveness and prepare the area for proper sanitization. This technique aligns with effective disinfectant practices recommended by health experts.
A thorough initial cleaning does more than just remove visible dirt and grime; it also eliminates hidden pathogens that could undermine the disinfection process. Gather your essential cleaning supplies, which include a microfiber cloth, warm water, and a suitable cleaning solution tailored to the type of surface you re tackling. Cleaning agents like Lysol or Clorox can also be used for surface disinfecting.
Wipe down the area to remove any accumulated contaminants, as this step is crucial for boosting the disinfectant’s efficacy. A dirt-free surface allows the disinfectant to penetrate and act more effectively, ensuring comprehensive sanitation.
For optimal results, let the disinfectant sit for the recommended amount of time before wiping it away; this small detail can significantly enhance sanitation. By adhering to these tips, you ll contribute to a healthier environment.
2. Wipe with the DIY Disinfectant Wipe
Once you’ve ensured the surface is clean, grab one of your DIY disinfectant wipes and give the area a thorough wipe down. Make sure you cover every inch to achieve effective sanitization; this is key to eliminating any lingering microbes and making the surface safe for use.
For optimal results, it’s wise to use a generous amount of wipes about 1 to 2 per surface, depending on the size and type of area you’re tackling. When you wipe, use a consistent and thorough motion, whether that s moving back and forth or in circular patterns. This approach maximizes contact with the surface, allowing the disinfectant to work its magic.
After you’ve finished wiping, don’t rush the process allow the surface to air dry completely. This drying phase is essential for ensuring any remaining germs are effectively killed, thereby boosting the overall disinfecting power of your wipes.
3. Dispose of the Used Wipe Properly
After using your DIY disinfectant wipe, it’s essential to dispose of it properly to ensure you maintain a clean and sanitary environment. Following the right disposal methods will help prevent contamination and keep your space in line with sanitation best practices. Proper disposal is also important for waste reduction and maintaining hygiene standards.
Don’t make the mistake of tossing used wipes into the regular trash. Doing so can contribute to the spread of germs and bacteria if they’re not disposed of correctly. Instead, seal the wipes in a plastic bag before discarding them; this minimizes exposure and keeps things tidy. This method is recommended for proper disposal to prevent any unintended contamination.
Be cautious with disposable wipes that claim to be flushable. It’s wise to avoid sending them down the toilet, as they can lead to plumbing issues that no one wants to deal with. Following these disposal protocols is crucial for upholding hygiene standards, ultimately protecting your health and the well-being of everyone sharing your space. Using reusable wipes can be a more cost-effective cleaning solution and is better for the environment.
Precautions When Using DIY Disinfectant Wipes
When using DIY disinfectant wipes, it s crucial for you to adhere to specific safety precautions. This will help protect both yourself and your household from any potential risks. Understanding the disinfectant properties of each ingredient will ensure you achieve effective cleaning results.
By familiarizing yourself with disinfectant guidelines, you can prevent any adverse chemical reactions and ensure that your homemade cleaning agents are used effectively. This is particularly important when dealing with potent ingredients like isopropyl alcohol, ethanol, or bleach.
1. Use Gloves
Wearing gloves while using your DIY disinfectant wipes is a crucial safety measure that shields your skin from potential irritation caused by cleaning agents. This simple step helps prevent any unpleasant chemical reactions that might occur upon contact with sensitive skin. Adhering to these precautions is vital for home hygiene and overall health.
Choosing the right type of gloves is equally important; nitrile gloves are highly recommended for their durability and resistance to punctures and chemicals. While latex gloves can also serve their purpose, you should be mindful that some individuals may have allergies to latex, making it wise to explore alternatives like microfiber cloths for cleaning surfaces.
If you accidentally come into contact with a disinfectant, like a bleach mixture or rubbing alcohol, it s essential to wash the affected area thoroughly with soap and water to minimize any adverse effects.
After handling cleaning materials, it s vital to remove your gloves correctly to prevent any contaminants from transferring. Grasp the outside of one glove with the opposite gloved hand, peel it away, and hold it in the gloved hand. Then, slide your fingers under the cuff of the other glove and remove it cleanly. Following these steps will ensure your safety throughout your cleaning routine. This is part of essential sanitation tips to maintain proper home hygiene.
2. Avoid Contact with Eyes and Mouth
It s crucial for you to steer clear of contact with your eyes and mouth while using DIY disinfectant wipes, as the ingredients can lead to irritation or even harmful reactions. By taking this precaution, you not only enhance your safety but also improve the overall effectiveness of your cleaning routine. Following disinfectant guidelines can help prevent chemical reactions and ensure safe cleaning methods.
This precaution is particularly vital since many common disinfectant components, like bleach or alcohol, can cause serious discomfort or damage if they touch sensitive areas. Embracing safe cleaning practices safeguards your health and ensures that your cleaning efforts are genuinely effective against harmful germs and bacteria. An effective disinfectant approach includes using household disinfectants and maintaining safety precautions.
To keep a safe distance while cleaning, consider utilizing tools like long-handled wipes or sprays, which allow you to reach further without compromising your safety. Always make sure the area is well-ventilated to minimize inhalation of potentially hazardous fumes. By cultivating these habits, you create a more secure environment for yourself and those around you. Using eco-friendly options such as reusable wipes can also contribute to a safer cleaning environment.
3. Keep Out of Reach of Children
Keeping DIY disinfectant wipes out of reach of children is a fundamental safety measure that you should prioritize to prevent accidental exposure to cleaning agents. By ensuring these supplies are stored safely, you contribute to a healthier home environment and significantly minimize potential hazards. Following CDC recommendations can further enhance the safety of your home.
It s essential to child-proof the areas where you keep cleaning supplies, including those wipes. Consider using high cabinets equipped with child-resistant locks, or place items on shelves that are well beyond a child s reach. Proper disposal of cleaning products is also crucial to maintaining a safe household environment.
Educating older children about the potential dangers of cleaning products is also crucial. Teach them to recognize these products and the importance of asking an adult before using anything unfamiliar. This knowledge can serve as a vital barrier against misuse.
By adopting these strategies, you can create a safer atmosphere for your young ones, ensuring they are protected from any harmful substances.
Frequently Asked Questions
What ingredients do I need to make my own disinfectant wipes?
To make your own disinfectant wipes, you will need paper towels, rubbing alcohol, water, and essential oils (optional). You can also consider adding germ-fighting oils for additional disinfectant properties.
How do I make my own disinfectant wipes without using paper towels?
If you don’t have paper towels, you can use old t-shirts or cloth wipes instead. Cut the material into small squares and follow the same steps for making the wipes.
This method is an excellent way to incorporate waste reduction and cost-effective cleaning into your DIY projects.
Can I use any type of rubbing alcohol for my disinfectant wipes?
It is recommended to use rubbing alcohol that is at least 70% (a common cleaning agent) for effective disinfection. Products like Everclear and ethanol are also viable alternatives.
What essential oils can I add to my disinfectant wipes for a pleasant scent?
Don t miss out on adding delightful scents and powerful antibacterial properties to your disinfectant wipes! Try lemon, peppermint, tea tree, or lavender oils for a boost!
These essential oils not only add a pleasant scent but also have antibacterial properties. Refer to the American Journal of Essential Oils for more information on these germ-fighting oils.
How do I store my homemade disinfectant wipes?
Keep your homemade disinfectant wipes fresh and effective by storing them in an airtight container or a resealable plastic bag!
Make sure to label the container and keep it in a cool, dry place. Store your wipes in an airtight container to prevent alcohol evaporation.
Can I use my homemade disinfectant wipes on all surfaces?
Yes, you can use your homemade disinfectant wipes on most surfaces. However, avoid using them on unfinished wood or porous surfaces like marble.
Always follow proper cleaning instructions to ensure the effectiveness of your disinfectant wipes.