How to Store Your Homemade Cleaners Effectively
Creating your own cleaning supplies can truly transform your home environment.
Homemade cleaners minimize your exposure to chemical-based cleaning agents, offer a cost-effective alternative, and demonstrate a commitment to environmental sustainability.
This article delves into the compelling reasons for crafting your own cleaning solutions, highlighting the straightforward ingredients you’ll require such as natural cleaning agents, essential oils, and baking soda along with essential best practices for storing cleaning products and ensuring safety.
Uncover just how effortless it can be to maintain a sparkling clean space with your very own DIY solutions!
Contents
- Key Takeaways:
- Why Should You Make Your Own Cleaners?
- What Ingredients Do You Need to Make Homemade Cleaners?
- How to Store Your Homemade Cleaners?
- What Are the Best Containers for Storing Homemade Cleaners?
- How Long Do Homemade Cleaners Last?
- How to Properly Dispose of Unused Homemade Cleaners?
- Are Homemade Cleaners Safe to Use?
- Frequently Asked Questions
- Organizing Tips
- 1. Can I store my homemade cleaners in any container?
- Utility Room Storage
- How should I label my homemade cleaners?
- Can I store my homemade cleaners in the fridge or freezer?
- How long can I store my homemade cleaners?
- Can I mix different homemade cleaners together for storage?
- How should I store my homemade cleaners to keep them safe?
Key Takeaways:
Why Should You Make Your Own Cleaners?
Crafting your own homemade cleaning products offers a sustainable and cost-effective approach to maintaining a pristine environment, particularly when safety is a priority for households with children and pets, endorsed by cleaning professionals like Chelsea Evers and Andrea Brame.
By curating a personalized cleaning product collection, you not only enhance efficiency but also significantly reduce your exposure to the harmful chemical agents often lurking in commercial products. Utilizing natural ingredients allows you to create cleaning supplies that are not only effective but also safe for both your family and the planet.
What Ingredients Do You Need to Make Homemade Cleaners?
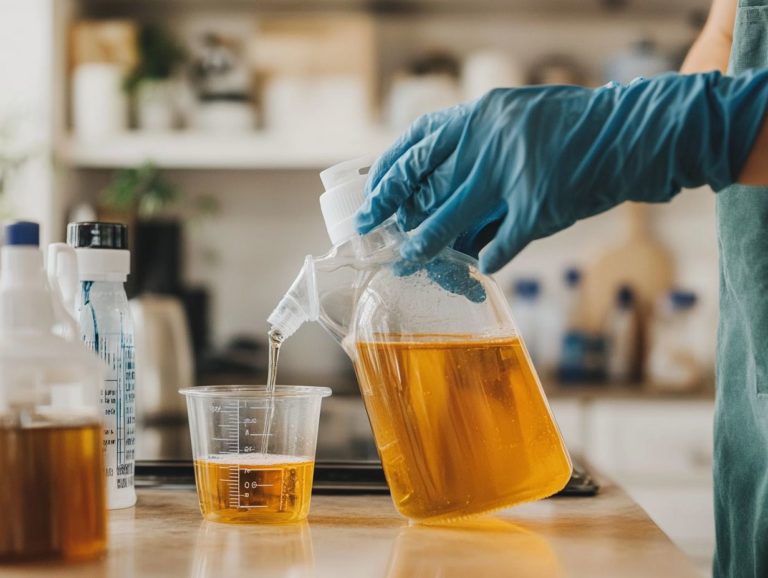
To craft effective homemade cleaning products, you ll want to gather an array of natural ingredients that act as potent cleaning agents, maximizing efficiency in your cleaning routine.
Essential staples include vinegar, baking soda, essential oils, and citrus fruits, each bringing its own unique properties to tackle various cleaning challenges. These ingredients can be conveniently sourced from stores like Walmart, Amazon, and Target.
By harnessing these natural components, you can create cleaning supplies that are not only effective but also safe for your family and the environment, making your home a model of homes & gardens cleanliness.
1. Natural Cleaning Agents
Natural cleaning agents like baking soda, vinegar, and citrus fruits are your go-to options for crafting homemade cleaning products that really deliver on effectiveness. Their rising popularity comes from the impressive ability to tackle multiple surfaces without the harsh chemicals often found in commercial cleaners.
The versatility of these agents allows you to use them for a wide range of cleaning tasks around your home. For example, baking soda can work wonders on burnt pots and pans; just mix it with a bit of water to create a paste that lifts away stubborn stains. Vinegar is your ally when it comes to unclogging drains and dissolving mineral deposits in your appliances. And don t underestimate citrus fruits, especially lemons they re fantastic for freshening up your cutting boards and countertops, thanks to their natural antibacterial properties. Just a quick note: keep vinegar away from marble surfaces, as its acidity can etch the stone.
By incorporating these natural alternatives into your cleaning routine, you can enjoy a home that s not only sparkling clean but also eco-friendly and budget-conscious.
2. Essential Oils
Essential oils do more than just infuse your homemade cleaning products with delightful fragrances; they also bring antibacterial properties that enhance your cleaning routine. Incorporating oils such as tea tree, lavender, and lemon into various cleaning solutions allows you to enjoy a refreshing scent while disinfecting surfaces effectively.
Integrating these natural oils elevates your cleaner’s overall efficacy, ensuring your living space is inviting and thoroughly sanitized. For example, tea tree oil is effective against mold and mildew, making it an excellent addition to your bathroom cleaning arsenal. Meanwhile, lemon oil excels at cutting through kitchen grease.
Consider blending eucalyptus or peppermint oil. These oils not only provide a refreshing aroma but also offer valuable germ-fighting properties. When mixing these oils, combine them with appropriate carriers like vinegar or baking soda. This approach helps break down dirt and ensures a safe and effective interaction, maximizing the cleaning power and safety of your homemade products.
For those looking to organize these oils, a portable cleaning caddy can be a great solution. Try adding these oils to your routine today!
3. Vinegar
Vinegar is a game-changer in your cleaning routine! It s a powerful ingredient celebrated for its natural disinfectant properties and ability to eliminate odors. Its acidity makes it effective at breaking down mineral deposits, grease, and grime, allowing you to achieve a thorough clean without harsh chemicals.
This versatile solution can banish soap scum in the bathroom and cut through stubborn kitchen grease on stovetops. For an all-purpose cleaner, mix equal parts vinegar and water in a spray bottle. Watch it work wonders on various surfaces.
Combine vinegar with baking soda for a powerful kitchen drain cleaner that tackles clogs with ease. Always keep safety in mind, especially in homes with children and pets. Store vinegar out of reach and avoid mixing it with bleach or hydrogen peroxide, as this can produce harmful fumes.
By choosing vinegar-based cleaners, you re not just opting for a safer alternative you re contributing to a healthier home environment. Don t wait; enhance your cleaning routine now!
4. Baking Soda
Baking soda is a critical ingredient in your homemade cleaning products. It acts as a natural abrasive and deodorizer, tackling tough stains and odors effectively. Its mild alkaline properties allow for thorough cleaning without scratching surfaces, making it ideal for various household tasks.
For example, you can:
- Sprinkle it on carpets to eliminate persistent smells.
- Mix it with water to create a paste for scrubbing kitchen sinks and bathroom tiles.
In the kitchen, combining baking soda with vinegar initiates a powerful reaction perfect for unclogging drains. To combat odors in your fridge, place an open box of baking soda inside it works wonders.
For an all-purpose cleaner, mix a quarter cup of baking soda with a quart of warm water. This solution is perfect for wiping down countertops and appliances, maintaining a safe environment free from harsh chemicals. Start using these natural ingredients today for a cleaner, fresher home!
5. Citrus Fruits
Citrus fruits, such as lemons and oranges, do more than just brighten your kitchen with their delightful aroma; they bring a natural acidity that cuts through grease and grime like a hot knife through butter. Their essential oils are rich in antibacterial properties, making them an excellent addition to your cleaning toolkit.
You can elevate your DIY cleaners by incorporating citrus peels or their juice, improving their cleaning ability while ensuring they are safe for both children and pets. For instance, mix equal parts water and vinegar with a splash of lemon juice in a spray bottle for a simple all-purpose cleaner perfect for tackling stubborn stains.
Get creative with your cleaners! Infuse orange peels in white vinegar for a week to create a strong citrus cleaner. Store your homemade solutions in dark glass bottles to maintain their effectiveness. Remember to keep these products out of direct sunlight and label them clearly for easy identification, ensuring a safe environment for your little ones and furry companions.
How to Store Your Homemade Cleaners?
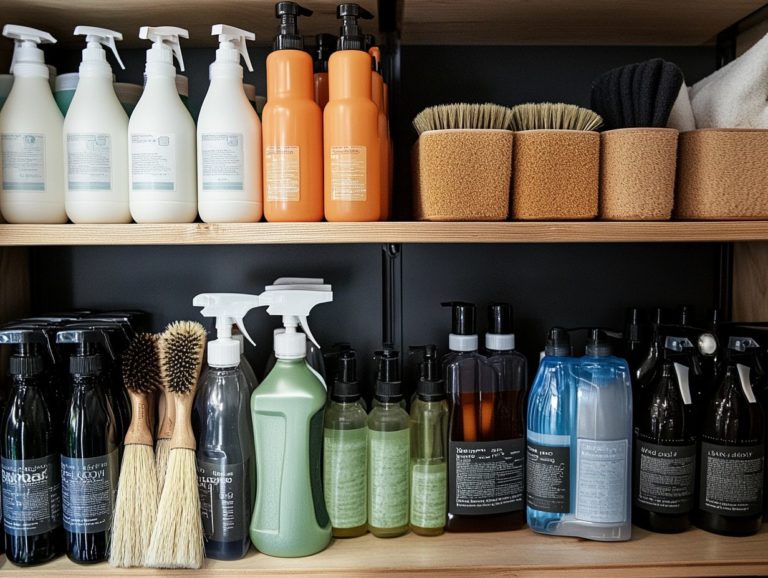
Properly storing your homemade cleaners is crucial for preserving their effectiveness and ensuring safety, especially in households with children and pets. Use organizing tips like utilizing vertical storage and clutter-free cleaning cabinet hacks to keep your supplies orderly.
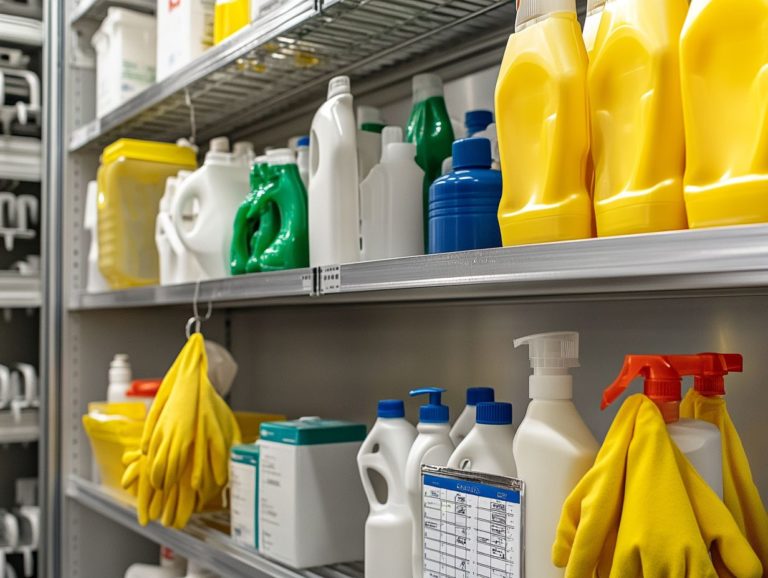
Consider using utility room storage solutions such as transparent containers and portable cleaning caddies; these will not only keep your cleaning supplies organized but also make them easily accessible when you need them. Employ shelves, bins, and even tension rods to further optimize your space.
Prioritizing safety is key install child safety locks on cabinets to prevent accidental access, giving you peace of mind while keeping your home tidy.
1. Use Airtight Containers
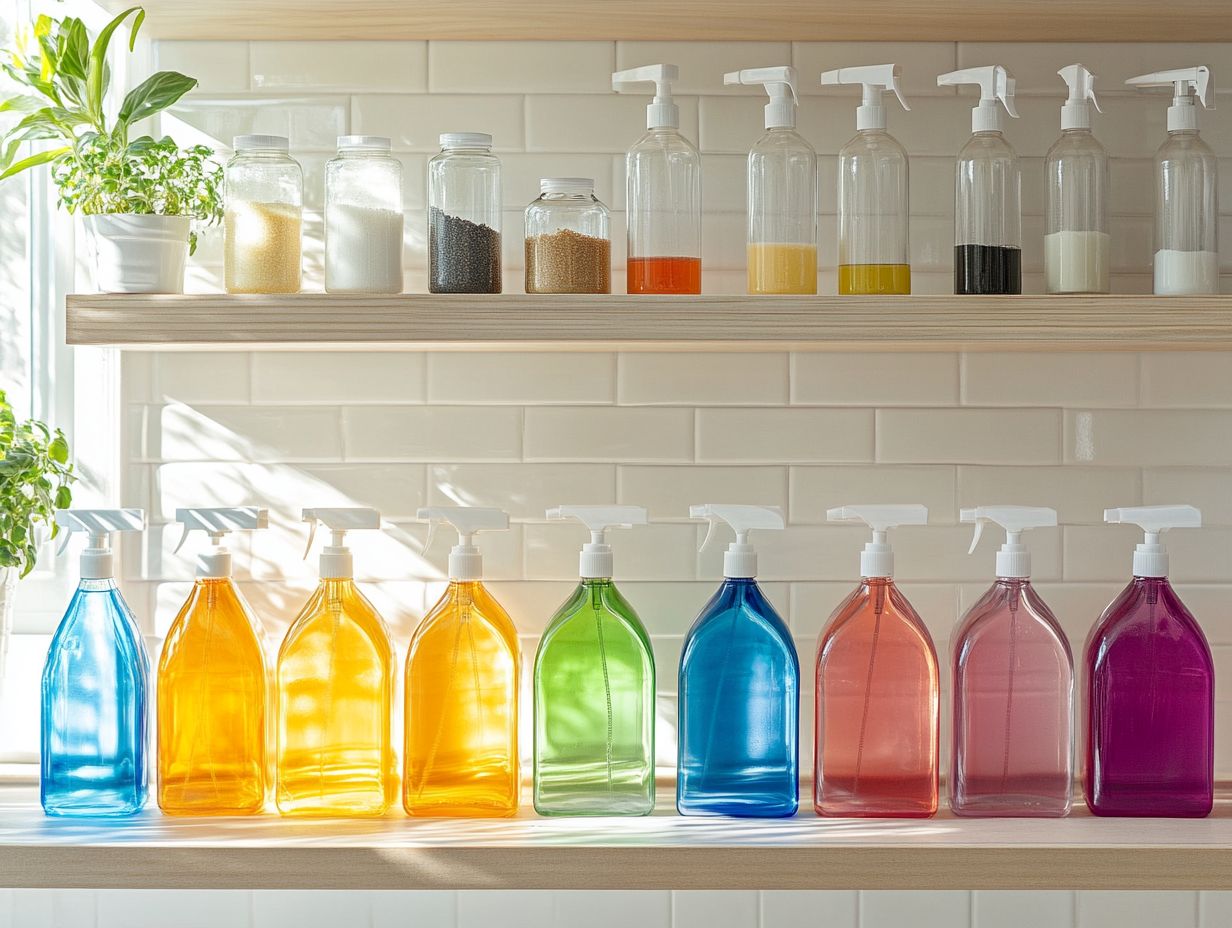
Using airtight containers for your homemade cleaners is essential for maintaining their effectiveness and preventing contamination. Exposure to air can diminish the potency of specific ingredients. Airtight storage avoids spills and ensures that your cleaning supplies remain free from moisture and impurities.
By choosing the right type of containers like glass jars for vinegar-based solutions or durable plastic bottles for more robust formulas you can significantly enhance the longevity of these homemade products. Selecting appropriate sizes is just as important; consider smaller containers for delicate mixtures and larger ones for bulk solutions to optimize your storage. Using Tetris storage techniques can help you maximize your available space.
Labeling each container is equally important for quick identification of the contents, reducing the risk of using the wrong cleaner. Always prioritize safety; ensure that all containers are securely closed and stored out of reach of children to prevent accidents. Regularly evaluate your cleaning tools, like your vacuum, mop, and broom, to ensure they are in good working condition.
2. Label Your Cleaners
Labeling your homemade cleaners is an essential step for both organization and safety, allowing you to quickly identify what is in each container and preventing accidental mix-ups. Using a DYMO Label Maker makes this process easy, enabling you to create clear, durable labels that stand the test of time.
This simple practice boosts your efficiency and helps avoid potentially hazardous situations especially important in homes with children or pets. Each label should ideally feature the name of the cleaner, its intended use, and any necessary safety precautions.
If you prefer a more hands-on approach, use colorful tape and permanent markers to transform labeling into a fun, creative endeavor. Keeping track of expiration dates for your homemade products is wise, as many ingredients can degrade over time, reducing their effectiveness.
An organized labeling system means you will always know when it is time to refresh your supplies, ensuring your cleaning routine remains effective and safe. Don t wait! Label your cleaners today to prevent accidents.
3. Store in a Cool, Dry Place
Storing your homemade cleaners in a cool, dry place is essential for preserving their effectiveness and extending their shelf life. Exposure to heat and humidity can break down natural ingredients, reducing the potency of your cleaning solutions and potentially inviting the growth of mold or bacteria.
A pantry or cupboard situated away from heat sources, like stoves or washing machines, is perfect for this purpose. Avoid locations like under the sink, where moisture tends to accumulate, or near windows that might expose your cleaners to variable temperatures.
Remember, temperature and humidity can affect how long your cleaners stay effective. To help monitor these conditions, use a simple thermometer and hygrometer. This way, you can ensure your cleaning products remain effective for all your household chores.
4. Keep Away from Children and Pets
To prioritize safety in your home, keep homemade cleaners out of reach of children and pets. Implement child safety locks on cabinets and organize your cleaning supplies in a dedicated utility room to reduce the risk of accidental exposure to harmful ingredients.
Label all containers clearly to eliminate confusion about their contents. Store these products in a high cabinet or a locked storage area to keep curious hands at bay and maintain order in your cleaning space.
For parents and pet owners, these safety practices should be a top priority. Even seemingly harmless ingredients can carry risks. Educating older children about the potential dangers of cleaning supplies helps nurture a culture of safety, ensuring everyone understands the importance of these precautions.
Don t wait store your cleaners correctly to foster a safer environment for all.
What Are the Best Containers for Storing Homemade Cleaners?
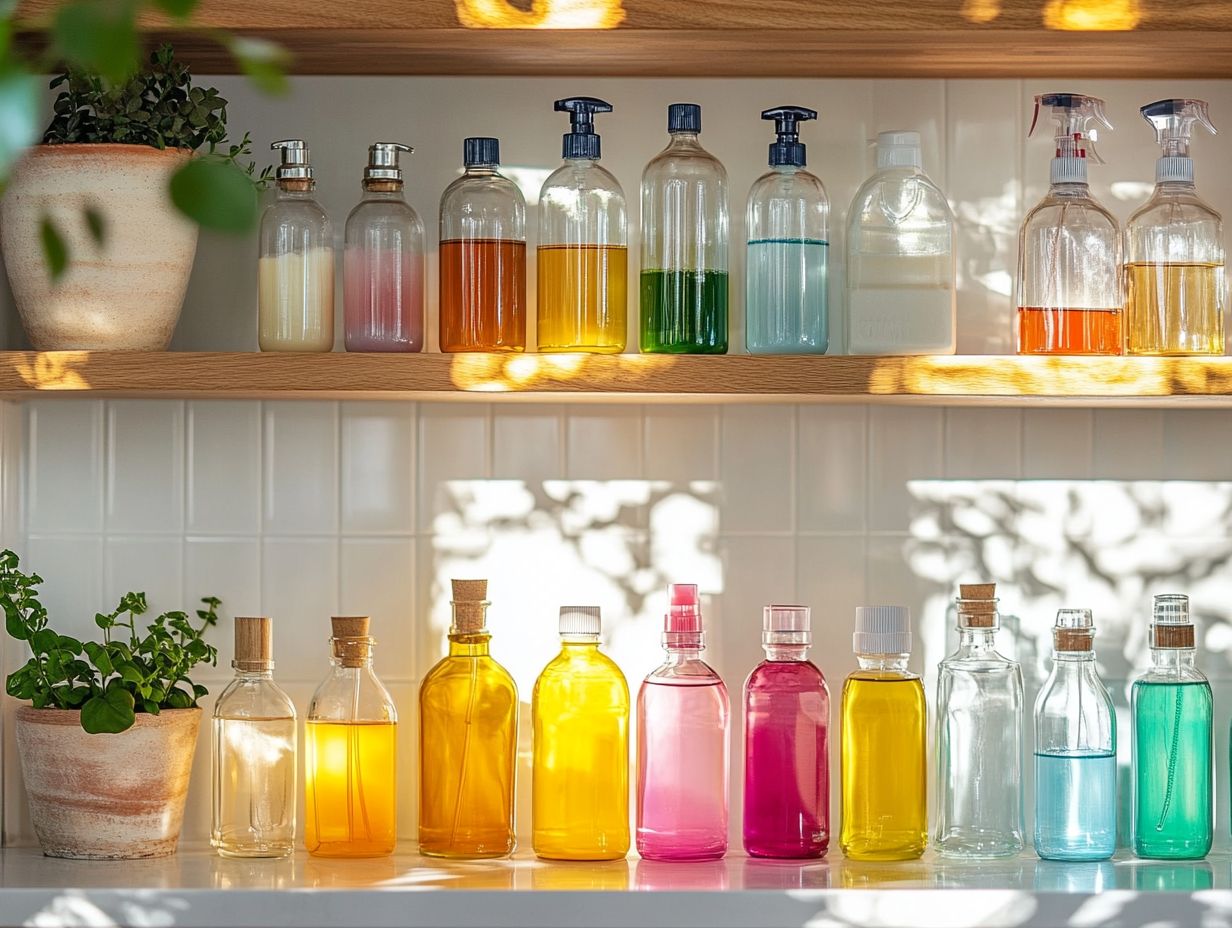
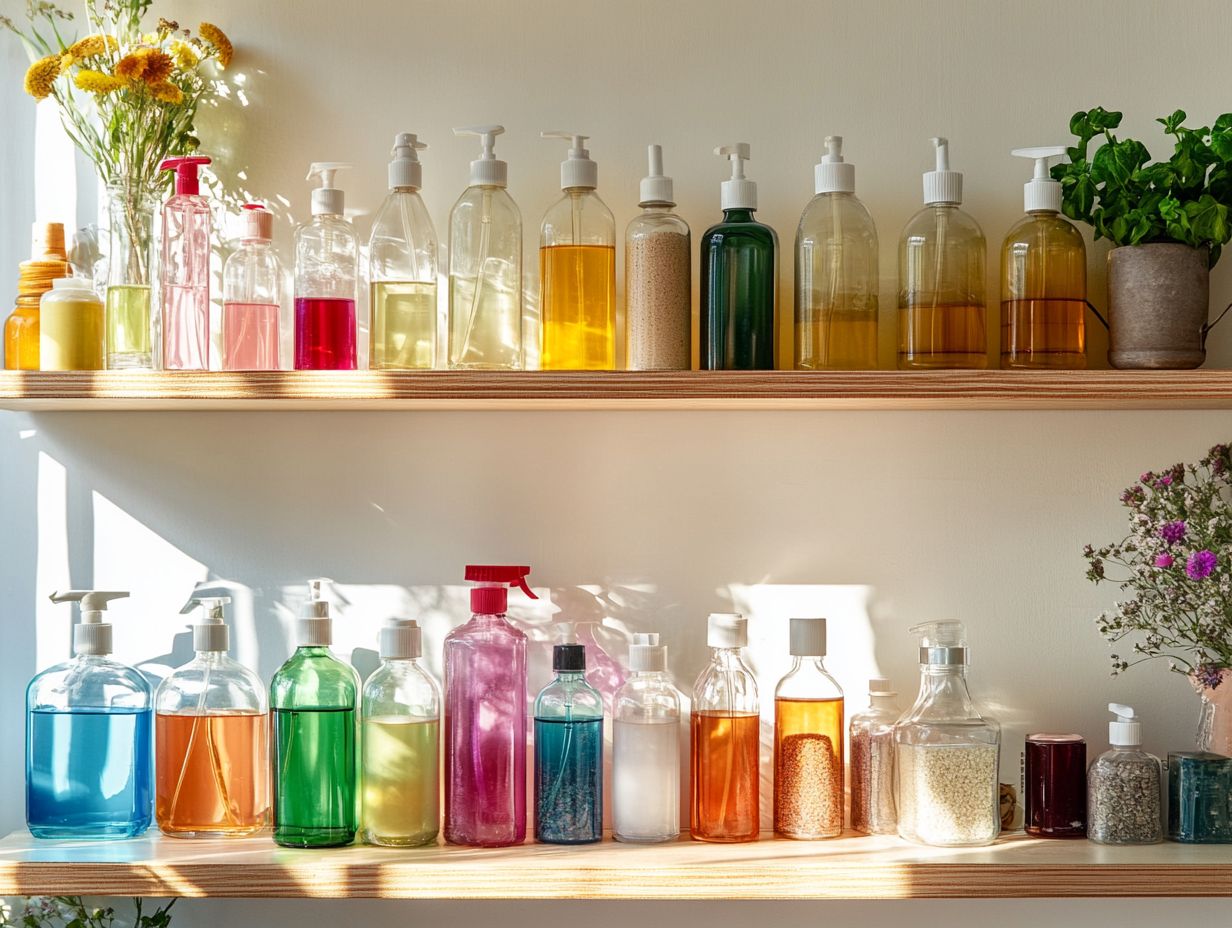
Selecting the right containers for your homemade cleaners is crucial for keeping them effective and ensuring safe usage. Opt for glass bottles and jars, as they are impermeable and resist chemical reactions, making them ideal for storage.
Plastic spray bottles provide the convenience and versatility needed for everyday cleaning tasks. Consider using mason jars for bulk storage if you have larger quantities of cleaning products to keep organized.
1. Glass Bottles or Jars
Glass bottles or jars are among the best containers for storing your homemade cleaners. Their non-reactive nature helps preserve the potency of natural ingredients. They prevent the leaching of chemicals and are suitable for both liquid and solid cleaning solutions, making them a versatile choice for your cleaning tasks.
They are durable and can withstand a wide range of temperatures, making them less prone to warping or degrading over time compared to plastic options. Plus, glass containers add a touch of elegance to your cleaning closet, allowing you to showcase your homemade concoctions stylishly.
However, safety is important. Glass can shatter if dropped, which poses a risk, especially in homes with children or pets. Handle these containers with care and store them properly to prevent accidents.
If you re looking for glass containers, check local thrift stores or eco-friendly shops for a fantastic selection of second-hand options. This provides an affordable and sustainable way to source your containers while making a positive impact on the environment and keeping your cleaning supplies neatly organized.
2. Plastic Spray Bottles
Plastic spray bottles are convenient and practical for your homemade cleaners, making it easy to apply solutions on a variety of surfaces. Their lightweight and portable design is perfect for quick cleaning tasks, and with a range of sizes available, you can easily curate a collection that suits your needs.
While the cost-effectiveness of these bottles is appealing, it’s wise to consider their environmental impact and the durability of plastics over time. For those who prioritize thoughtful choices, opting for BPA-free options BPA is a chemical found in some plastics that can be harmful to health can significantly reduce health risks. Inspect your bottles regularly to ensure they are in good condition! Ensuring that the nozzles and seals remain intact will help preserve the integrity of the cleaners housed within.
By choosing wisely and taking care of these tools, you can enjoy their practicality while minimizing any adverse consequences.
3. Mason Jars
Mason jars present a remarkably versatile storage solution for your homemade cleaners, allowing you to keep bulk quantities of cleaning products securely stored, airtight, and shielded from contamination. Their timeless design doesn t just serve a purpose; it adds a touch of elegance to any utility room or cleaning supply area.
These jars are perfectly suited to house an array of eco-friendly cleaning solutions, from vinegar-based all-purpose cleaners to baking soda scrubs and essential oil-infused disinfectants. This approach contributes to a tidy workspace and ensures that each cleaning product is easily accessible and clearly identifiable.
To enhance organization and safety, it’s essential to label each jar with its contents and usage instructions. Using waterproof labels or a touch of chalkboard paint can provide the clarity you need.
Incorporating mason jars of different sizes allows you to accommodate various volumes of cleaning solutions, elevating both the functionality and aesthetic appeal of your homemade cleaning supplies.
4. Recycled Containers
Recycled containers are fantastic for storing homemade cleaners! They not only promote sustainability and reduce waste but also ensure that your space remains organized and efficient. By repurposing everyday items like old spray bottles or jars, you re breathing new life into these materials while saving money on storage solutions.
Using containers such as glass mason jars and plastic jugs allows you to reuse materials effectively, making it easy to identify your cleaning solutions at a glance. Clear labeling becomes essential; make sure to clean and dry the containers thoroughly before repurposing them to prevent any contamination. Rinse out any remnants of previous contents, and consider employing a natural vinegar solution to banish any lingering odors. Additionally, following the best practices for storing homemade cleaners can further enhance your cleaning routine.
It’s crucial to verify that your recycled containers are appropriate for the specific homemade cleaner you’re concocting, especially when working with vinegar or essential oils, as these can react with certain types of plastics. With a touch of creativity, these containers can transform into both functional and stylish elements of your cleaning routine.
How Long Do Homemade Cleaners Last?
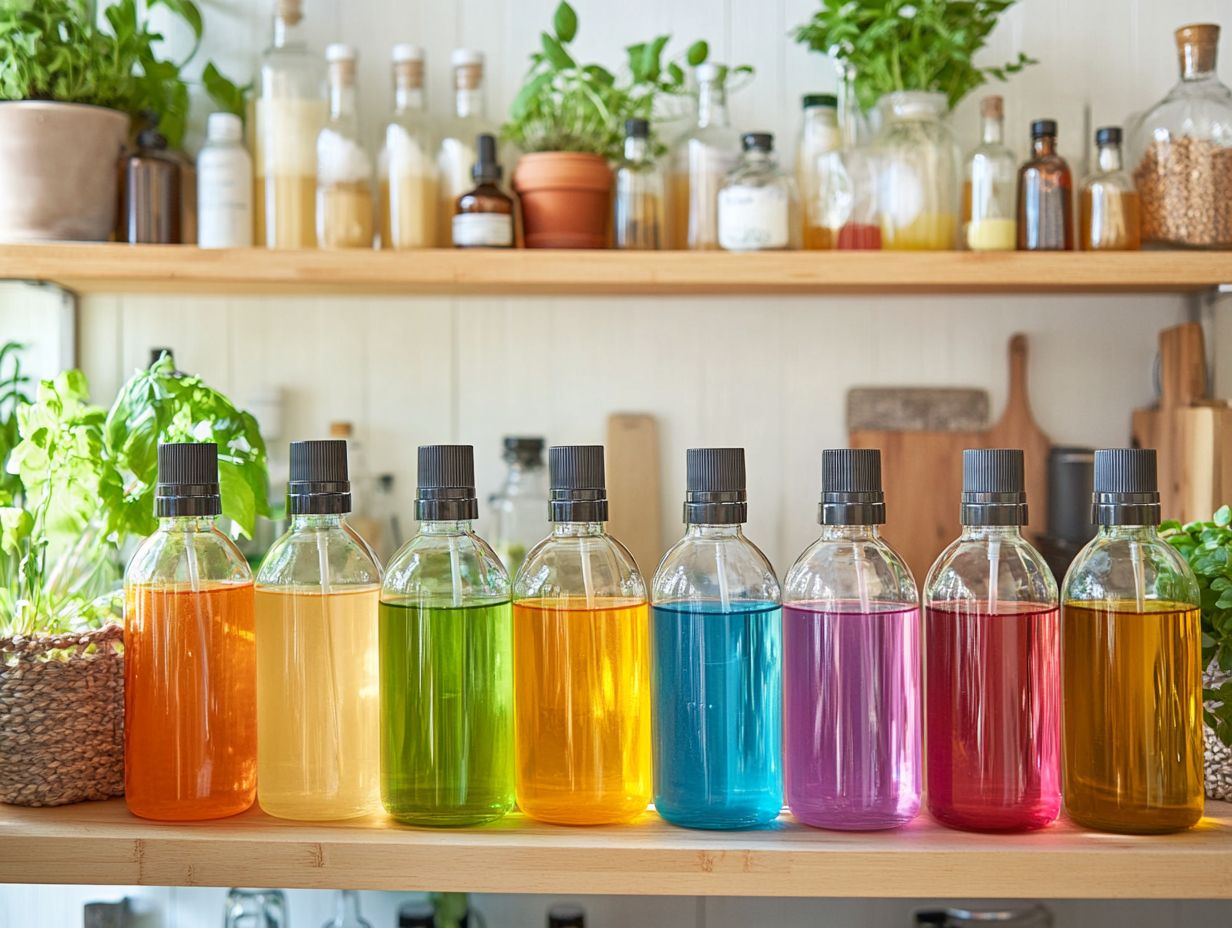
Understanding the shelf life of your homemade cleaners is essential for maintaining their effectiveness and ensuring safety. The longevity of these cleaning solutions can vary significantly based on the ingredients you choose.
For example, all-purpose cleaners typically last about 2 to 3 months, whereas vinegar-based glass and surface cleaners can remain effective for up to 6 months. Factors such as storage conditions and the inclusion of preservatives are crucial in determining how long your homemade cleaners will retain their potency.
Being aware of these details gives you the power to make the most of your DIY cleaning efforts.
1. All-Purpose Cleaners
All-purpose cleaners typically have a shelf life of 2 to 3 months when stored properly in airtight containers. Natural ingredients can lose their potency over time, so check for any changes in smell or color before diving into your cleaning routine. These alterations may signal that the cleaner is no longer effective.
Several factors can impact this shelf life. The presence of chemicals that can evaporate quickly can reduce effectiveness. Cleaners infused with essential oils or natural cleaning agents may degrade more rapidly than synthetic options. For example, citrus-based cleaners often have a shorter shelf life due to the instability of the citrus oils they contain.
To ensure you get the most out of your all-purpose cleaners, store them in a cool, dry place away from direct sunlight. This simple step helps prevent chemical reactions that could compromise their cleaning power and enhances safety by minimizing accident risks. Organize cleaning supplies using transparent containers and child safety locks for added safety.
2. Glass and Surface Cleaners
Homemade glass and surface cleaners, especially those made with vinegar, can remain effective for up to six months when stored in cool, dark locations, well away from direct sunlight. Before you reach for that bottle, give it a sniff; a strong smell is your best assurance that the solution is still effective.
Vinegar, with its acetic acid content, delivers a streak-free shine and functions as a natural antimicrobial agent. This enhances the cleaner’s effectiveness. Consider incorporating other popular ingredients like baking soda and essential oils, which can boost cleaning power and leave behind a pleasant aroma. However, be careful if not balanced just right, these additions could affect shelf life.
For optimal storage, use dark glass containers to minimize light exposure and preserve your cleaner s integrity. Watch for changes in color, consistency, or scent, as these can signal that your mixture has expired or lost its potency. If you notice any signs of separation or an unpleasant odor, don’t hesitate discard the solution and whip up a fresh batch!
3. Bathroom Cleaners
Bathroom cleaners generally have a short shelf life, lasting about 1-2 months. This is mainly due to the moisture-rich environment in which they’re used, which can encourage bacterial growth. To maximize their effectiveness, consider creating small batches of homemade bathroom cleaners that can be used quickly.
Store cleaning products in a cluttered cabinet, as this can decrease their lifespan. Use organizing hacks like tension rods and bins to maximize your vertical storage space!
Exposure to light and air can significantly shorten the lifespan of these products. Store your cleaners in cool, dark places preferably in airtight containers to prevent contamination and degradation.
Keep an eye out for signs of spoilage, such as changes in color, separation of ingredients, or unpleasant odors. If you notice any of these indicators, it s best to toss the cleaner. By following these best practices, you can help maintain the product s effectiveness while ensuring a safe and efficient cleaning experience.
4. Kitchen Cleaners
Utility Room Storage
Kitchen cleaners made from vinegar or citrus-based ingredients typically have a shelf life of about three months when stored properly. Keep them in a cool, dry location and watch for any signs of spoilage, such as shifts in color or scent.
To organize your cleaning products in the kitchen, utilize utility room storage strategies and maintain a portable cleaning caddy for easy access.
Recognizing spoilage is just the beginning. Maintaining the integrity of these solutions is essential for their effectiveness. Store them in their original containers, designed to protect the contents from light and air exposure.
Be cautious about mixing different types of cleaners, as this can lead to dangerous reactions. For applying kitchen cleaners, spraying them directly onto surfaces or onto a cloth usually yields the best results. Allowing the solution to sit on tough stains for a few minutes can effectively break down even the most stubborn grime.
5. Floor Cleaners
Organizing Hacks
Homemade floor cleaners typically have a shelf life of up to three months, depending on the ingredients and storage methods. Keep your cleaners in airtight containers and away from heat to extend their effectiveness. For better organization, use transparent containers and label them with a DYMO Label Maker available on Amazon or Target.
This duration can change based on the type of vinegar or essential oils you use, each having its own degradation timelines. Exposure to light can also compromise the integrity of your cleaner, reducing its cleaning power over time. For the best results, store your solutions in dark cabinets or tinted bottles that protect them from sunlight. Additionally, it’s important to follow guidelines on how to safely store your eco-friendly cleaners to ensure their effectiveness.
Before each use, give the bottle a good shake to remix any settled components. Inspect the mixture for any signs of separation or changes in scent that might suggest spoilage. Regularly checking these aspects will help maintain your cleaner s efficacy.
How to Properly Dispose of Unused Homemade Cleaners?
Safety Tips
Proper disposal of unused homemade cleaners is crucial for your family’s safety and minimizing environmental impact. Always check local regulations regarding the disposal of cleaning products, and consider neutralizing any harmful ingredients before disposal. Store cleaning products in a locked cabinet and use child safety locks to keep them out of reach of kids and pets.
Familiarize yourself with the specific guidelines from your local waste management authorities. Common ingredients like vinegar or baking soda can often be safely poured down the drain when diluted with plenty of water, while those containing more hazardous chemicals may require neutralization or specialized disposal methods.
If your cleaner includes acids or bases, pairing them with the appropriate neutralizing agent helps make them safe for disposal. Avoid mixing different cleaning agents, as this could lead to harmful reactions.
By practicing responsible disposal, you’re not only safeguarding your household but also contributing positively to the ecological health of your community.
Are Homemade Cleaners Safe to Use?
Homemade cleaners present a safe and effective alternative to chemical-laden cleaning products, particularly when made from natural ingredients that are non-toxic to children and pets.
Many experts champion these homemade solutions, highlighting their ability to minimize exposure to harmful chemicals while ensuring a clean and healthy living space. Experts like Katherine Blackler and Chelsea Evers suggest using organizing tips and maintaining a cleaning schedule to maximize efficiency.
Frequently Asked Questions
Organizing Tips
1. Can I store my homemade cleaners in any container?
Utility Room Storage
Use the right type of container for storing your homemade cleaners. Glass or plastic containers with tight-fitting lids work best. Avoid metal containers, as they can react with cleaning ingredients.
How should I label my homemade cleaners?
Labeling your homemade cleaners is essential for safety. Clearly mark each container with the name, ingredients, and date made, helping you track expiration dates.
Can I store my homemade cleaners in the fridge or freezer?
There s no need to store homemade cleaners in the fridge or freezer. Keep them at room temperature, out of direct sunlight and heat.
How long can I store my homemade cleaners?
The shelf life varies based on ingredients. Some cleaners last several months, while others may only last a few weeks. Use them within a few months for maximum effectiveness.
Can I mix different homemade cleaners together for storage?
Mixing different homemade cleaners is not recommended. This can lead to harmful chemical reactions and reduce their effectiveness.
How should I store my homemade cleaners to keep them safe?
Store them in a cool, dry place, away from sunlight and heat. Keep them out of reach of children and pets and store them away from food items.
